FREE DINNER EBOOK!
Get your copy!
Cookie Policy
GDPR Policy
Disclaimer
Terms Of Use
Visit my other site:
Fun Cookie Recipes
Home
Dinner
Desserts
Drinks
Appetizers
Contact
About
Privacy Policy
Home
Dinner
Desserts
Drinks
Appetizers
Contact
About
Privacy Policy
Cookie Policy
GDPR Policy
Disclaimer
Terms Of Use
Visit my other site:
Fun Cookie Recipes
HOME / CATEGORIES /
Latest
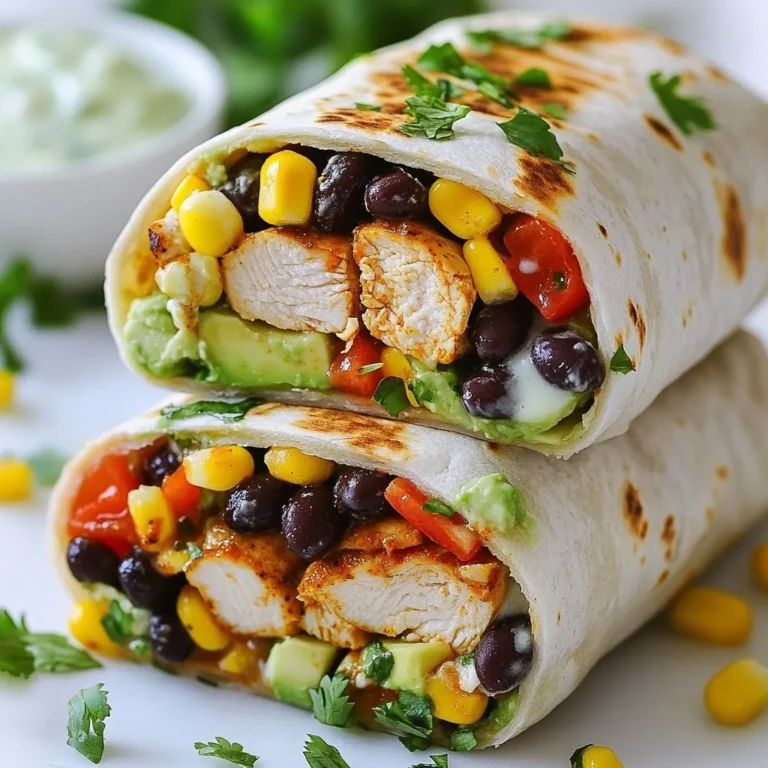
Chipotle Ranch Chicken Burrito Flavorful and Easy Meal
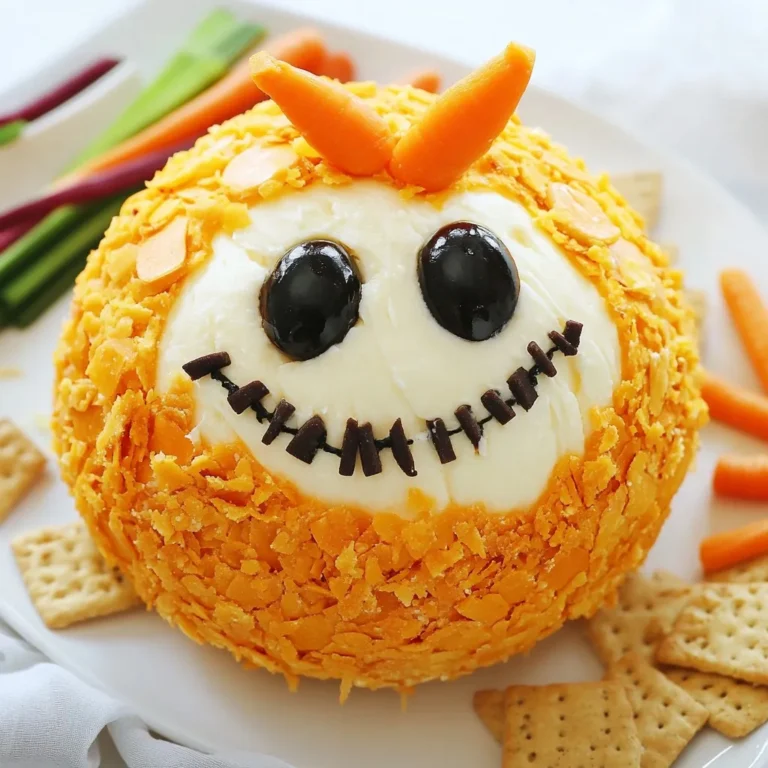
Jack Skellington Cheese Ball Easy and Fun Recipe
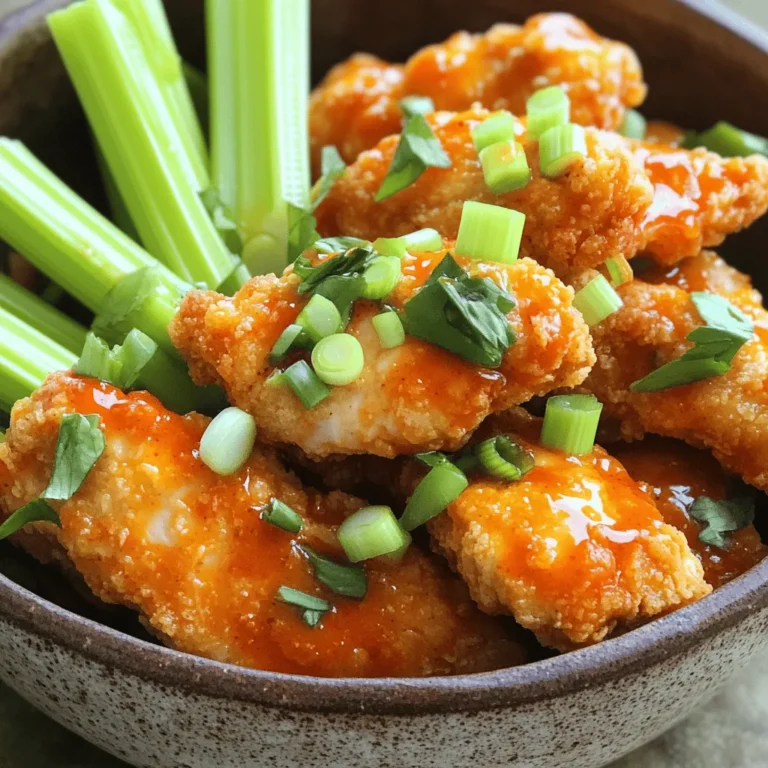
Air Fryer Buffalo Chicken Tenders Crispy and Flavorful
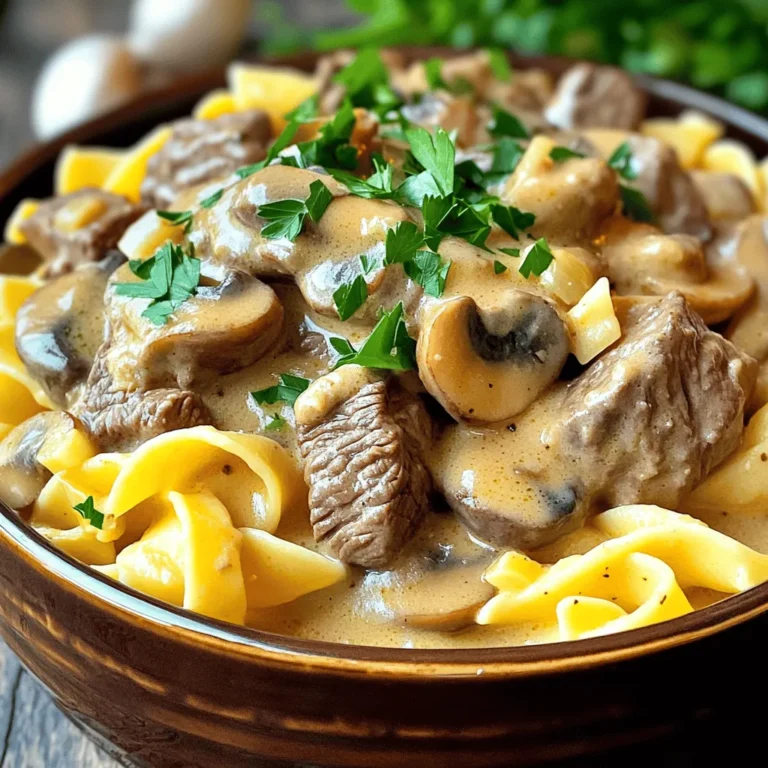
Slow Cooker Beef Stroganoff Comfort Food Delight
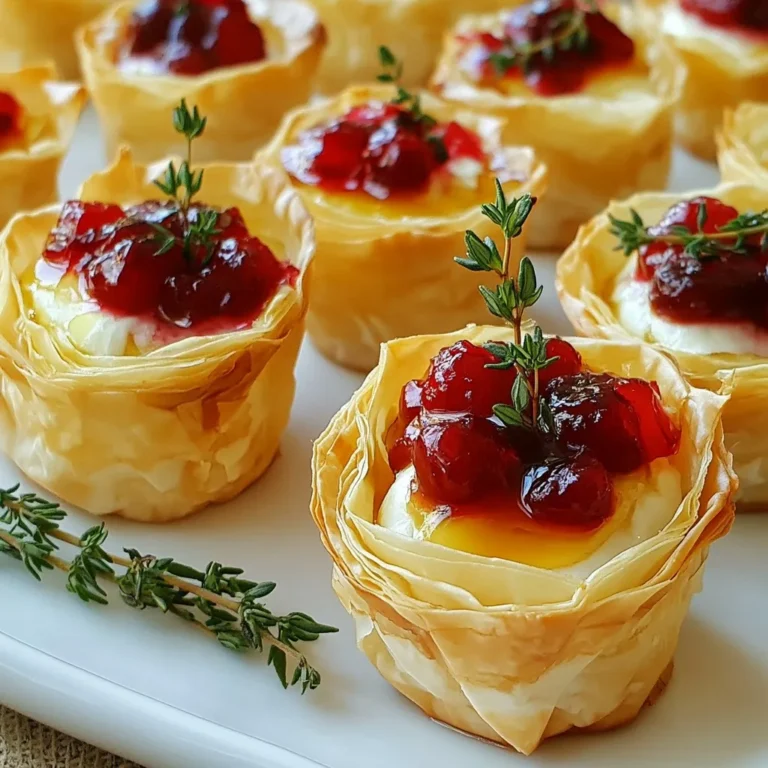
Cranberry Brie Thyme Phyllo Cups Delicious Holiday Bite
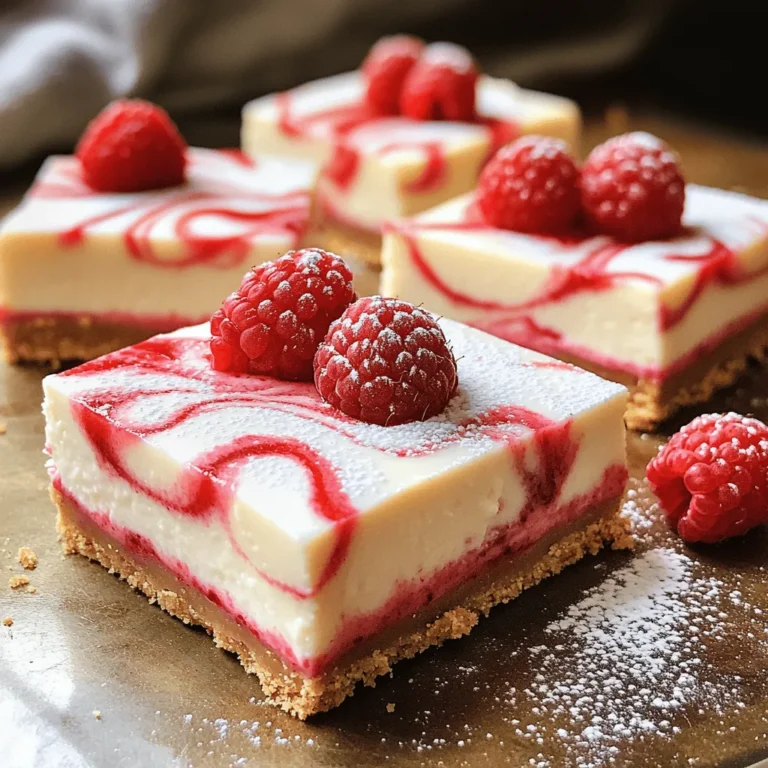
White Chocolate Raspberry Cheesecake Bars Delightful Treat
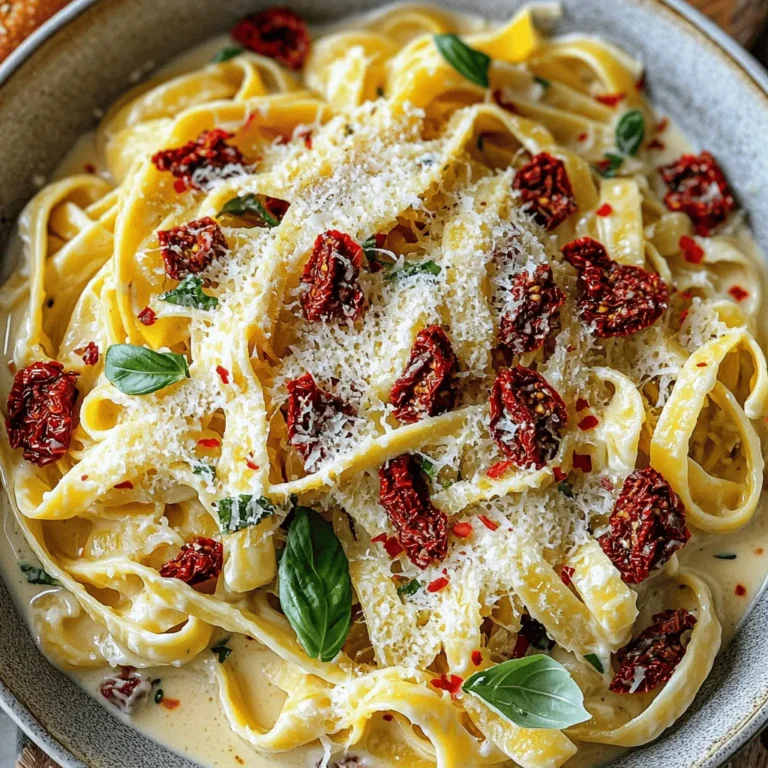
Creamy Sun-Dried Tomato Pasta Flavorful Dinner Idea
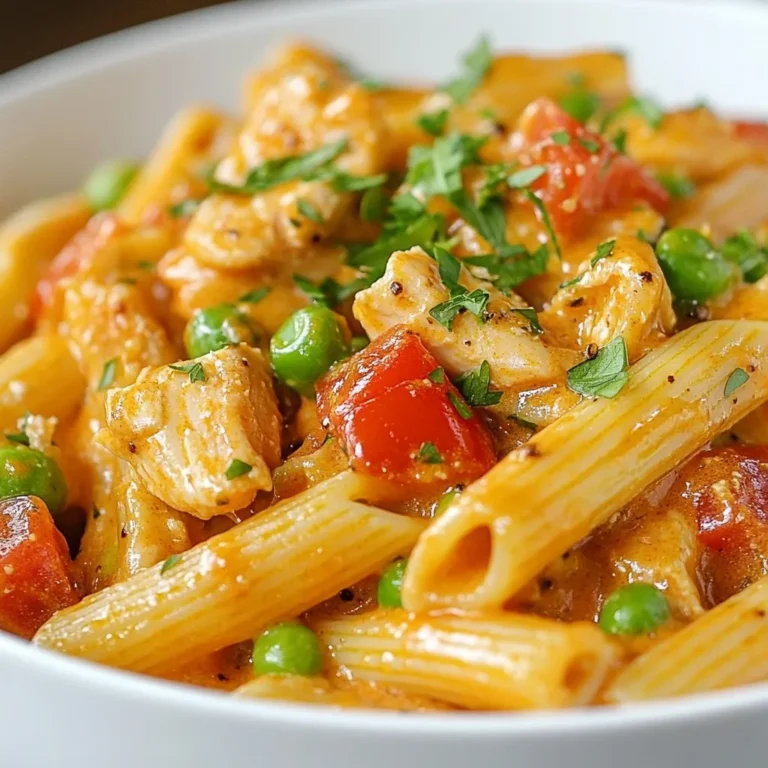
One-Pot Creamy Cajun Pasta Flavorful and Easy Meal
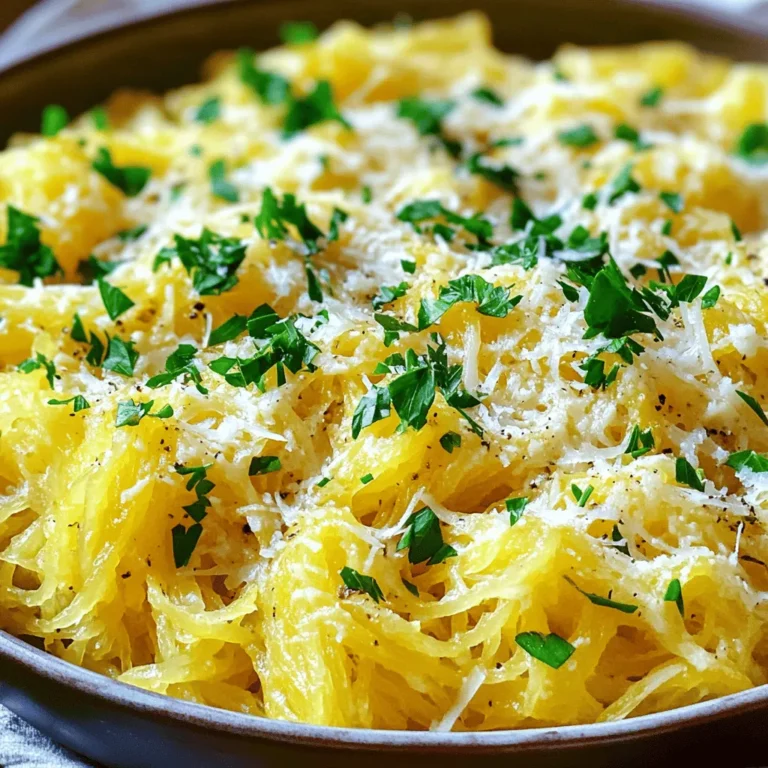
Creamy Garlic Parmesan Spaghetti Squash Delight
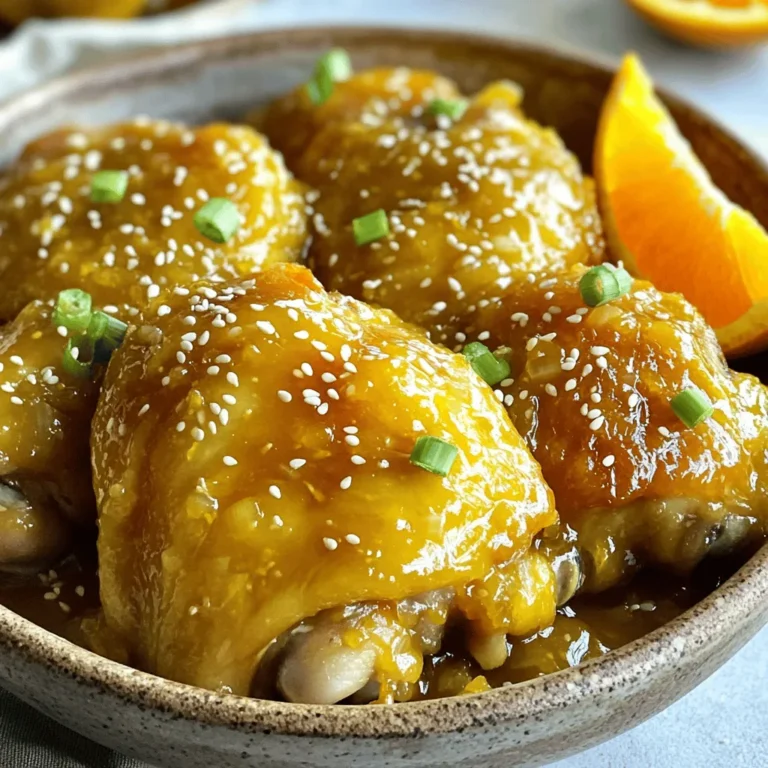
Better Than Takeout Orange Chicken Recipe Delight
PREV
1
…
14
15
16
…
48
NEXT