FREE DINNER EBOOK!
Get your copy!
Cookie Policy
GDPR Policy
Disclaimer
Terms Of Use
Visit my other site:
Fun Cookie Recipes
Home
Dinner
Desserts
Drinks
Appetizers
Contact
About
Privacy Policy
Home
Dinner
Desserts
Drinks
Appetizers
Contact
About
Privacy Policy
Cookie Policy
GDPR Policy
Disclaimer
Terms Of Use
Visit my other site:
Fun Cookie Recipes
HOME / CATEGORIES /
Latest
Classic Chocolate Truffles Delightful and Easy Recipe
No-Bake Caramel Pecan Turtle Bars Delightfully Easy
One-Pan Sun-Dried Tomato Chicken Orzo Delight
Creamy Tomato Basil Tortellini Simple and Delicious Meal
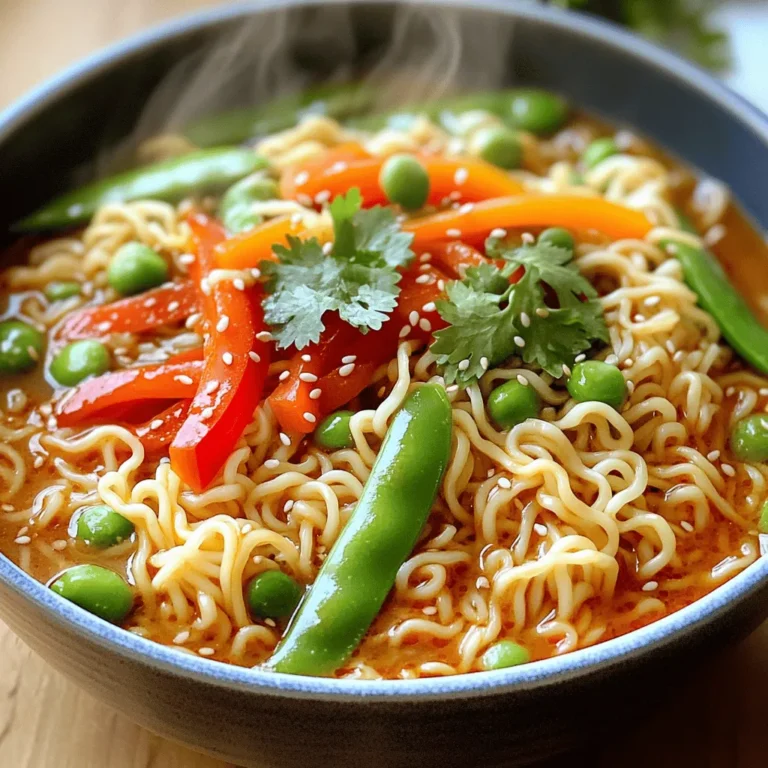
Spicy Szechuan Noodles Easy and Flavorful Recipe
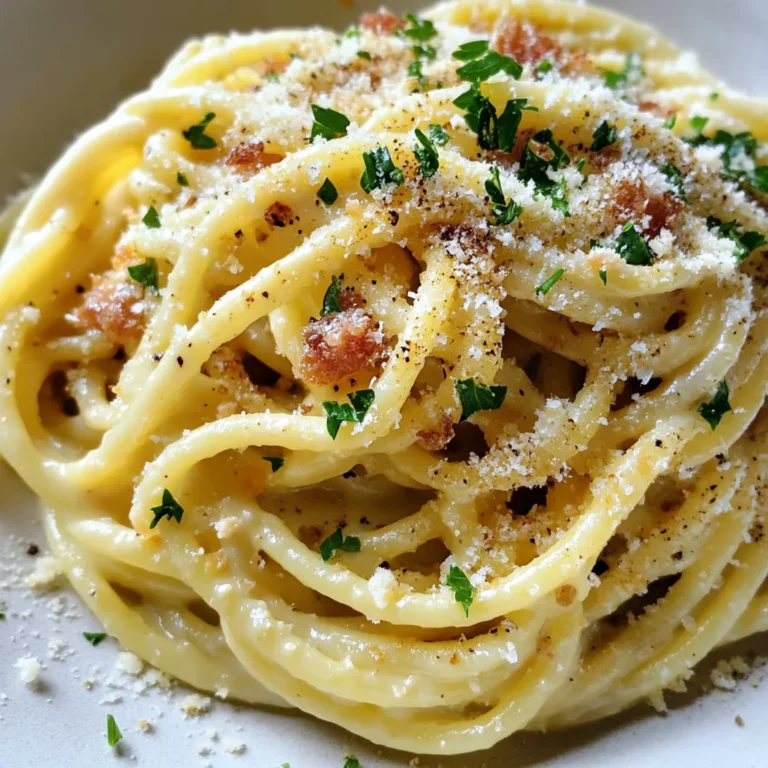
Classic Creamy Spaghetti Carbonara Easy Dinner Recipe
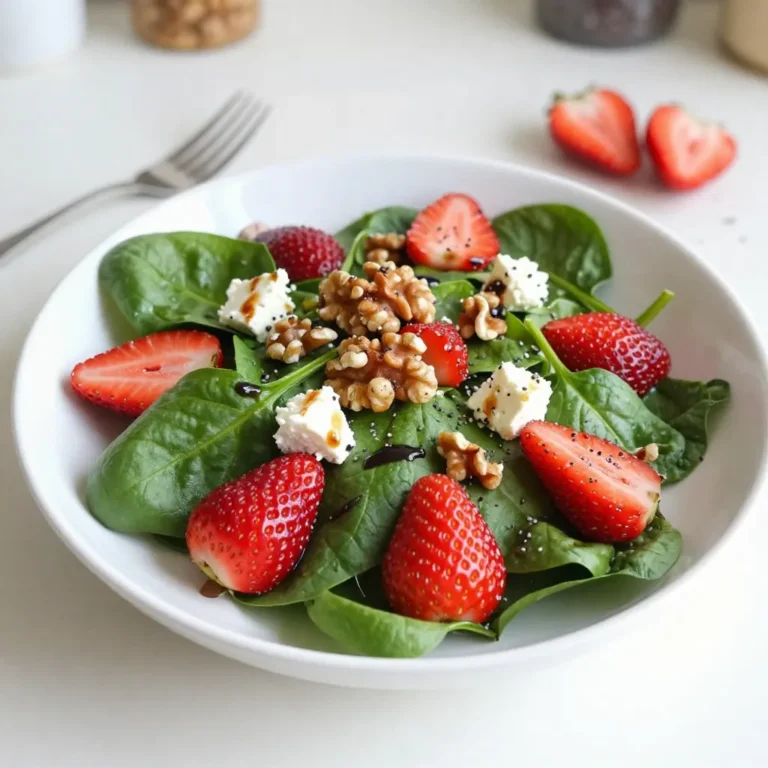
Strawberry Spinach Poppy Salad Fresh and Flavorful Dish
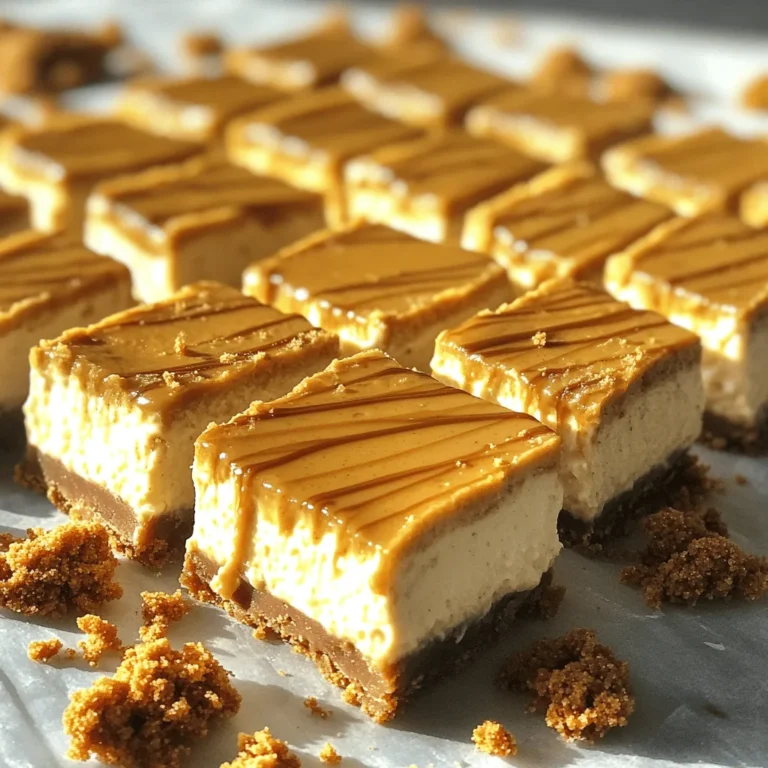
No-Bake Biscoff Cheesecake Bars Simple and Creamy Treat
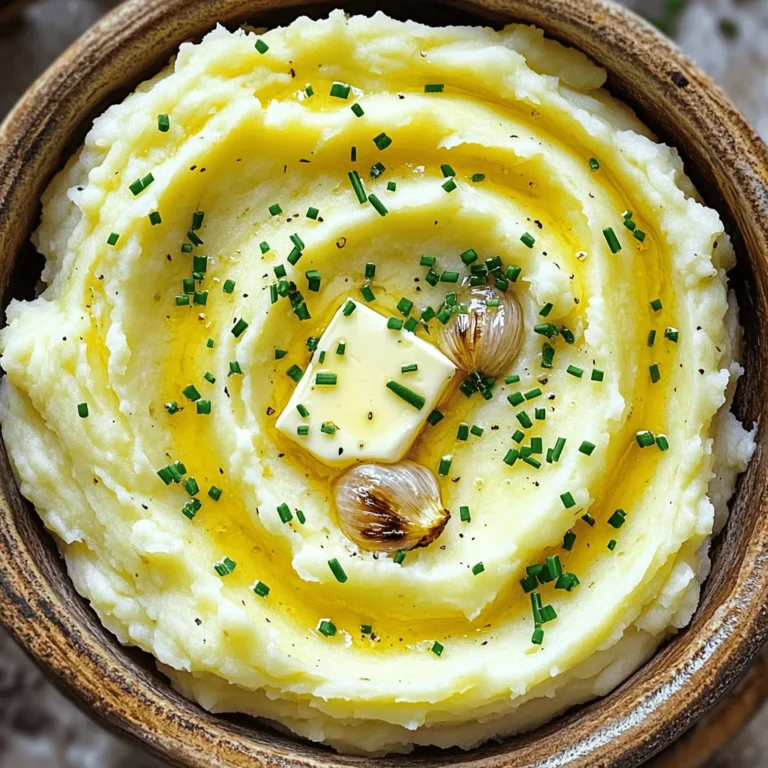
Roasted Garlic Mashed Potatoes Creamy and Flavorful
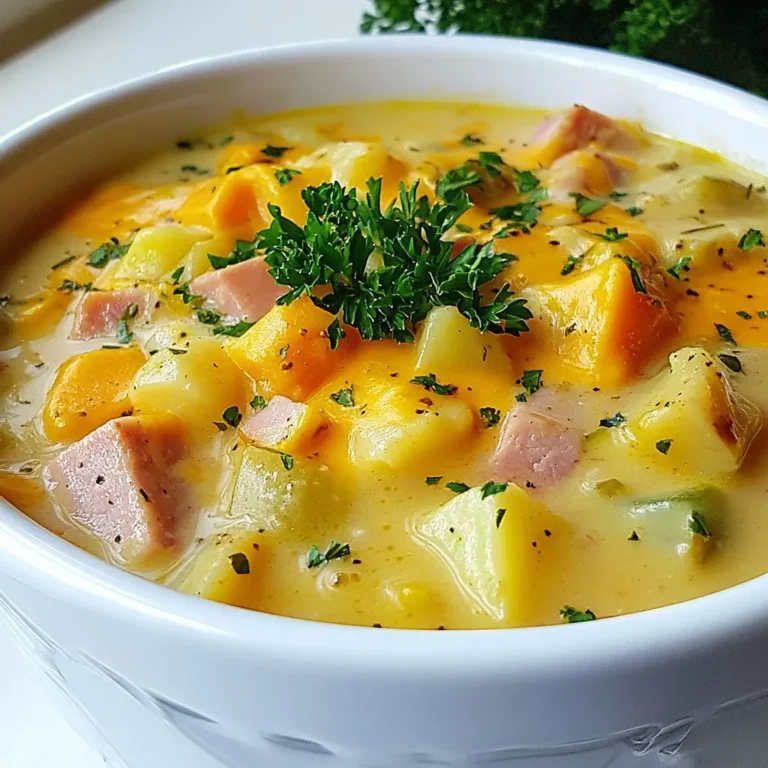
Ham & Potato Soup Simple Comforting Recipe
PREV
1
…
15
16
17
…
48
NEXT