FREE DINNER EBOOK!
Get your copy!
Cookie Policy
GDPR Policy
Disclaimer
Terms Of Use
Visit my other site:
Fun Cookie Recipes
Home
Dinner
Desserts
Drinks
Appetizers
Contact
About
Privacy Policy
Home
Dinner
Desserts
Drinks
Appetizers
Contact
About
Privacy Policy
Cookie Policy
GDPR Policy
Disclaimer
Terms Of Use
Visit my other site:
Fun Cookie Recipes
HOME / CATEGORIES /
Latest
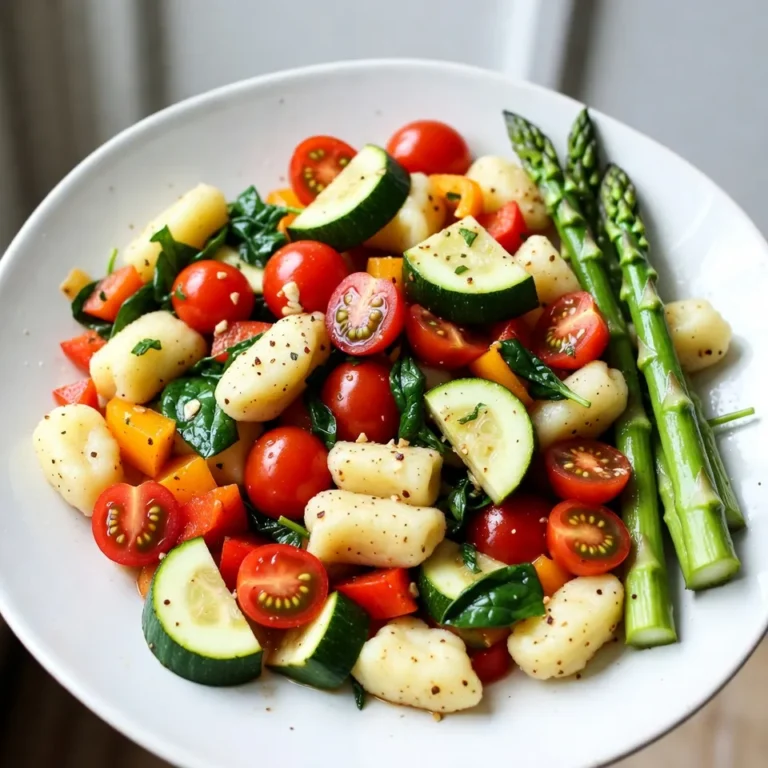
One-Pan Gnocchi Primavera Flavorful and Easy Meal
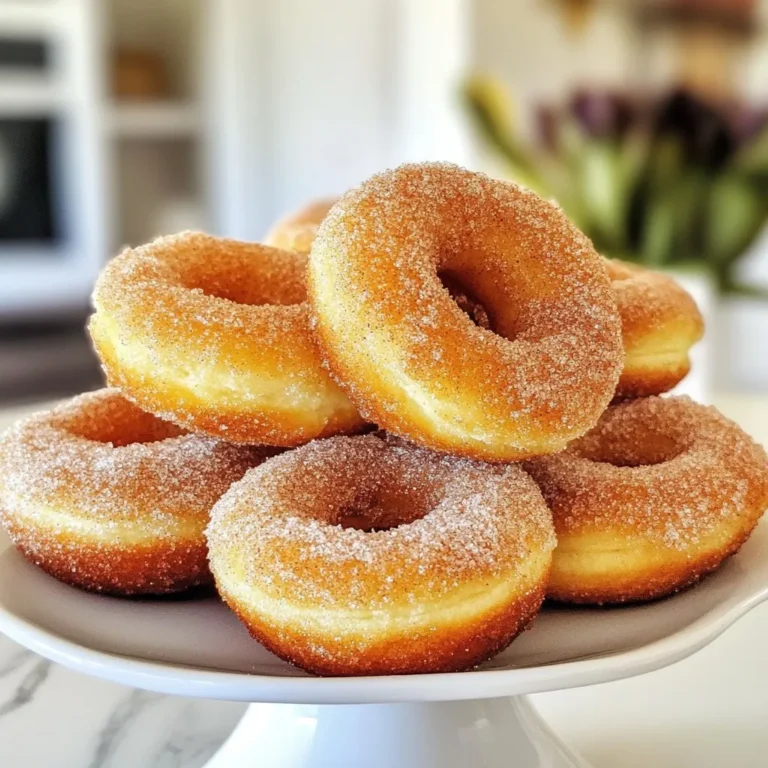
Baked Cinnamon Sugar Donuts Simple and Tasty Treat
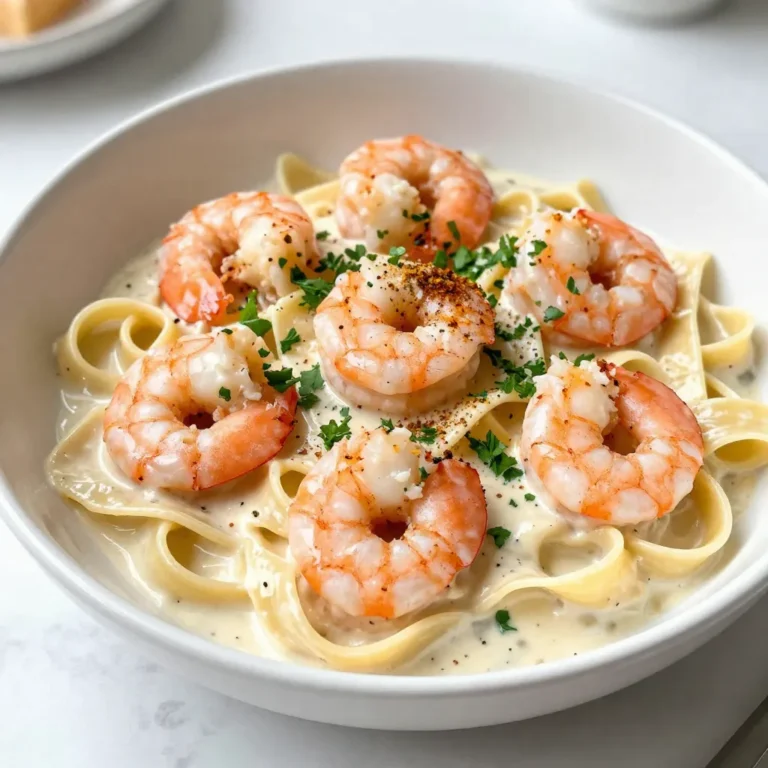
Cajun Shrimp Alfredo Simple and Creamy Recipe
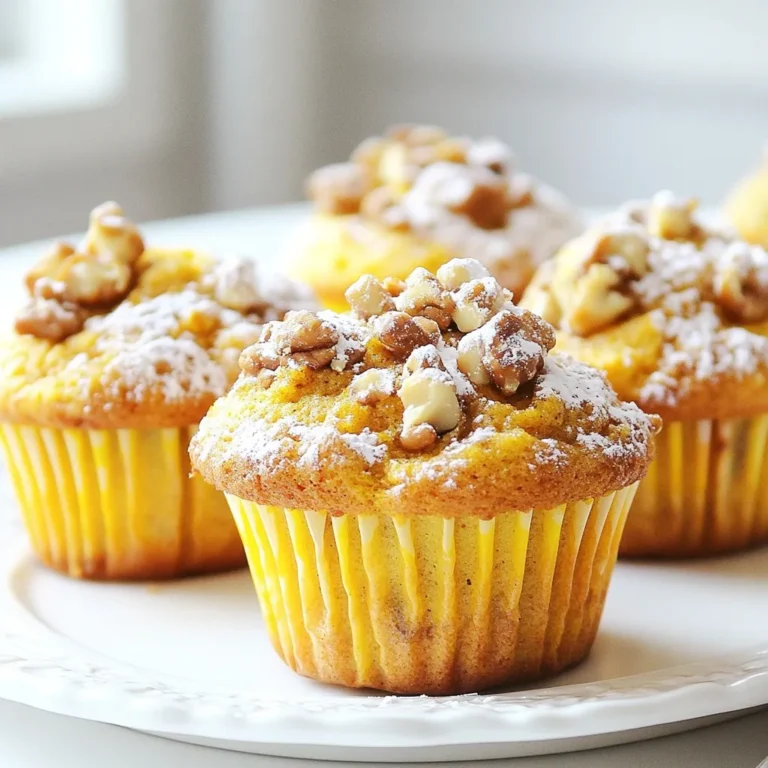
Bakery-Style Pumpkin Muffins Soft and Delectable Treat
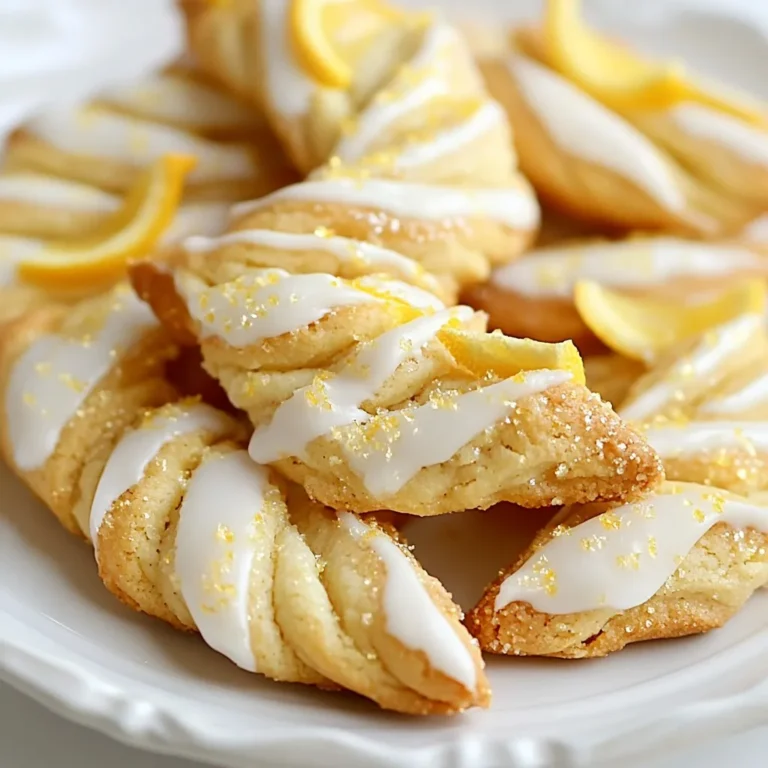
Almond Citrus Twisted Christmas Cookies Delight
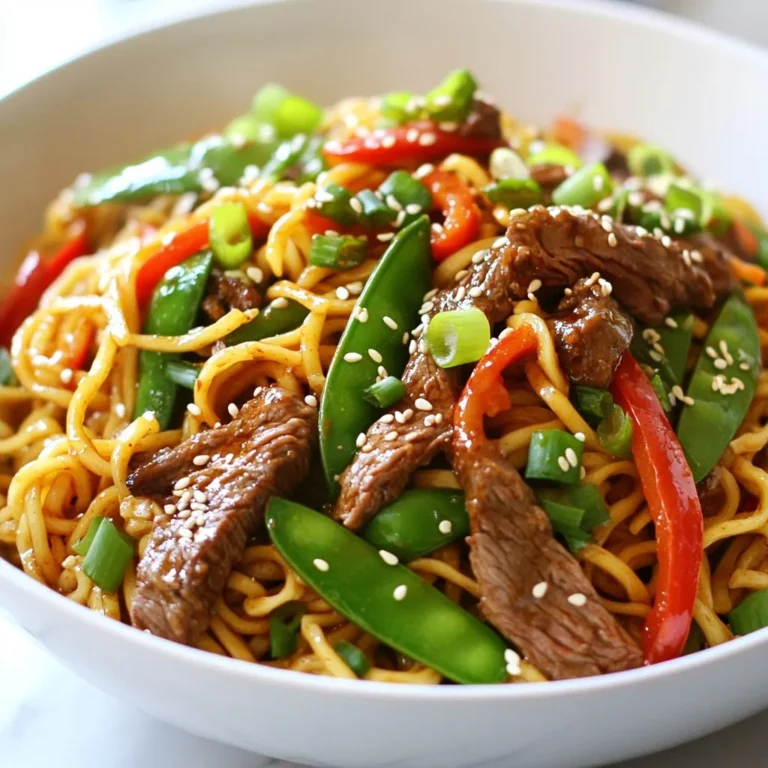
Minute Beef and Noodles Quick and Flavorful Dish
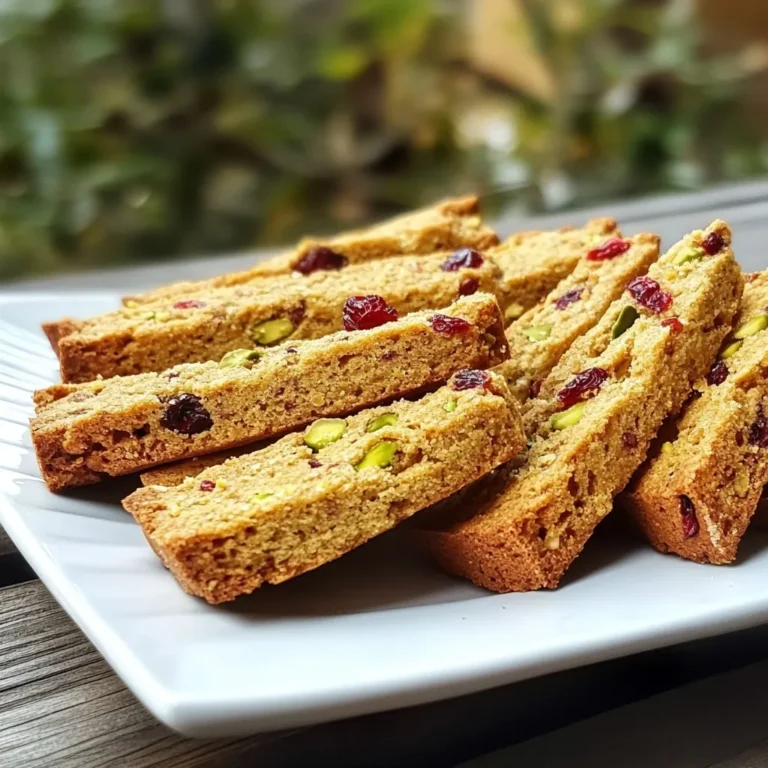
Cranberry Pistachio Biscotti Delicious and Crunchy Treat
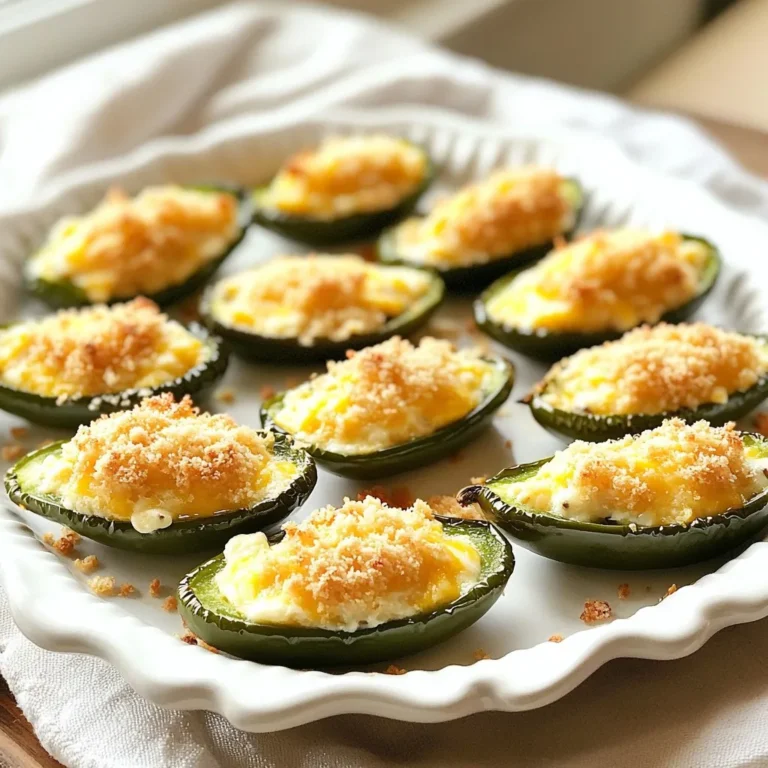
Keto Jalapeno Popper Bites Flavorful and Easy Snack
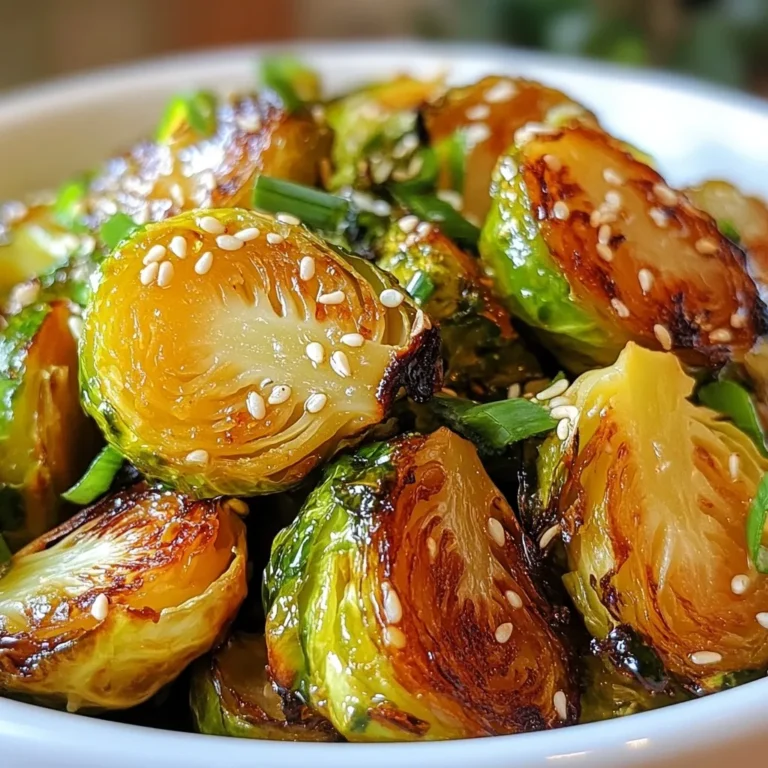
Honey Sriracha Brussels Sprouts Flavorful Side Dish
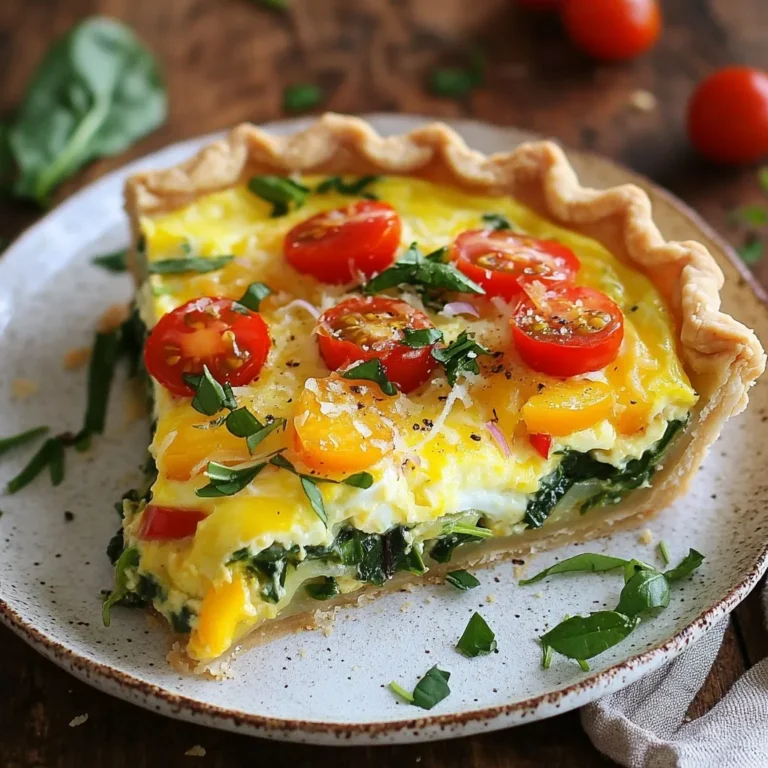
Easy Breakfast Quiche Simple and Tasty Recipe
PREV
1
2
3
…
47
NEXT