FREE DINNER EBOOK!
Get your copy!
Cookie Policy
GDPR Policy
Disclaimer
Terms Of Use
Visit my other site:
Fun Cookie Recipes
Home
Dinner
Desserts
Drinks
Appetizers
Contact
About
Privacy Policy
Home
Dinner
Desserts
Drinks
Appetizers
Contact
About
Privacy Policy
Cookie Policy
GDPR Policy
Disclaimer
Terms Of Use
Visit my other site:
Fun Cookie Recipes
HOME / CATEGORIES /
Latest
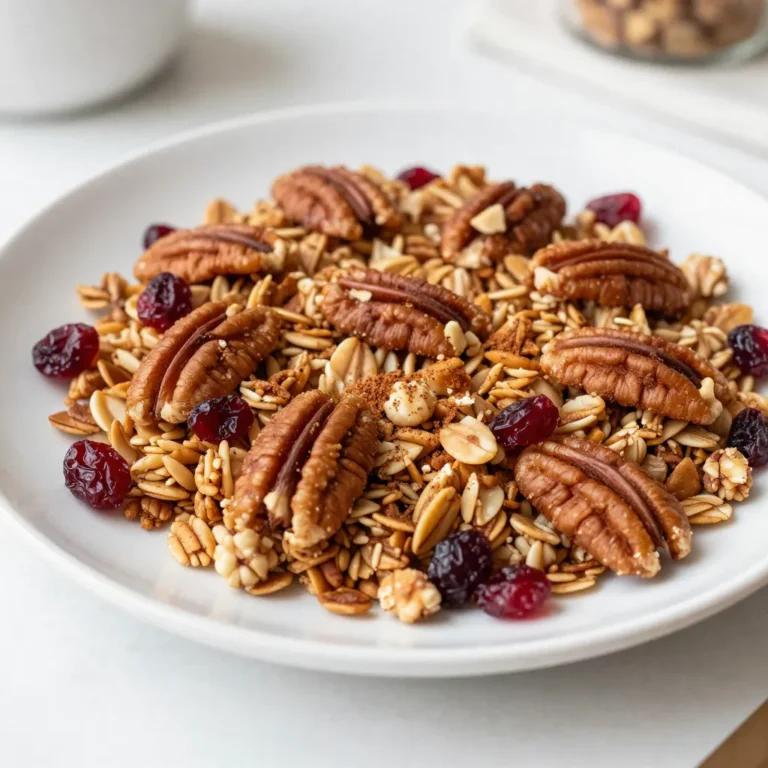
Maple Pecan Granola Tasty and Healthy Snack Idea
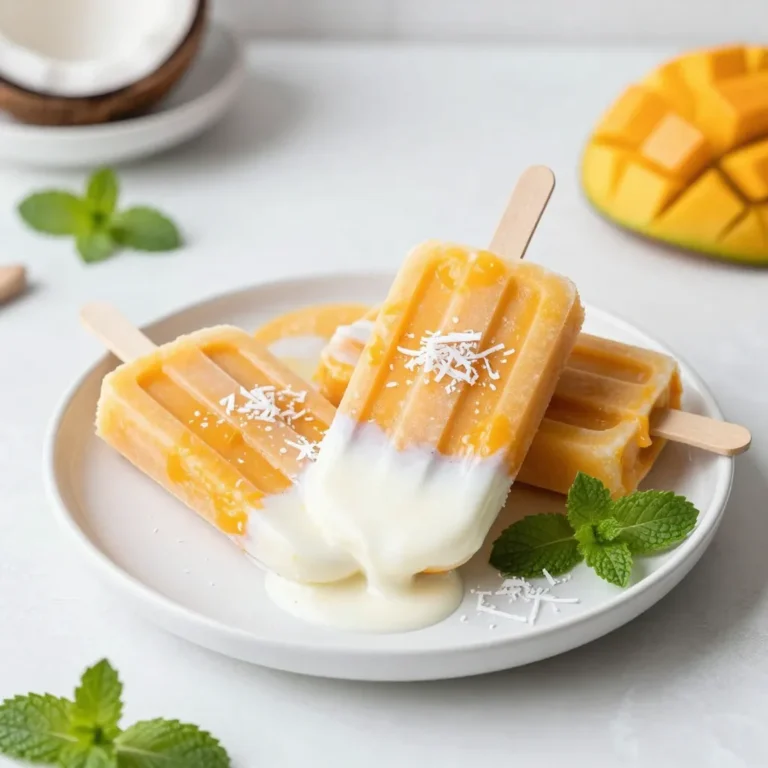
Creamy Coconut Mango Popsicles Simple and Refreshing
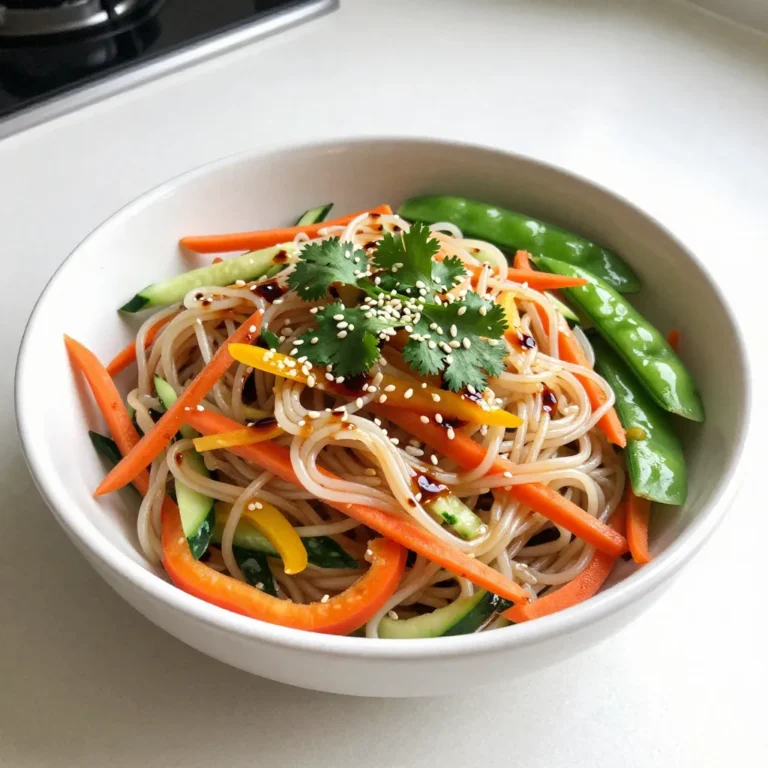
Sesame Ginger Noodle Salad Fresh and Flavorful Dish
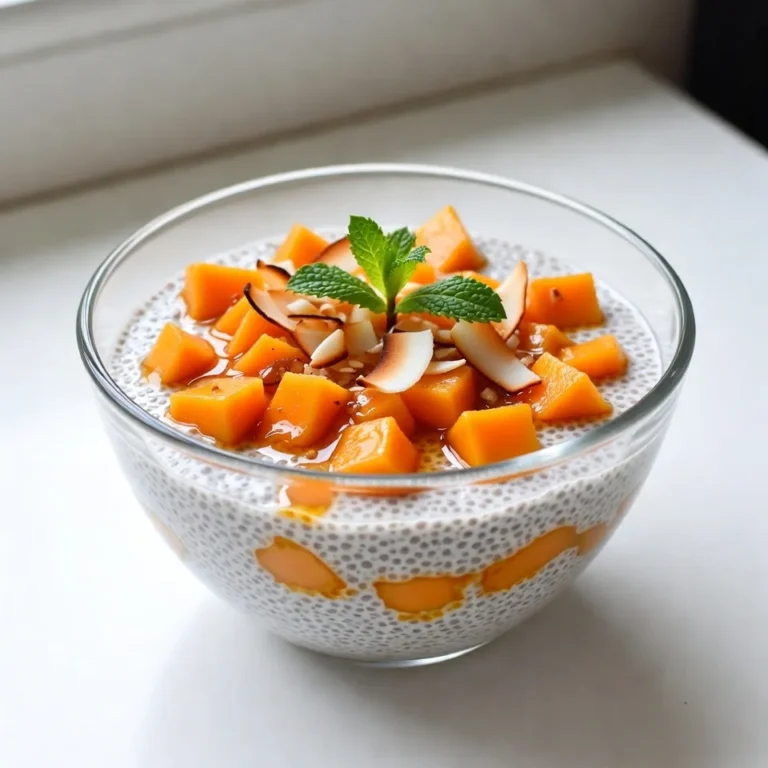
Mango Coconut Chia Pudding Easy and Delicious Treat
Strawberry Cheesecake Overnight Oats Easy Recipe
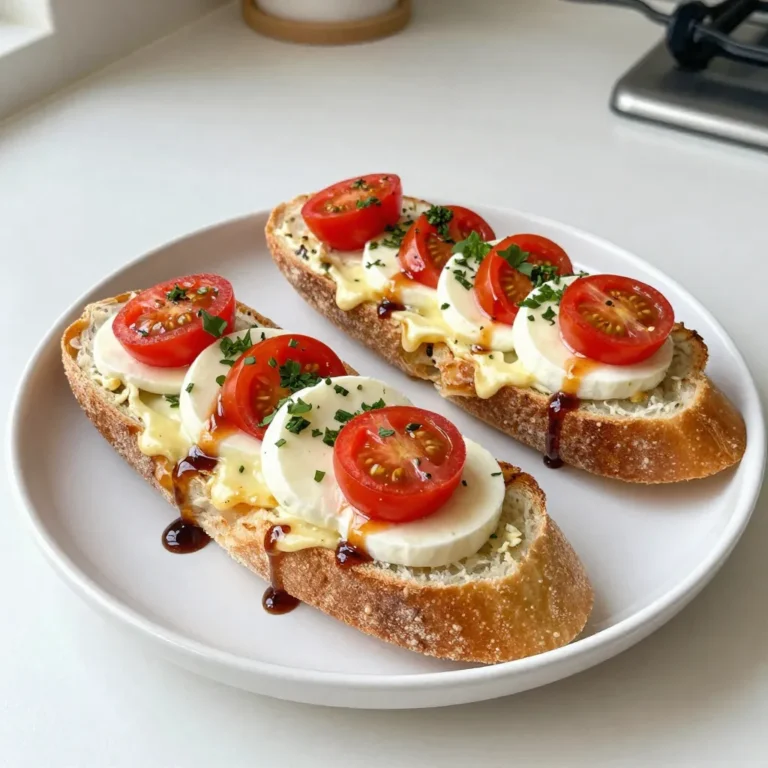
Caprese Garlic Bread Fresh and Flavorful Recipe
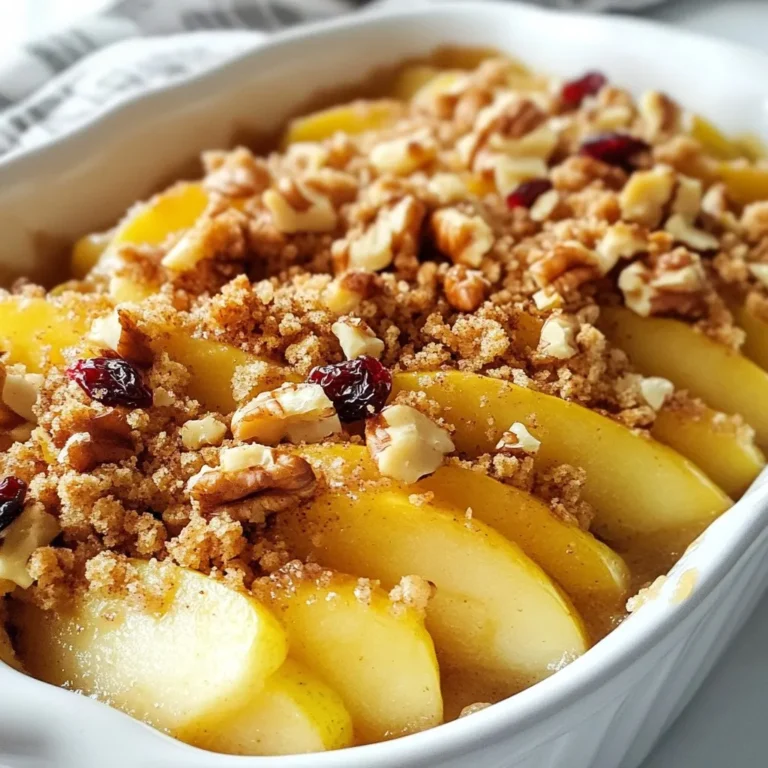
Healthy Breakfast Apple Crumble Delicious and Simple
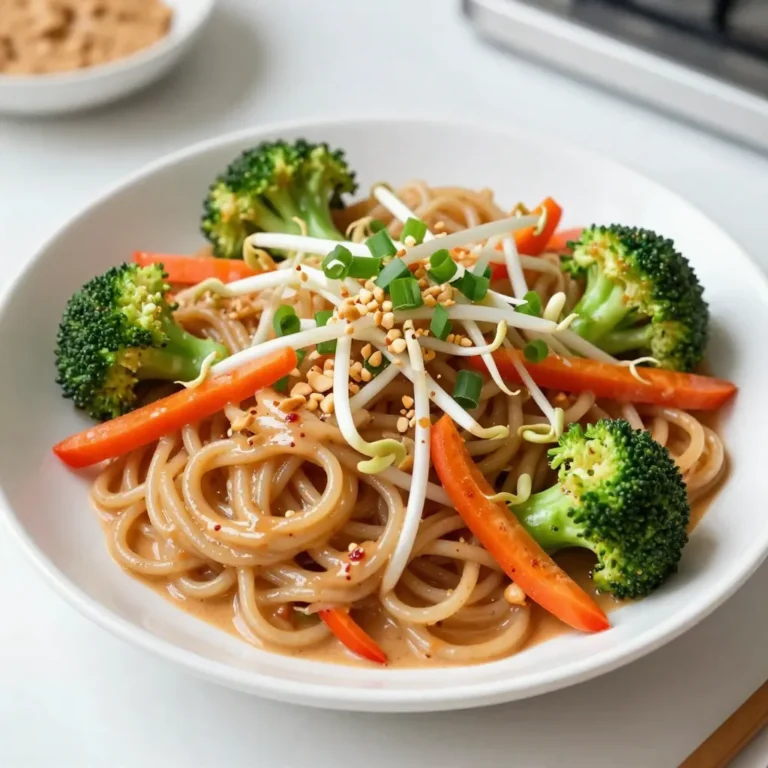
Spicy Thai Peanut Noodles Flavorful and Quick Recipe
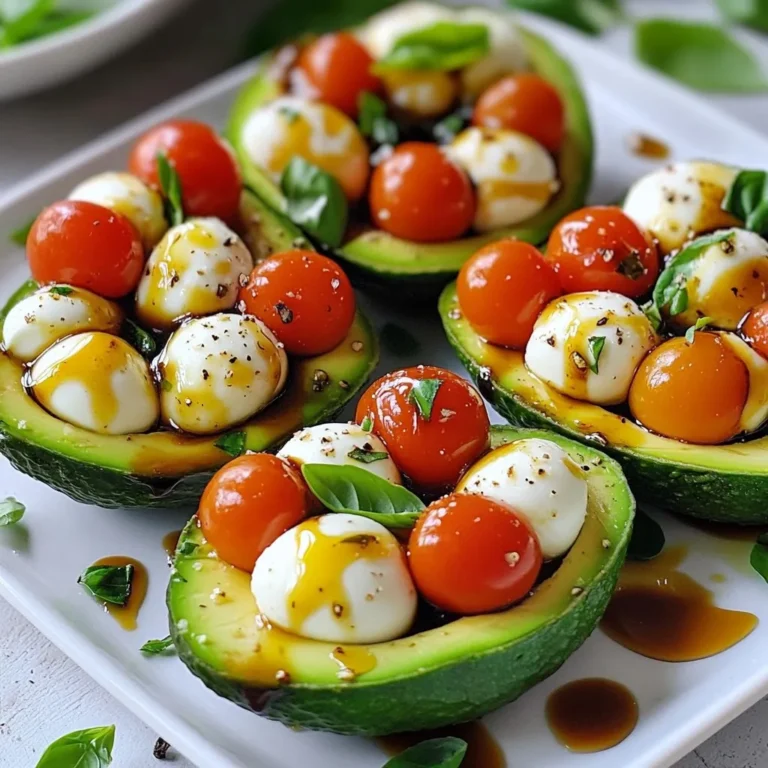
Caprese Stuffed Avocados Fresh and Flavorful Delight
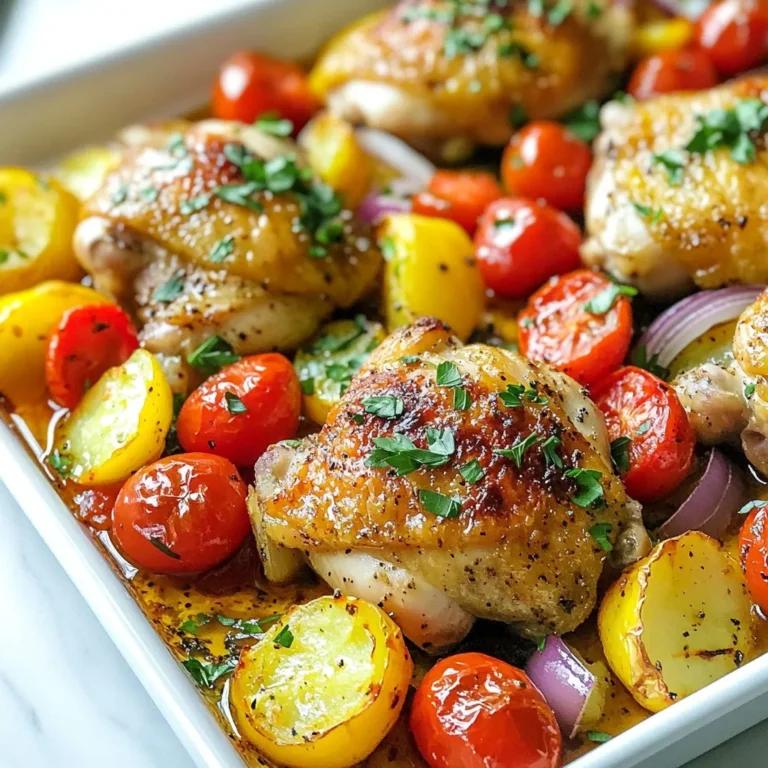
Greek Sheet Pan Chicken Flavorful and Easy Meal
PREV
1
…
3
4
5
…
47
NEXT