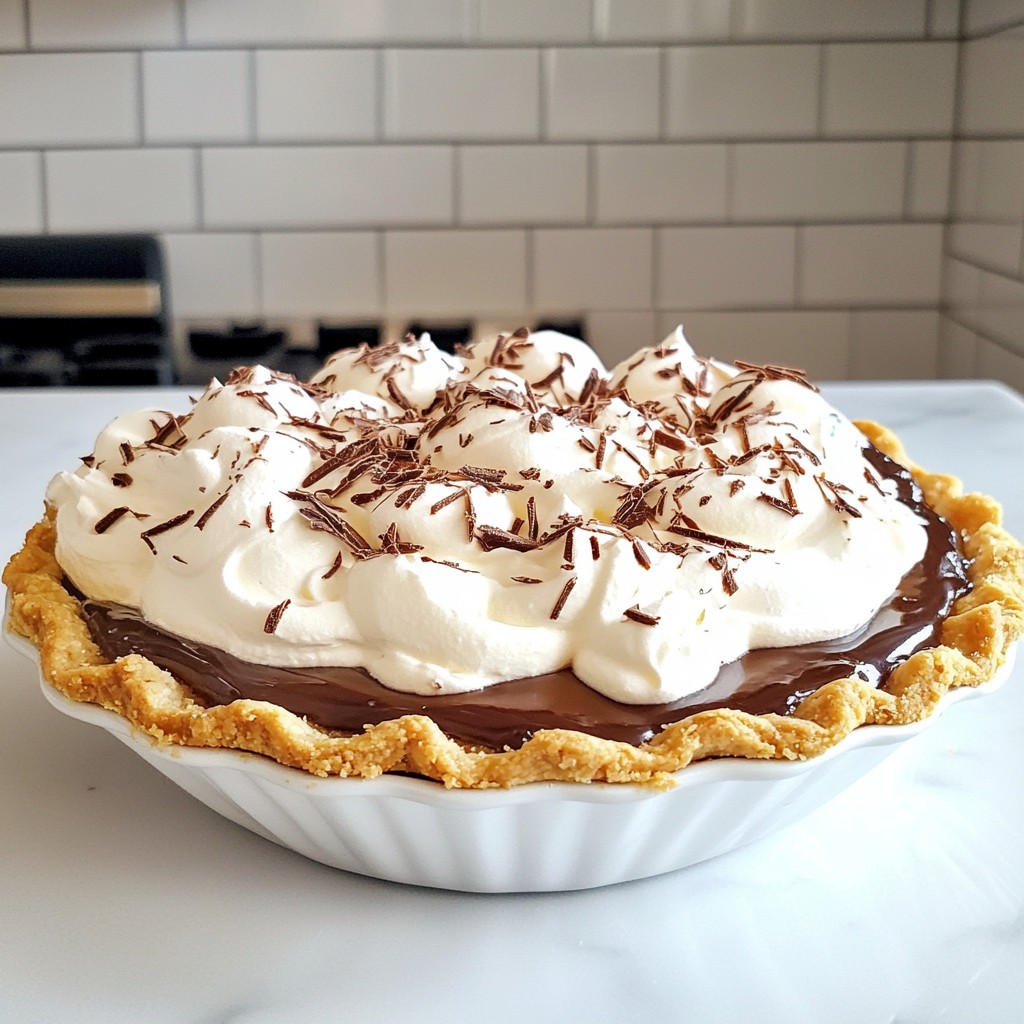
Who doesn't love a rich, creamy chocolate cream pie? This Classic Baking Chocolate Cream Pie is a true delight! In this post, I’ll share my favorite tips and tricks to help you make the perfect pie. From choosing quality ingredients to achieving that smooth filling, you'll learn how to create a dessert that impresses every time. Get ready to enjoy the sweet blend of chocolate and cream in every bite!
Why I Love This Recipe
- Decadent Flavor: This pie is rich and chocolatey, making it an irresistible treat for any chocolate lover.
- Textural Delight: The combination of silky chocolate filling and fluffy whipped cream creates a heavenly contrast.
- Impressive Presentation: Chocolate shavings on top make this pie visually stunning, perfect for special occasions.
- Easy to Prepare: With straightforward steps, this recipe is accessible for bakers of all skill levels.
Ingredients
List of Ingredients for Chocolate Cream Pie
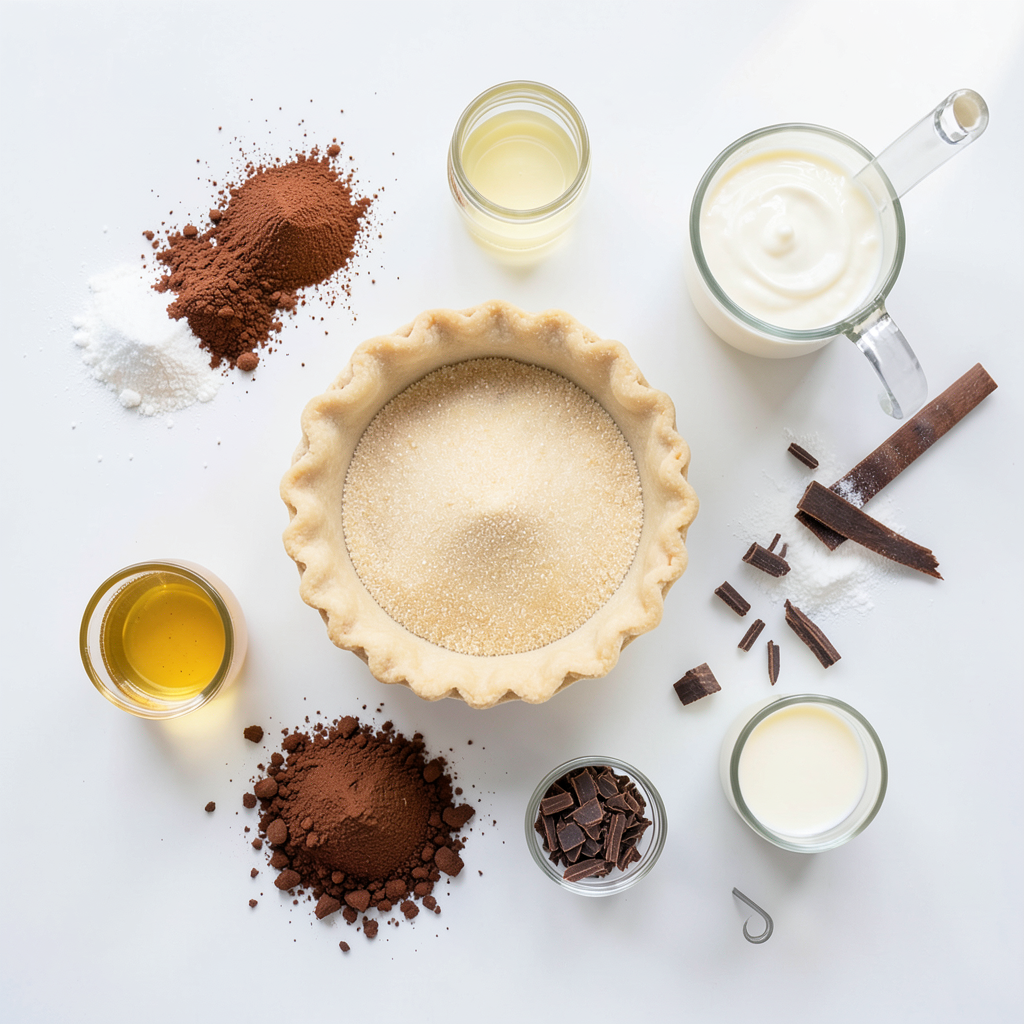
To make this chocolate cream pie, gather these fresh ingredients:
- 1 pre-baked 9-inch pie crust
- 1 cup granulated sugar
- 1/4 cup unsweetened cocoa powder
- 1/4 cup cornstarch
- 1/8 teaspoon salt
- 2 cups whole milk
- 4 large egg yolks, beaten until smooth
- 2 tablespoons unsalted butter
- 1 teaspoon pure vanilla extract
- 1 cup heavy whipping cream
- 2 tablespoons powdered sugar
- Chocolate shavings or curls for garnish
Ingredient Substitutions and Alternatives
If you need to make changes, you can use these alternatives:
- Swap the whole milk for almond milk for a lighter touch.
- Cornstarch can be replaced with arrowroot powder for a gluten-free option.
- Use coconut cream instead of heavy whipping cream for a dairy-free twist.
- Dark chocolate can replace cocoa powder for a richer flavor.
Tips on Choosing Quality Ingredients
Choosing the best ingredients makes your pie shine. Here’s how:
- Use fresh eggs; they provide richness and flavor.
- Select high-quality cocoa powder for a deep chocolate taste.
- Pick pure vanilla extract over imitation for a more natural flavor.
- Choose a pie crust that is flaky and crisp; it enhances the whole dish.
- When buying cream, look for heavy whipping cream with a high fat content for better texture.
Step-by-Step Instructions
Preparing the Chocolate Filling
To start, gather your ingredients. In a medium saucepan, mix the sugar, cocoa powder, cornstarch, and salt. Whisk these dry ingredients together until they are well blended. Next, slowly pour in the whole milk while whisking. This helps prevent lumps from forming.
Cooking the Mixture to the Right Consistency
Now, place the saucepan on medium heat. Stir the mixture continuously with a spatula or whisk. Keep it cooking until it thickens and bubbles gently. This usually takes about 8 to 10 minutes.
Tempering the Egg Yolks for Smoothness
Once your mixture thickens, take the saucepan off the heat. To prevent scrambling, slowly drizzle a bit of the hot mix into the beaten yolks while whisking. This step is called tempering. After that, whisk the yolk mix back into the saucepan.
Pouring and Setting the Chocolate Filling
Put the saucepan back on low heat. Cook for another 2 to 3 minutes while stirring. After that, remove it from heat. Stir in the unsalted butter and vanilla extract until the butter melts and blends smoothly. Pour this silky chocolate filling into your pre-baked pie crust. Smooth the top with a spatula. Cover with plastic wrap directly on the filling to stop a skin from forming. Chill it for at least 4 hours or until set.
Whipping the Cream Topping
In a mixing bowl, add the heavy whipping cream and powdered sugar. Use an electric mixer to whip the cream on medium-high speed. Keep whipping until soft peaks form. The cream should be thick but light.
Final Garnishing Techniques
After the chocolate filling sets, take the pie out. Carefully spread the whipped cream over the chocolate layer. You can create peaks or swirls for extra texture. Finally, sprinkle chocolate shavings or curls on top for a beautiful finish. Enjoy your pie!
Tips & Tricks
How to Avoid Lumps in Chocolate Filling
To avoid lumps in your chocolate filling, whisk the dry ingredients well. Mix the sugar, cocoa powder, cornstarch, and salt in a saucepan. Pour in the milk slowly while whisking. This steady whisking keeps the mixture smooth. When you cook it, stir constantly until it thickens. If lumps form, use a strainer after cooking to catch them. This step ensures a silky texture.
Ensuring Perfectly Whipped Cream
For perfect whipped cream, start with cold mixing bowls and beaters. Add cold heavy cream and powdered sugar to the bowl. Beat on medium-high speed until soft peaks form. Be careful not to over-whip, or it will turn grainy. The cream should be thick yet light and fluffy. This fluffy topping makes your pie delightful and adds an airy contrast.
Best Practices for Serving and Presentation
When serving your pie, slice it into neat wedges. Use a sharp knife for clean cuts. Chill your plates beforehand for a nice touch. This keeps the pie cool and fresh. For a final flourish, add a dollop of whipped cream beside each slice. Garnish with chocolate shavings or curls on top for a classy look. This simple step makes your pie shine and look inviting.
Pro Tips
- Chill Your Tools: For the best whipped cream, ensure your mixing bowl and beaters are cold. This helps the cream whip up faster and achieve a better texture.
- Use High-Quality Chocolate: For an indulgent flavor, use high-quality dark chocolate when making the filling. It will enhance the richness of your pie.
- Tempering Eggs: When tempering the egg yolks, be sure to whisk continuously to prevent them from cooking too quickly and forming lumps.
- Let it Set: Be patient and allow the pie to chill for at least 4 hours. This ensures that the filling sets properly and makes slicing much easier.
Variations
Creating Flavored Variations (Mint, Coffee, etc.)
You can easily switch up the flavor of your pie. To add mint, use mint extract. Just replace the vanilla with one teaspoon of mint extract. For a coffee twist, add two tablespoons of instant coffee to the dry mix. This will give your pie a rich, bold taste. Feel free to get creative with flavors you love. Each option makes your chocolate cream pie unique.
Crust Alternatives (Graham Cracker, Oreo, etc.)
The crust can change your pie’s vibe. A graham cracker crust is sweet and crumbly. It adds a nice crunch. To make it, crush about 1 ½ cups of graham crackers and mix with ½ cup melted butter. Press it into your pie dish and bake for 10 minutes. If you prefer chocolate, an Oreo crust is perfect. Just crush 24 Oreos and mix with 5 tablespoons of melted butter. Press it down and bake for a rich chocolate base.
Vegan or Dairy-Free Options
You can make this pie dairy-free too. Use coconut milk instead of whole milk. For the whipped topping, use coconut cream. Chill a can of coconut milk overnight, then scoop out the solid part. Whip it with powdered sugar for a creamy topping. For the filling, replace the unsalted butter with coconut oil. These swaps keep the pie rich and delicious while being vegan-friendly. Enjoy your creamy treat without the dairy!
Storage Info
Best Ways to Store Chocolate Cream Pie
To keep your chocolate cream pie fresh, store it in the fridge. Cover it with plastic wrap. This helps prevent the filling from drying out. You can also use a pie dome, if you have one. It allows for good air circulation while keeping it safe.
How Long Does it Last in the Fridge?
Your chocolate cream pie lasts about 3 to 4 days in the fridge. Ensure it stays covered. After a few days, the crust may get a little soft. However, the filling remains tasty and rich.
Freezing Chocolate Cream Pie: Tips and Tricks
You can freeze chocolate cream pie for later enjoyment. First, let it cool completely. Wrap it tightly in plastic wrap and then aluminum foil. This extra layer helps avoid freezer burn. When ready to eat, thaw it overnight in the fridge. Do not freeze the whipped cream on top. Add that fresh when you serve it!
FAQs
Can I use a store-bought pie crust?
Yes, you can use a store-bought pie crust. It's a great time-saver. Just make sure it is pre-baked before adding the filling. This helps prevent sogginess.
How do I fix a runny filling?
If your filling is runny, you can cook it longer. Heat it gently while stirring until it thickens. If it’s too late, add a bit of cornstarch mixed with water. Cook again until it thickens.
What is the best way to slice chocolate cream pie?
To slice the pie, use a sharp knife. Dip it in hot water first. Wipe it dry before each cut. This helps get clean slices and keeps the filling intact.
Can I make this pie in advance?
Yes, you can make this pie in advance. Prepare it one day ahead and refrigerate. It will taste even better as the flavors meld overnight.
How do I keep the whipped cream from weeping?
To prevent weeping, use heavy whipping cream and beat it until it forms stiff peaks. Adding powdered sugar helps stabilize it. Serve the pie soon after topping it with whipped cream.
In this article, we explored the key ingredients for chocolate cream pie and discussed substitutions. You learned step-by-step instructions for making chocolate filling, from preparation to perfecting whip cream. I shared tips for avoiding lumps and ensuring the best presentation. We also looked into fun variations and smart storage options.
Creating this pie is both easy and rewarding. With these insights, you can impress anyone with your baking skills. Now, go ahead and make your perfect chocolate cream pie!