Are you ready to impress your friends and family with a delightful dessert? This Classic Dessert Spiced Pear Tart with Almond Crust is a treat that’s both simple and stunning. With sweet, spiced pears nestled in a crunchy almond crust, this tart will charm everyone at your table. Join me as we explore the easy steps to create this mouthwatering dish, packed with tips and variations to make it your own!
Why I Love This Recipe
- Deliciously Spiced: The warm spices of cinnamon and nutmeg elevate the natural sweetness of the pears, creating a cozy flavor profile that's perfect for any occasion.
- Almond Crust Perfection: The combination of almond flour and all-purpose flour gives the tart a unique nutty flavor and a delightful texture that's both flaky and tender.
- Easy to Assemble: This tart may look impressive, but the steps are straightforward, making it accessible for home bakers of all skill levels.
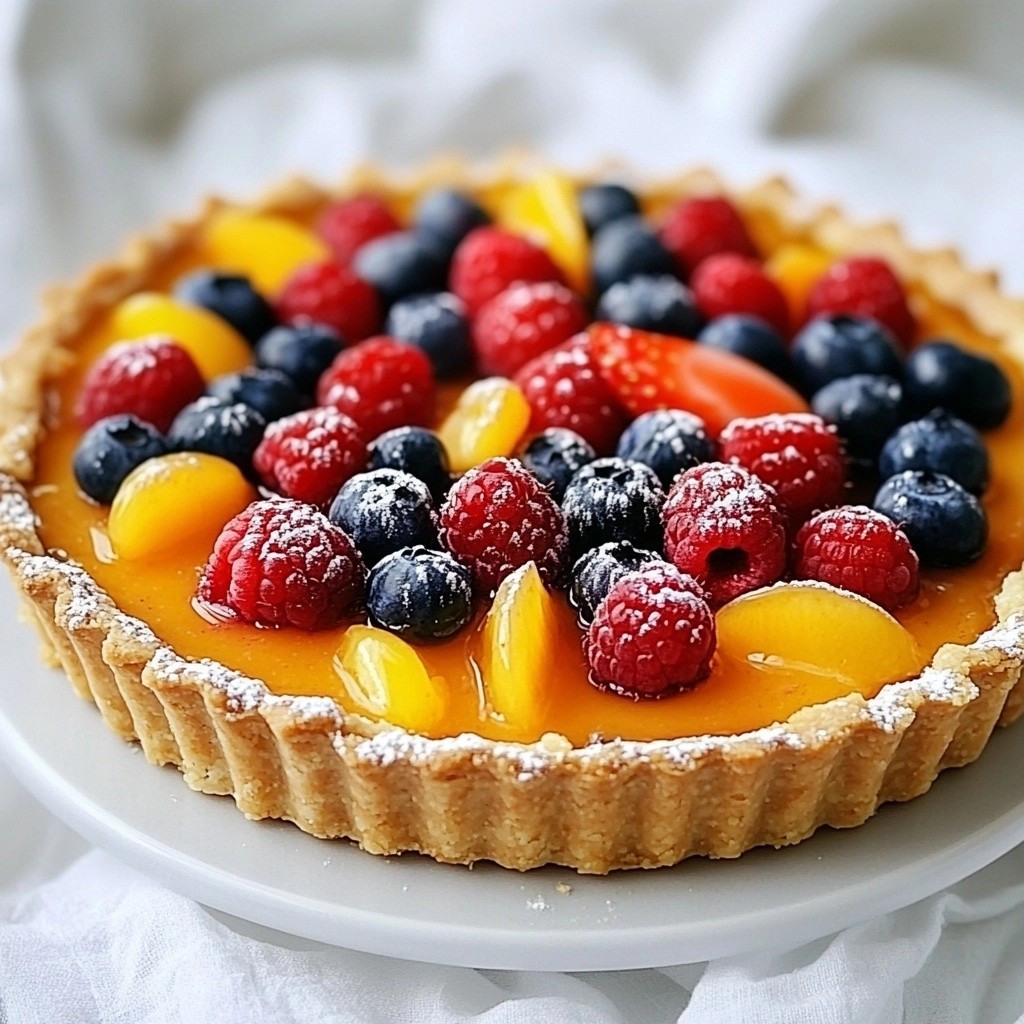
- Beautiful Presentation: The elegant arrangement of pear slices on the tart makes it a stunning centerpiece for dessert, sure to impress your guests.
Ingredients
Detailed List of Ingredients
To make the Classic Dessert Spiced Pear Tart with Almond Crust, you will need the following ingredients:
- 1 cup almond flour
- 1/2 cup all-purpose flour
- 1/4 cup powdered sugar
- 1/2 teaspoon salt
- 1/2 cup unsalted butter, chilled and cut into small cubes
- 1 large egg yolk
- 1 tablespoon ice water
- 4 ripe pears, peeled, cored, and evenly sliced
- 1 teaspoon ground cinnamon
- 1/4 teaspoon ground nutmeg
- 1/4 cup packed brown sugar
- 1 tablespoon freshly squeezed lemon juice
- 1 teaspoon pure vanilla extract
- 1 tablespoon cornstarch
Ingredient Substitutions
You can swap some ingredients if needed. Here are a few ideas:
- Almond flour: Use hazelnut flour for a nutty flavor.
- All-purpose flour: Use whole wheat flour for a heartier crust.
- Unsalted butter: Coconut oil works well for a dairy-free option.
- Brown sugar: Use maple syrup for a different sweetness.
Tips for Choosing the Best Pears
Choosing the right pears is key for this tart. Look for these:
- Ripe pears: They should yield slightly when pressed.
- Firmness: Choose pears that are not too soft to hold shape during baking.
- Variety: Bartlett and Anjou pears are great choices for baking.
This tart shines with the right ingredients, so choose wisely! Enjoy the rich flavors and textures in every bite.

Step-by-Step Instructions
Preparing the Almond Crust
To start, gather your ingredients for the almond crust. You will need:
- 1 cup almond flour
- 1/2 cup all-purpose flour
- 1/4 cup powdered sugar
- 1/2 teaspoon salt
- 1/2 cup unsalted butter, chilled and cut into small cubes
- 1 large egg yolk
- 1 tablespoon ice water
In a large bowl, mix the almond flour, all-purpose flour, powdered sugar, and salt. Then, add the cold, cubed butter. Use your fingertips or a pastry cutter to blend it until it looks like coarse crumbs. You want some small pieces of butter to stay intact for a flaky crust.
Next, add the egg yolk and ice water. Stir gently until a dough starts to form. Place the dough on a clean surface and shape it into a disk. Wrap it in plastic wrap and chill it in the fridge for at least 30 minutes. This helps the dough firm up and makes it easier to roll out.
Making the Spiced Pear Filling
Now, let’s prepare the spiced pear filling. You will need:
- 4 ripe pears, peeled, cored, and evenly sliced
- 1 teaspoon ground cinnamon
- 1/4 teaspoon ground nutmeg
- 1/4 cup packed brown sugar
- 1 tablespoon freshly squeezed lemon juice
- 1 teaspoon pure vanilla extract
- 1 tablespoon cornstarch
In a medium bowl, toss the sliced pears with the cinnamon, nutmeg, brown sugar, lemon juice, vanilla extract, and cornstarch. Make sure the pears are evenly coated. Let the mixture sit for a few minutes. This allows the flavors to blend nicely and the pears to soak in the sweet spices.
Assembling and Baking the Tart
With the crust chilled and the filling ready, it’s time to assemble the tart. First, preheat your oven to 350°F (175°C).
Roll out your chilled dough on a floured surface. Aim for a circle about 1/8 inch thick. Make sure it’s large enough for a 9-inch tart pan. Carefully press the dough into the pan, trimming any excess edges. Use a fork to prick the base. This helps avoid bubbles during baking.
Next, blind bake the crust. Line it with parchment paper and fill it with pie weights or dried beans. Bake for 15 minutes. Remove the weights and parchment, then bake for another 10 minutes until it turns golden brown.
Now, layer the spiced pear mixture evenly over the pre-baked crust. This ensures each slice has balanced flavor. Bake the tart in the oven for 25-30 minutes. The pears should be tender and the edges should caramelize.
Once done, let the tart cool on a wire rack for at least 15 minutes. This resting time helps the filling set, making it easier to slice and serve.
Tips & Tricks
Achieving the Perfect Crust
To get a great crust, use cold butter. This keeps the dough tender. Mix the flours, sugar, and salt well. When adding butter, work quickly. Stop when the mix looks like small crumbs. This means you will have a flaky crust. Chill the dough for at least 30 minutes. This helps it hold its shape while baking.
Flavor Enhancements for the Filling
Use ripe pears for the best flavor. Toss them with cinnamon and nutmeg. This gives the filling a warm spice taste. Brown sugar adds a nice caramel note. A squeeze of lemon juice brightens the flavor. Cornstarch helps thicken the filling. This keeps it from being too runny. Let the mixture sit for a few minutes. This allows the flavors to blend well.
Cooling and Serving Suggestions
Let the tart cool on a wire rack for 15 minutes. This helps the filling set. When ready to serve, dust the top with powdered sugar. This makes it look pretty. Pair each slice with vanilla ice cream. The creaminess contrasts well with the tart. Your guests will love this sweet treat!
Pro Tips
- Use Fresh Pears: Ensure your pears are ripe but firm for the best texture and flavor in your tart.
- Chill Your Dough: Always chill your dough before rolling it out to maintain its structure and prevent shrinking during baking.
- Caramelize the Edges: For a beautiful finish, bake until the edges of the pears caramelize, enhancing their sweetness and adding a lovely color.
- Serve Warm: This tart is best served warm with a scoop of vanilla ice cream or a dollop of whipped cream for a delightful contrast.
Variations
Alternative Fruits to Use
While pears shine in this tart, other fruits can work well too. Apples bring a crisp bite. Try ripe peaches for a juicy twist. Seasonal fruits like plums or cherries can add vibrant color. Just remember to adjust the sugar to match the fruit's sweetness. Each choice offers a unique flavor that can change your dessert game.
Gluten-Free Option for the Crust
If you want a gluten-free crust, simply swap the all-purpose flour for a gluten-free blend. Look for a mix that includes xanthan gum for best results. You can also use almond flour only. This will give you a nutty flavor and a crumbly texture. Just keep an eye on the baking time, as gluten-free crusts can bake faster.
Different Spices and Flavors to Experiment With
Spices can transform your tart completely. You can add cardamom for a warm, floral note. Ginger gives a spicy kick that pairs well with the fruit. For a richer taste, try adding some cocoa powder to the crust. Using flavored extracts, like almond or orange, can also enhance the tart. Feel free to mix and match to find your perfect blend!
Storage Information
How to Store the Tart
To keep your spiced pear tart fresh, store it in the fridge. Place it in an airtight container. This will prevent it from drying out. It can stay good for about 3 to 5 days. If you leave it out at room temperature, it will last for only 1 to 2 days.
Reheating Instructions
When you want to enjoy your tart again, reheating it is easy. Preheat your oven to 350°F (175°C). Put the tart on a baking sheet. Cover it with foil to avoid burning the crust. Heat for about 10-15 minutes until warm. This will keep the crust crisp and the filling fresh.
Freezing Tips for Leftovers
If you want to save some tart for later, freezing is a great option. First, let the tart cool completely. Then, wrap it tightly in plastic wrap. After that, place it in a freezer bag. Your tart can stay frozen for up to 3 months. When you’re ready to eat it, thaw it in the fridge overnight before reheating.
FAQs
Can I make the tart ahead of time?
Yes, you can. Making the tart a day before is smart. Prepare the crust and filling, then bake. Let it cool, and store it in the fridge. This gives the flavors time to blend.
What type of pears are best for baking?
Bosc and Anjou pears work well. They hold their shape when cooked. These pears add a nice sweetness, which balances the spices. Avoid soft pears, as they can become mushy.
How long does the tart keep in the fridge?
The tart lasts about three days in the fridge. Store it in an airtight container. This keeps it fresh and tasty. If you want to enjoy it longer, consider freezing it.
We covered the essentials for making a tasty pear tart. You learned about key ingredients, replacements, and choosing fresh pears. I outlined step-by-step instructions for the crust and filling. We discussed tips for the best crust and serving ideas. I also shared ways to vary your tart and how to store leftovers effectively.
Embrace your creativity as you bake this delightful treat. Enjoy sharing it with family and friends!