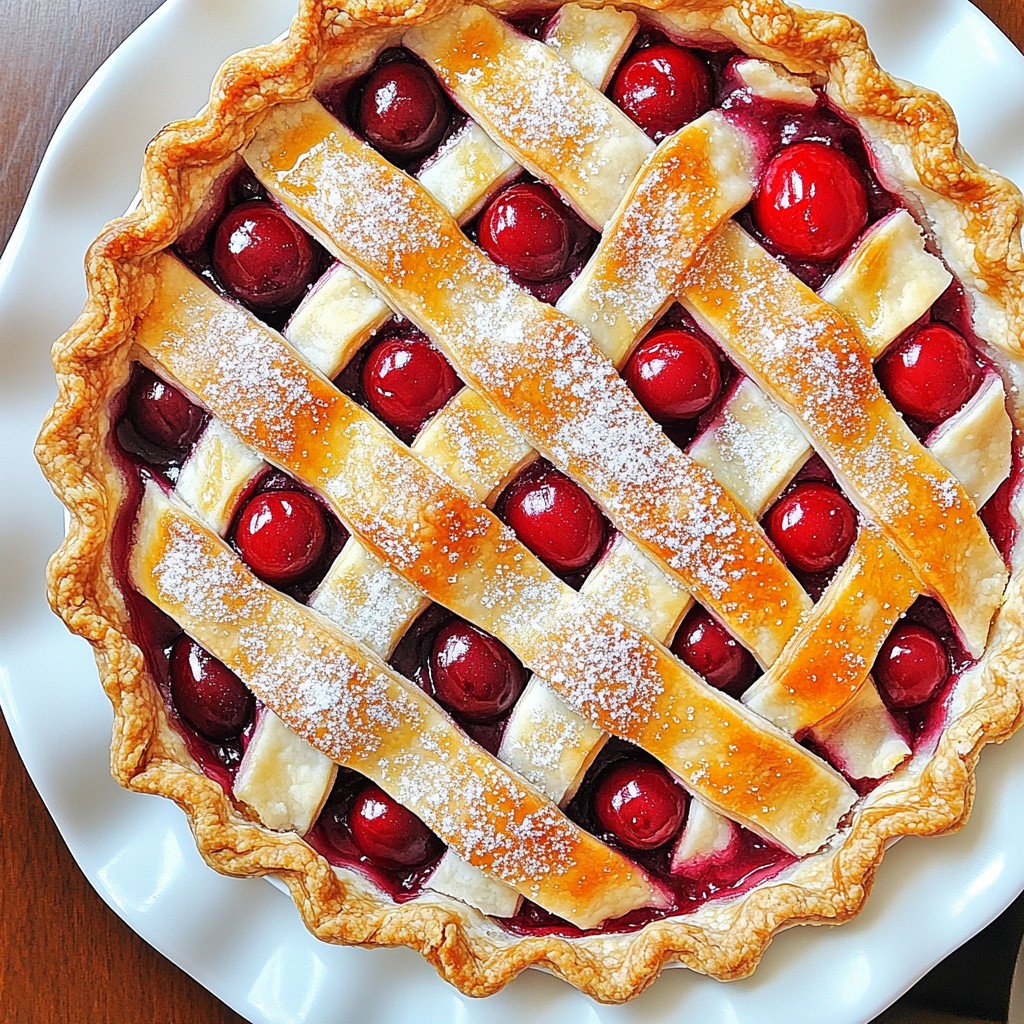
Do you crave a dessert that bursts with flavor and looks stunning? My Classic Sweet Cherry Lattice Top Pie is the answer! This pie is both easy to make and a joy to share. With fresh cherries, a flaky crust, and a beautiful lattice top, it’s sure to delight family and friends. Get ready to impress everyone with this recipe that combines classic taste and charm! Let's dive in.
Why I Love This Recipe
- Fresh and Flavorful: This cherry pie is made with fresh sweet cherries, resulting in a vibrant and delicious filling that bursts with flavor in every bite.
- Classic Lattice Design: The beautiful lattice crust not only looks stunning but also allows the filling to bubble and shine, making it an eye-catching dessert.
- Perfect Balance of Sweetness: The combination of sugar, almond extract, and fresh lemon juice creates a delightful balance of sweetness and tartness that is simply irresistible.
- Easy to Make: With refrigerated pie crusts and simple ingredients, this pie is accessible for bakers of all skill levels, making it a great choice for any occasion.
Ingredients
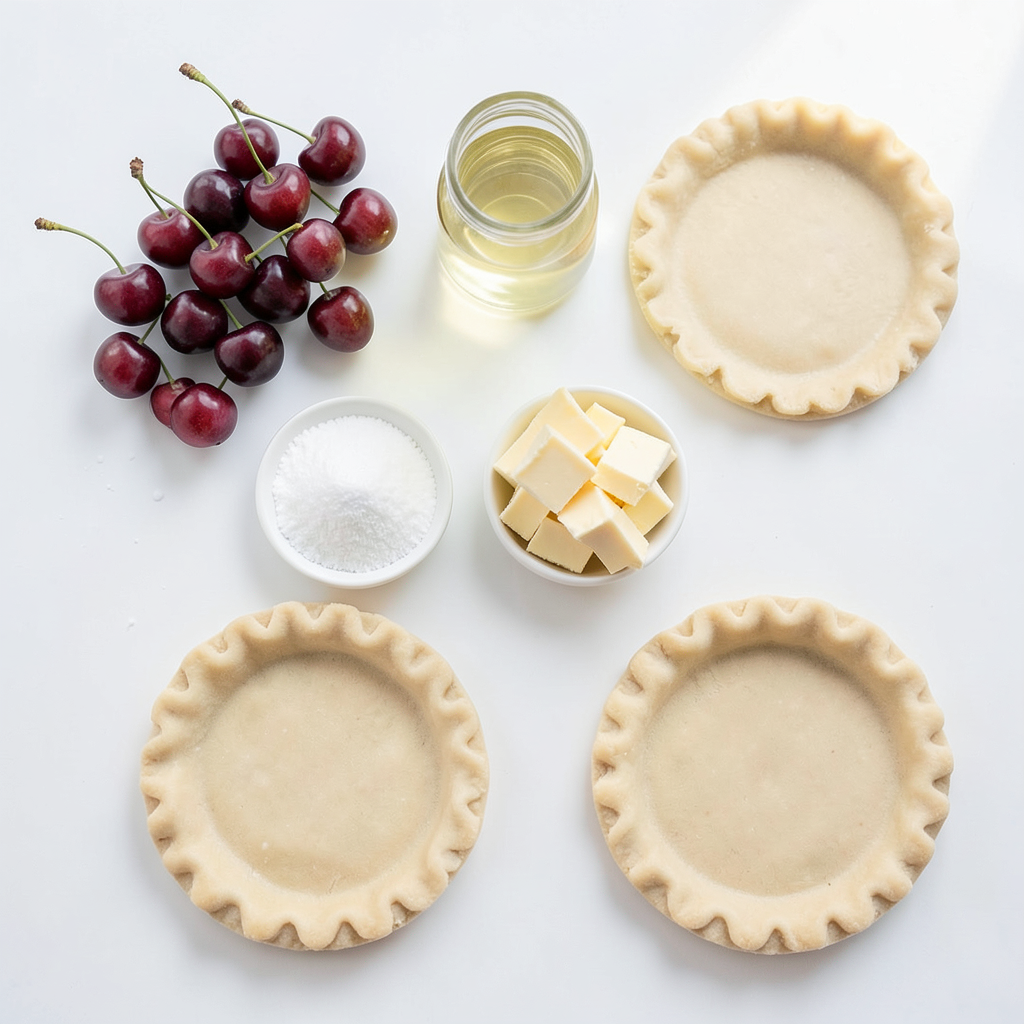
To make a Classic Sweet Cherry Lattice Top Pie, you will need the following ingredients:
- 2 cups fresh sweet cherries, pitted and halved
- 1 cup granulated sugar
- 1/4 cup cornstarch
- 1/4 teaspoon almond extract
- 1 tablespoon fresh lemon juice
- 1 tablespoon unsalted butter, diced into small cubes
- 1 package refrigerated pie crusts (contains 2 crusts)
- 1 large egg (for egg wash)
- 1 tablespoon granulated sugar (for sprinkling on top)
Each ingredient plays an important role. The fresh sweet cherries provide a juicy base. Granulated sugar adds sweetness, while cornstarch thickens the filling. Almond extract gives a lovely nutty flavor, and lemon juice brightens the mix. Unsalted butter adds richness to the pie.
The refrigerated pie crusts save time. An egg wash helps the crust turn golden brown. Sprinkling sugar on top gives a nice crunch. With these simple ingredients, you will create a delightful cherry pie that everyone will love!
Step-by-Step Instructions
Preheat Oven and Prepare Filling
To start, preheat your oven to 425°F (220°C). A hot oven is key for a great pie. In a large mixing bowl, combine the halved cherries, granulated sugar, cornstarch, almond extract, and lemon juice. Mix gently until the cherries are well coated. Let this sit for about 10 to 15 minutes. This time helps the cherries release their tasty juices.
Prepare Pie Crust
Next, take one of the pie crusts and roll it out on a floured surface. You want it to fit your 9-inch pie dish snugly. Place the rolled crust into the dish, pressing it into the bottom and sides. Once it fits well, pour the cherry mixture into the crust. Spread it evenly. Add small dots of butter on top of the cherries for richness.
Create Lattice Top
Now, roll out the second pie crust on the floured surface. Cut this crust into strips about 1-inch wide. To weave a lattice, lay half of the strips parallel across the filling. Then, take the other strips and weave them over and under the first half. This creates the classic crisscross design. Trim any extra crust that hangs over the edges. Press and seal the edges together, and crimp them for a nice look.
Final Touches and Baking
In a small bowl, beat the egg until it’s mixed well. Brush this egg wash over the lattice crust. This gives it a lovely golden color while baking. Sprinkle a tablespoon of sugar over the top for a sweet crunch. Place the pie in the preheated oven and bake for 20 minutes. After that, lower the temperature to 350°F (175°C). Bake for another 30 to 35 minutes. The crust should be golden and the filling should bubble. When done, let the pie cool for at least 1 hour before slicing. This helps the filling set, making it easier to serve.
Tips & Tricks
Achieving the Perfect Lattice
To make a great lattice top, start by cutting your pie crust into strips. Use a sharp knife or a pizza cutter for clean edges. Aim for about 1-inch wide strips. This width gives you enough strength to weave them together without breaking.
When sealing the edges of the pie, use a bit of water. Dampen your fingers and press the edges to stick them together. Crimp the edges with a fork or your fingers for a nice look. This step keeps the filling from leaking out while baking.
Best Practices for Pie Filling
Choosing the right cherries is key. Look for fresh, sweet cherries that are dark and firm. Avoid any with blemishes or soft spots. Sweet cherries are best for this pie, but you can mix in tart ones for added flavor.
To ensure optimal thickness in your cherry filling, mix the cherries with sugar and cornstarch. Let them sit for 10 to 15 minutes. This time allows the cherries to release their juices and thicken the filling. You want a nice, gooey filling that holds together well.
Cooling and Serving Suggestions
Cooling the pie is very important. After baking, let it sit for at least 1 hour. This waiting time helps the filling set, making it easier to slice. If you skip this step, the filling may ooze out when you cut it.
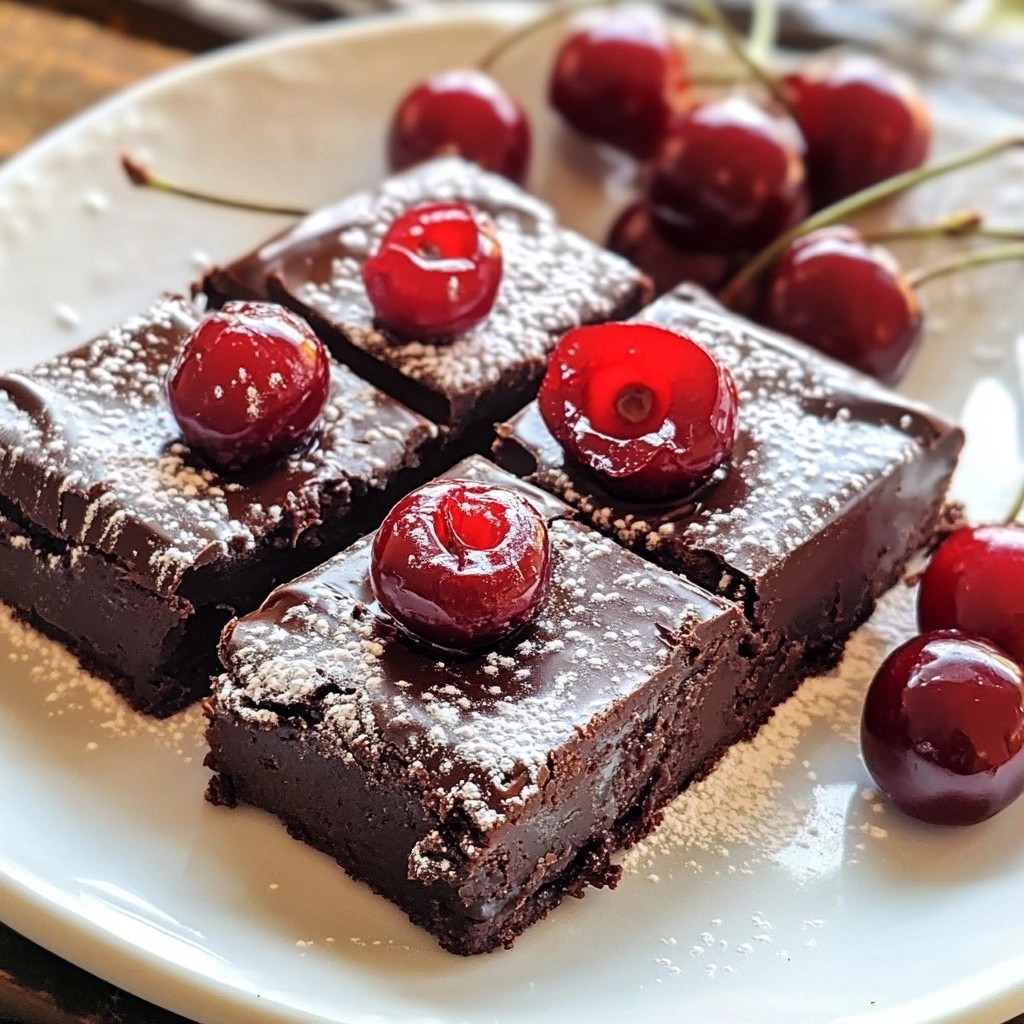
For serving, I love to pair this pie with vanilla ice cream or freshly whipped cream. The cold cream balances the warm pie perfectly. For a fancy touch, garnish each slice with fresh cherries on top. This adds color and extra flavor, making your pie a true delight.
Pro Tips
- Use Fresh Cherries: For the best flavor, opt for fresh, in-season cherries. This will enhance the sweetness and overall taste of your pie.
- Chill Your Crust: Before rolling out your pie crust, chill it in the refrigerator for about 15 minutes. This helps to keep the crust flaky and prevents it from shrinking while baking.
- Don’t Skip the Egg Wash: Brushing the lattice crust with egg wash not only gives it a beautiful golden color but also helps to seal the edges, keeping the filling inside.
- Let it Cool: Allow your pie to cool for at least an hour after baking. This step is crucial for ensuring that the filling sets properly, making it easier to slice.
Variations
Alternative Fruit Fillings
You can change up the sweet cherry filling with other fruits. Blueberries and raspberries work great. They add a nice pop of color and flavor. Mixing cherries with these fruits creates a unique taste. Try combining one cup of blueberries and one cup of cherries. This mix will bring new life to your pie!
Crust Variations
You can choose between homemade or store-bought crust. Store-bought saves time and is easy to use. Homemade crust gives a personal touch and a flaky texture. If you need a gluten-free option, use gluten-free pie crusts. They are available in stores. Follow the same steps in the recipe to use them.
Flavor Enhancements
Adding spices can elevate your pie's flavor. A little cinnamon brings warmth and depth. Try adding just a pinch to your cherry filling. You can also experiment with extracts. Almond extract adds a nice taste, but vanilla works well too. Just remember to keep it balanced and not overdo it!
Storage Info
Storing Leftovers
After you enjoy the sweet cherry lattice pie, let it cool completely. This step is crucial. If you store it warm, moisture builds up and makes the crust soggy. Use a pie dish with a lid or wrap it tightly in plastic wrap. You can also use aluminum foil for extra protection. Store it in the fridge for about 3 to 4 days. This keeps the pie fresh and tasty for your next slice.
Freezing the Pie
If you want to save some pie for later, freezing is a great option. To freeze before baking, prepare the pie as usual. Instead of baking, wrap it well in plastic wrap and then foil. This prevents freezer burn. You can freeze it for up to 3 months. When you’re ready to bake it, remove it from the freezer and let it thaw in the fridge overnight.
For storing a baked pie, let it cool down first. Wrap it tightly in plastic wrap, then foil. It also lasts about 3 months in the freezer. To enjoy it later, thaw it in the fridge before reheating.
Reheating Instructions
To reheat your cherry pie, the oven works best. Preheat your oven to 350°F (175°C). Place the pie on a baking sheet to catch any drips. Heat it for about 15-20 minutes. This method keeps the crust crispy and warms the filling. If you prefer to use a microwave, heat slices on a microwave-safe plate for about 30 seconds. However, this method may make the crust a bit soft. Choose the method that fits your taste!
FAQs
What can I substitute for fresh cherries?
If you cannot find fresh cherries, don't worry! You can use canned or frozen cherries. When using canned cherries, drain them well to remove excess juice. Frozen cherries work well too; just thaw and drain them before mixing with the other ingredients. This keeps your pie from becoming too watery.
How long does it take for the pie to cool?
After baking, let your pie cool for at least 1 hour. This time allows the filling to set. If you cut into the pie too soon, the filling may spill out. Cooling also helps enhance the flavors, making each bite even better.
Can I make this pie ahead of time?
Yes, you can make this pie ahead of time! You may bake it and then store it in the fridge for up to three days. If you want to bake it later, prepare the pie and cover it well. You can freeze it before baking for up to three months. Just make sure to wrap it tightly to avoid freezer burn.
What is the best way to serve cherry pie?
Serve your cherry pie warm for the best taste! A scoop of vanilla ice cream on top makes it a real treat. You can also add a dollop of whipped cream for extra creaminess. For a beautiful touch, garnish each slice with fresh cherries or a sprinkle of powdered sugar. Enjoy!
This guide shows you how to create a delicious cherry pie from scratch. We covered ingredients, step-by-step instructions, tips for perfecting your pie, and variations to try. Remember to choose fresh cherries and allow your pie to cool before serving to enhance flavor. With practice, you can master this recipe and impress your friends and family. Enjoy your cherry pie journey and explore new flavors along the way!