Are you ready to bake the perfect fluffy vanilla bean layer cake? This delightful cake features smooth, creamy frosting that melts in your mouth. I’ll guide you through each step to ensure your baking experience is fun and easy. You'll learn essential tips and tricks to achieve that perfect fluffy texture. Get your apron on, and let’s whip up a cake that will make any occasion special!
Why I Love This Recipe
- Delicious Flavor: This cake combines the rich essence of vanilla bean and pure vanilla extract, creating a flavor profile that is both aromatic and indulgent.
- Fluffy Texture: The meticulous mixing method ensures a light and airy cake, making each bite melt in your mouth.
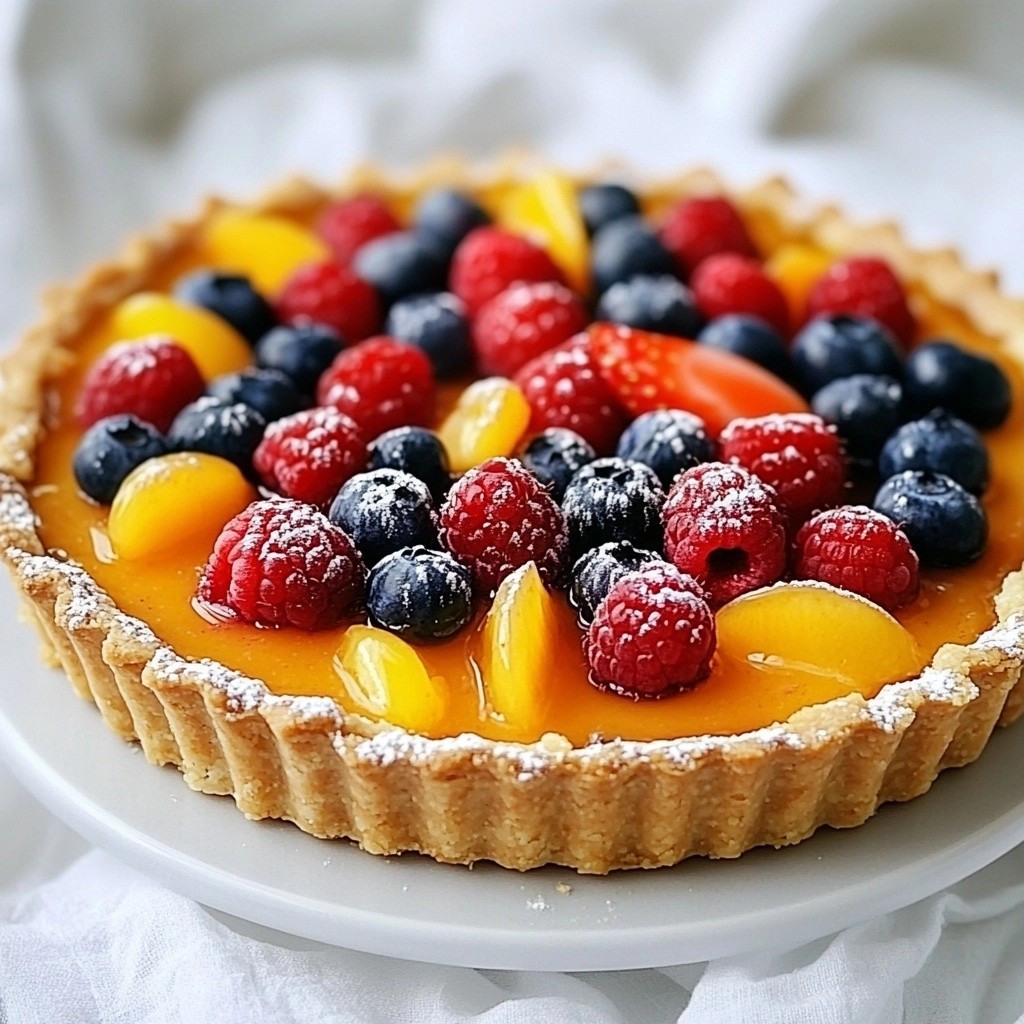
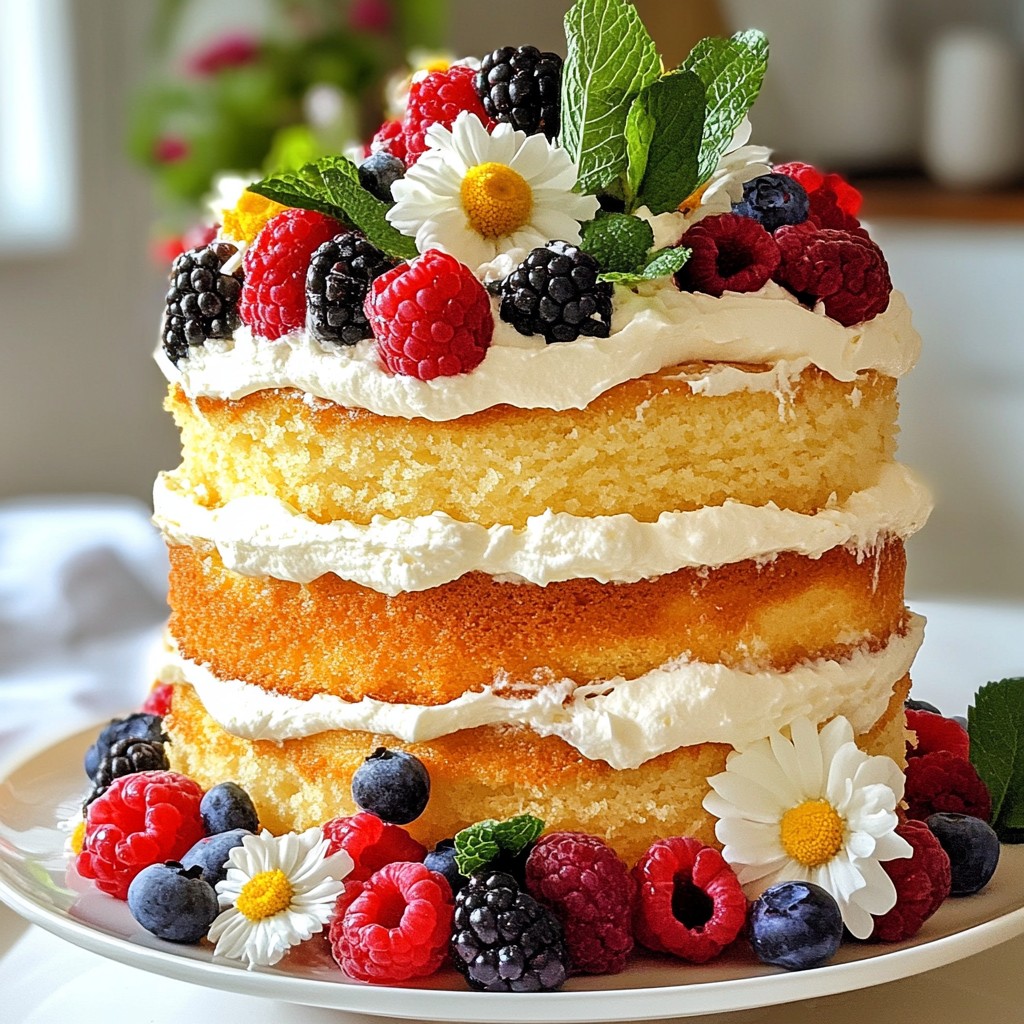
- Beautiful Presentation: With its layers and fresh berry garnishes, this cake is not only a treat for the taste buds but also a stunning centerpiece for any occasion.
- Versatile Occasion: Whether it’s a birthday, anniversary, or a casual get-together, this cake is perfect for all celebrations and will impress your guests!
Ingredients
Essential Ingredients for the Cake
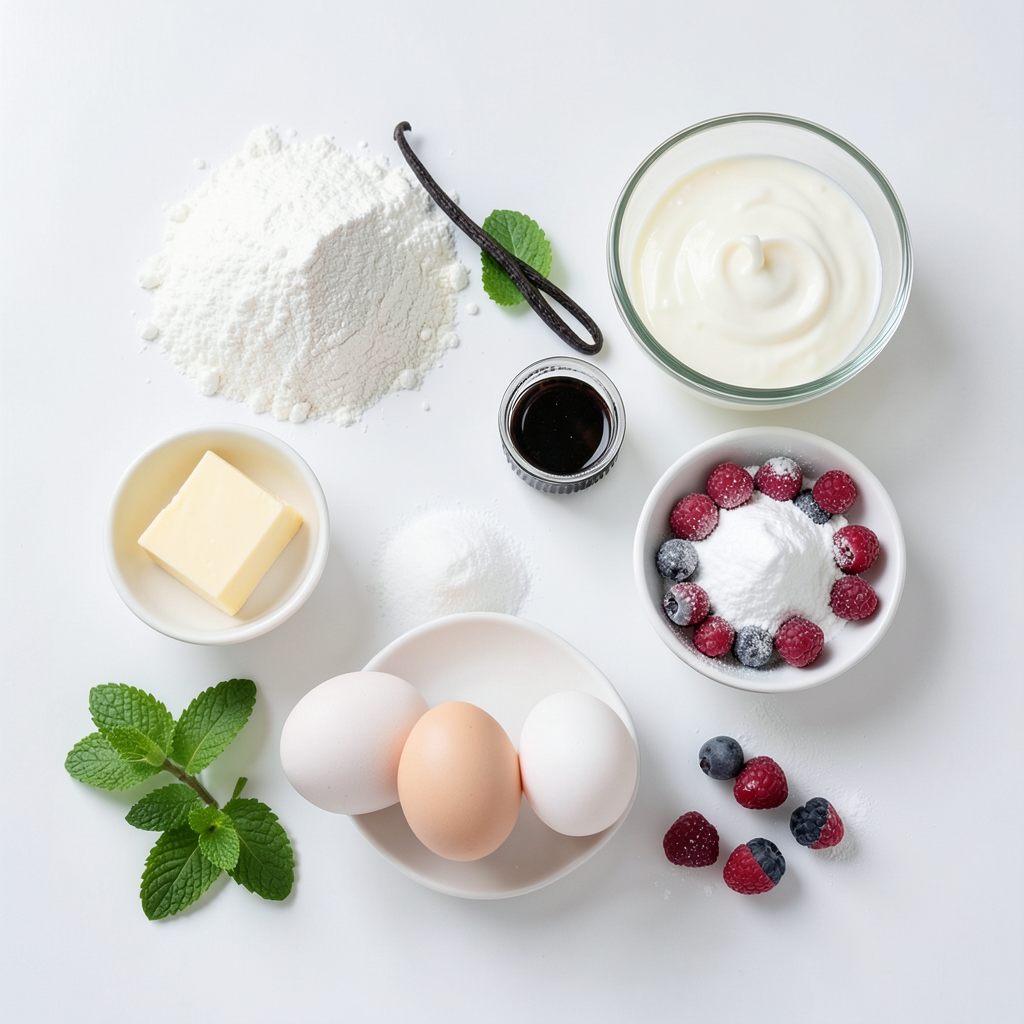
To make a fluffy vanilla bean layer cake, you'll need these key ingredients:
- 2 ½ cups all-purpose flour
- 2 ½ teaspoons baking powder
- ½ teaspoon salt
- 1 cup unsalted butter, softened
- 2 cups granulated sugar
- 5 large eggs, at room temperature
- 1 tablespoon pure vanilla extract
- Seeds of 1 vanilla bean, scraped from the pod
- 1 cup whole milk, at room temperature
These ingredients are essential for a soft and airy cake. The flour and baking powder provide structure, while the butter and sugar create a light texture. The eggs add moisture and richness, and the vanilla bean gives a lovely flavor.
Ingredients for the Whipped Cream Frosting
For the creamy frosting, gather these ingredients:
- 2 cups heavy whipping cream
- 1 cup powdered sugar
- 1 teaspoon vanilla extract
Whipping cream is key for a light, fluffy frosting. The powdered sugar sweetens it, while the vanilla extract adds a rich flavor.
Optional Garnishes and Decorations
For a beautiful finish, consider these garnishes:
- Fresh berries (like strawberries, blueberries, or raspberries)
- Mint leaves
These garnishes not only add color but also provide a fresh taste that pairs well with the cake. You can choose any berries you like for a fun twist!
Step-by-Step Instructions
Prepping the Cake Pans and Oven
Start by preheating your oven to 350°F (175°C). This ensures even baking. Next, grab three 8-inch round cake pans. Grease each pan with butter, then dust them lightly with flour. This will help the cakes slide out without sticking.
Mixing Dry Ingredients
In a medium bowl, whisk together 2 ½ cups of all-purpose flour, 2 ½ teaspoons of baking powder, and ½ teaspoon of salt. Mix them well. Set this bowl aside for later use.
Creaming the Butter and Sugar
In a large mixing bowl, cream 1 cup of softened unsalted butter with 2 cups of granulated sugar. Use an electric mixer on medium speed. Beat this mixture for about 4-5 minutes. It should look light, fluffy, and pale.
Incorporating Eggs and Flavor Ingredients
Add 5 large eggs to the creamed butter and sugar. Do this one at a time, mixing well after each addition. Then, add 1 tablespoon of pure vanilla extract and the seeds from 1 vanilla bean. Mix until everything is just combined. The batter will smell amazing!
Combining Dry and Wet Mixtures
Now, take your reserved dry mixture and add it to the batter. Do this in parts, alternating with 1 cup of whole milk. Start and end with the flour mixture. Mix just until incorporated to keep the cake light and fluffy.
Baking and Cooling the Cake Layers
Divide the batter evenly among the three prepared pans. Smooth the tops with a spatula. Bake in the preheated oven for 25-30 minutes. To check if they’re done, insert a toothpick in the center; it should come out clean. Once baked, let the cakes cool in the pans for 10 minutes, then transfer them to wire racks to cool completely.
Preparing the Whipped Cream Frosting
While the cakes cool, let’s make the frosting. In a mixing bowl, whip 2 cups of heavy whipping cream. Add 1 cup of powdered sugar and 1 teaspoon of vanilla extract. Continue to whip until soft peaks form. This creates a light, airy frosting.
Assembling and Frosting the Cake
Once the cakes are cooled, place the first layer on a cake stand. Spread a generous amount of whipped cream on top. Add the second layer and repeat. Finally, place the last cake layer on top.
Final Touches and Serving Suggestions
Use the remaining whipped cream to frost the top and sides of the cake. Smooth it out with a spatula for a clean finish. Decorate the top with fresh berries and mint leaves for a stunning look. Enjoy your beautiful, fluffy vanilla bean layer cake!
Tips & Tricks
How to Achieve a Fluffy Texture
To make your cake fluffy, start with room-temperature ingredients. Cold eggs and milk will not mix well. Cream the butter and sugar for about five minutes. This step adds air and lightens the batter. Mix in the eggs one by one. This ensures each egg blends well. Alternate adding dry and wet ingredients. This keeps the batter smooth and fluffy. Avoid overmixing; stop as soon as you see no dry flour.
Best Practices for Whipping Cream
When whipping cream, use a cold bowl. This helps the cream whip faster. Start on a low speed, then increase to medium. Add powdered sugar gradually to help stabilize the cream. Stop whipping when soft peaks form. Over-whipped cream can turn grainy and lose its fluffiness. If you prefer a sweeter frosting, taste as you go. Adjust the sugar to suit your taste.
Common Mistakes to Avoid
Do not skip the step of creaming butter and sugar. This step is key for a light cake. Also, avoid overmixing the batter after adding flour. If you mix too much, your cake may turn dense. Make sure to check your oven temperature. An oven that is too hot can burn the cake edges. Lastly, allow your cake layers to cool completely before frosting. This prevents the cream from melting.
Pro Tips
- Room Temperature Ingredients: Ensure that your eggs and milk are at room temperature before mixing. This helps create a smoother batter and contributes to a fluffier cake.
- Don't Overmix: When combining the wet and dry ingredients, mix just until incorporated. Overmixing can lead to a denser cake.
- Cooling Cakes: Allow the cakes to cool completely before frosting. This prevents the whipped cream from melting and ensures a beautiful finish.
- Garnishing: For a stunning presentation, add fresh berries and mint leaves just before serving to keep them vibrant and fresh.
Variations
Flavor Variations: Adding Citrus or Other Extracts
You can change the flavor of the vanilla bean layer cake easily. For a bright twist, add citrus zest. Try lemon or orange zest. Just one tablespoon can make a big difference. You can also use almond or coconut extract. Use about a teaspoon to keep the taste balanced. Mixing these flavors into the batter can create a fresh taste.
Alternative Frosting Options
While the whipped cream frosting is light, other options are fun too. Cream cheese frosting adds a tangy touch. To make it, mix softened cream cheese with powdered sugar and vanilla. You can also try chocolate ganache. Just heat heavy cream and pour it over chocolate. Stir until smooth. This rich topping is perfect for chocolate lovers.
Gluten-Free and Dairy-Free Suggestions
If you need a gluten-free cake, replace all-purpose flour with a gluten-free blend. Make sure it has a good structure. For dairy-free needs, use coconut cream in place of heavy cream. You can also use dairy-free butter in the cake. This way, everyone can enjoy the fluffy vanilla cake without worry.
Storage Info
How to Store the Cake
To keep your Fluffy Vanilla Bean Layer Cake fresh, wrap it well. Use plastic wrap or foil to cover the cake layers. This keeps moisture in and prevents drying. If you have leftover cake, store it in an airtight container. Place it in the fridge for up to five days. This method helps maintain its fluffy texture and flavor.
Best Methods for Freezing Cake Layers
Freezing cake layers is a great way to save them for later. First, let the layers cool completely. Once cooled, wrap each layer tightly in plastic wrap. Then, place them in a freezer-safe bag or container. Label with the date and type of cake. You can freeze them for up to three months. When ready to use, thaw the layers in the fridge overnight before frosting.
Shelf Life and Freshness Tips
The shelf life of your cake depends on its storage. If stored properly, it lasts up to five days in the fridge. For the best taste, enjoy it within the first few days. To keep it fresh, avoid cutting it until you’re ready to serve. If you notice any signs of spoilage, like an off smell or mold, discard the cake. Always prioritize food safety for the best experience.
FAQs
How do I know when the cake is done baking?
You can tell the cake is done when a toothpick comes out clean. Insert the toothpick in the center of the cake. If it comes out with wet batter, it needs more time. The edges will also pull away from the pan slightly.
Can I use cake flour instead of all-purpose flour?
Yes, you can use cake flour. Cake flour has less protein, which makes the cake more tender. Keep in mind, you may need to adjust the liquid since cake flour absorbs less moisture.
What can I substitute for heavy cream in the frosting?
You can use half-and-half or whole milk as alternatives. However, the frosting will be less rich. For a thicker option, try using coconut cream or a non-dairy whipped topping.
How do I prevent the cake from drying out?
To keep the cake moist, avoid overbaking it. Also, wrap the cooled layers in plastic wrap. You can brush simple syrup on the cake layers before frosting them.
Can I make this recipe ahead of time?
You can bake the cake layers a day ahead. Store them wrapped in plastic. You can also prepare the frosting a day in advance and keep it in the fridge. Just whip it again before using.
This blog post covered all you need to make a great cake. We discussed important ingredients, step-by-step instructions, and helpful tips. You now know how to create a delicious whipped cream frosting and the best ways to store your cake. Remember, small changes can lead to big flavor. Don't hesitate to try new flavors or tips. Enjoy baking, and share your cake with friends and family. Your efforts will bring joy at any gathering!