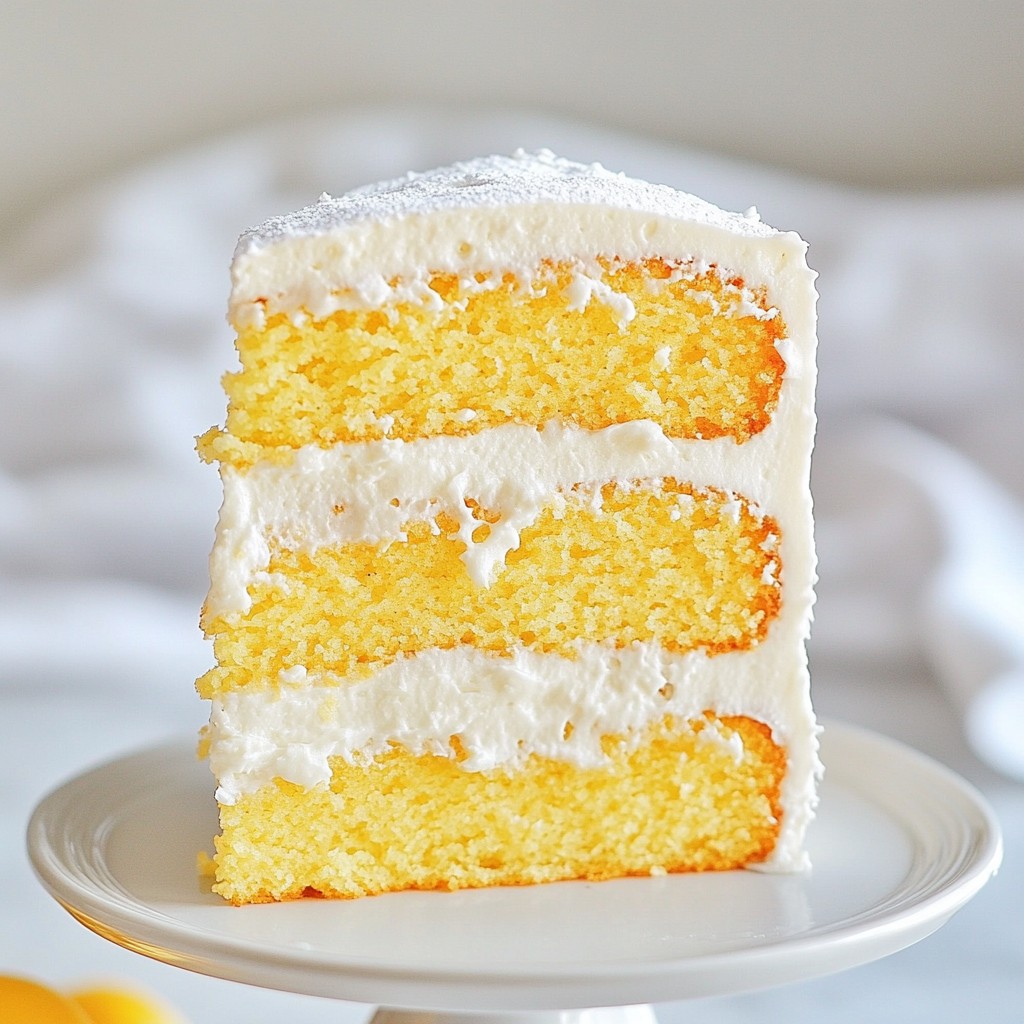
Are you ready to bake the ultimate fluffy vanilla bean layer cake that impresses everyone? This recipe is not just about taste; it's about creating a show-stopper dessert that’s simple and fun to make. I’ll guide you through every step, from selecting the right ingredients to mastering frosting techniques. Whether you're baking for a special occasion or just because, this cake will surely delight. Let’s get started on your sweet baking adventure!
Why I Love This Recipe
- Light and Fluffy Texture: This cake is incredibly soft and airy, making each bite a delightful experience.
- Vanilla Bean Flavor: The use of real vanilla beans elevates the flavor profile, providing a rich and aromatic taste.
- Perfect for Celebrations: Whether it’s a birthday or a special occasion, this layer cake is a stunning centerpiece that impresses guests.
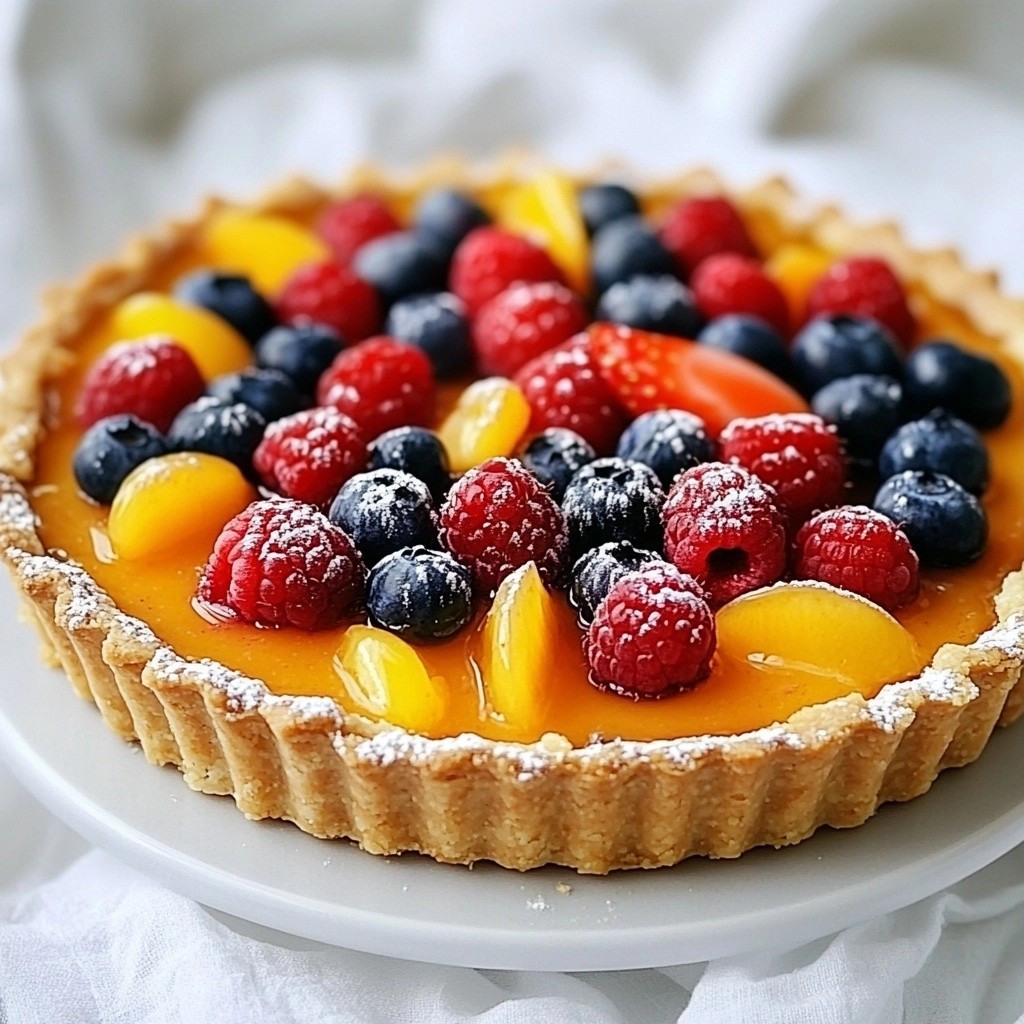
- Customizable Decoration: Easy to decorate with various toppings like fresh berries or edible flowers, making it versatile for any event.
Ingredients
Main Ingredients
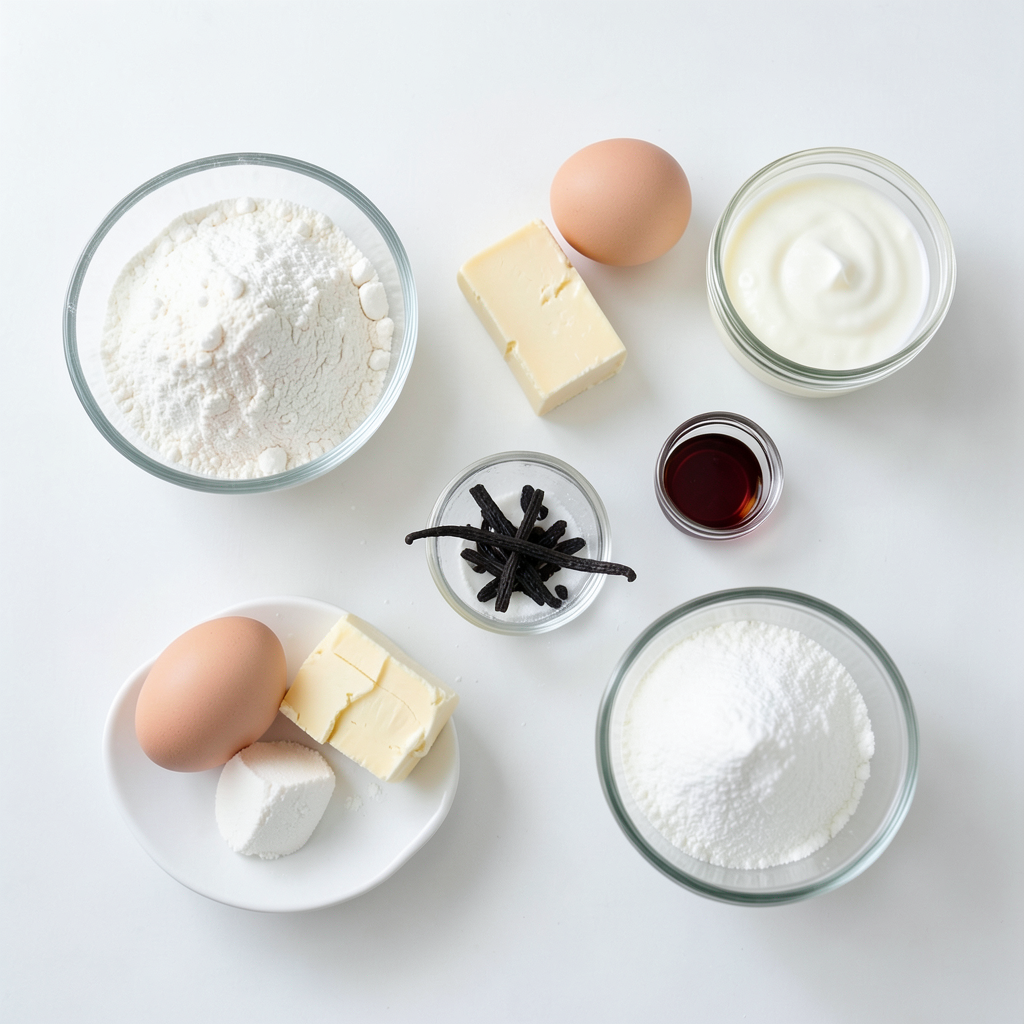
- All-purpose flour: This flour gives the cake its structure. It holds everything together. I use 2 ½ cups, which helps create a soft and fluffy texture. You can sift it for even lighter layers.
- Unsalted butter: Butter adds rich flavor and moisture. I recommend using 1 cup of softened unsalted butter. It helps the cake rise well. It also makes the crumb tender.
- Eggs: Eggs are key to how fluffy your cake will be. I use 4 large eggs, adding them one at a time. This process helps incorporate air and lift. The yolks add richness, while the whites help with fluffiness.
For the Creamy Frosting
- Key ingredients in frosting: The frosting needs 1 cup of softened unsalted butter and 4 cups of powdered sugar. The butter gives it a creamy base, while the sugar adds sweetness.
- Tips for choosing quality butter: Always pick high-quality butter for the best flavor. Look for brands that say "unsalted" and "grass-fed." This choice makes a big taste difference in your frosting.
- Importance of powdered sugar texture: Use fine powdered sugar for smooth frosting. If your sugar is lumpy, the frosting won't be creamy. Sifting the sugar helps avoid clumps. This step ensures a light, fluffy finish to your cake.
Step-by-Step Instructions
Preparing the Cake Batter
1. First, set your oven to 350°F (175°C). This step helps the cake rise well.
2. Grab three round 8-inch cake pans. Grease them with butter and dust with flour. This way, your cake won’t stick.
3. In a medium bowl, mix 2 ½ cups of all-purpose flour, 2 ½ teaspoons of baking powder, and ½ teaspoon of salt. Set this bowl aside. Proper mixing keeps the cake light.
4. In a large bowl, use an electric mixer to beat 1 cup of soft unsalted butter and 2 cups of sugar. Mix for about 5-7 minutes until fluffy. This airiness is key to a good cake.
5. Now, add 4 large eggs one at a time. Mix well after each egg. This keeps the batter smooth.
6. Next, stir in 1 tablespoon of vanilla extract and the seeds from 1 split vanilla bean. These add great flavor.
7. Gradually add the dry mix to the wet mix. Alternate with 1 cup of whole milk. Start and end with the flour mix. Stop mixing as soon as you see no dry flour. Overmixing can make your cake tough.
Baking the Cake Layers
1. Divide the batter evenly among the three prepared pans. Smooth the tops for even baking.
2. Bake for about 25-30 minutes. To check if they’re done, insert a toothpick into the center. If it comes out clean, they’re ready.
3. Let the cakes cool in the pans for 10 minutes. Then, transfer them to a wire rack. Cooling helps prevent sogginess.
These steps give you light, fluffy layers perfect for your vanilla bean layer cake.
Tips & Tricks
Achieving the Perfect Fluffiness
To make a fluffy vanilla bean layer cake, follow these tips:
- Mixing Methods: Start by creaming your butter and sugar well. This step adds air, making your cake light. When you add flour, mix just until combined. Overmixing makes the cake dense.
- Room Temperature Ingredients: Always use room temperature butter, eggs, and milk. This helps the ingredients blend better. It also creates a smoother batter, which leads to fluffier layers.
- Using Vanilla Bean: When using a vanilla bean, split it open and scrape out the seeds. Add these seeds to your batter for a rich flavor. Save the pod for making homemade vanilla extract or steeping in milk.
Frosting Techniques
Creating a smooth frosting layer is all about technique:
- Smooth Frosting Layer: Start with softened butter to avoid lumps. Mix the butter until fluffy before adding powdered sugar. Gradually mix in the sugar, then add cream for the right texture.
- Decorating Tips: Use a spatula to create waves or swirls on your frosting. Fresh berries or edible flowers can add a beautiful touch. You can also dust the top with powdered sugar.
- Common Frosting Mistakes: Avoid using cold butter, which can lead to a chunky frosting. Also, don’t rush the mixing process. A well-mixed frosting is key to that creamy texture.
Pro Tips
- Use Room Temperature Ingredients: Make sure your butter and eggs are at room temperature for a smoother batter and better rise.
- Don’t Overmix the Batter: Mix the wet and dry ingredients until just combined to keep your cake light and fluffy.
- Check for Doneness: Use a toothpick to test if the cakes are done; it should come out clean or with just a few crumbs attached.
- Cooling is Key: Allow cakes to cool completely before frosting to prevent the frosting from melting and sliding off.
Variations
Flavor Variations
You can easily switch up the flavor of your cake. Try adding different extracts for a twist. Almond extract gives a sweet, nutty taste. Citrus extracts, like lemon or orange, add brightness. Both options can enhance your vanilla bean flavor.
Using alternative frostings can also change the cake's vibe. Cream cheese frosting adds a tangy twist. Chocolate frosting makes it rich and decadent. Feel free to mix and match these flavors to suit your taste buds!
Dietary Alternatives
If you need gluten-free options, you can use gluten-free flour. Many brands work well in cakes. Just be sure to check the packaging for the right measurements.
For those who avoid dairy, there are great substitutes for frosting. Use dairy-free butter for the base. Coconut cream can replace heavy cream, giving a rich texture. These options let everyone enjoy your cake without worry!
Storage Info
Storing the Layer Cake
To keep your fluffy vanilla bean layer cake fresh, follow these tips:
- Cool Completely: Always let the cake cool fully before wrapping. This prevents moisture loss.
- Wrap Well: Use plastic wrap or aluminum foil. This keeps air out and moisture in.
- Room Temperature: Store the cake at room temp for up to three days. Place it in a cake dome or an airtight container.
- Refrigeration: If you need to keep it longer, you can refrigerate it. But this may dry it out.
If you want to freeze the layers:
- Slice Layers: Cut the cake into individual layers. This makes it easier to thaw later.
- Wrap Properly: Use plastic wrap followed by aluminum foil. This protects the cake from freezer burn.
- Label and Date: Mark them with the date. Use within three months for the best taste.
Handling Leftovers
To keep your leftover frosting fresh, try these tips:
- Cover Tightly: Place it in an airtight container. This stops it from drying out.
- Refrigerate: Store it in the fridge for up to two weeks. Just remember to bring it to room temp before using again.
For the best storage containers:
- Glass Containers: Use glass jars or bowls with lids. They are great for keeping frosting fresh.
- Plastic Containers: Make sure they seal tightly. This helps keep air out.
By following these steps, you can enjoy your fluffy vanilla bean layer cake and creamy frosting for days!
FAQs
How can I make this cake gluten-free?
You can make this cake gluten-free by using a gluten-free flour blend. Look for blends that contain rice flour, tapioca starch, and potato starch. These blends mimic the texture of all-purpose flour well. Make sure to check the label for any added ingredients that may contain gluten. I also suggest adding a teaspoon of xanthan gum to help with the structure.
How do I know when my cake is done baking?
To check if your cake is done, you can use a toothpick. Insert it into the center of the cake. If it comes out clean or with a few crumbs, the cake is ready. You can also look for a golden color on the top and see if the edges pull away from the pan slightly. Another sign is if the cake springs back when you gently press the top.
Can I make the frosting ahead of time?
Yes, you can make the frosting ahead of time. Store it in an airtight container in the fridge for up to a week. When you are ready to use it, let it sit at room temperature for about 30 minutes. Then, whip it again to restore its creamy texture. If it’s too thick, you can add a splash of milk or cream to get the right consistency.
This article covered everything you need to bake a delicious cake. I shared key ingredients that create a tasty base and frosting. I explained step-by-step instructions for making the batter and baking the layers. You learned tips for achieving fluffiness and perfect frosting techniques. Don't forget about flavor variations and dietary alternatives. Proper storage can keep your cake fresh for days. With this knowledge, you can create a cake that impresses everyone! Start baking and enjoy the process. Your cake adventure awaits!