If you're craving a dessert that’s light, airy, and full of flavor, you’re in the right place. This Fluffy Vanilla Bean Layer Cake with Creamy Frosting is simply delightful. I’ll guide you through each step from selecting the best ingredients to baking and frosting your masterpiece. Whether you’re a baking novice or a seasoned pro, you'll find tips and tricks to make this cake shine. Let’s get baking!
Why I Love This Recipe
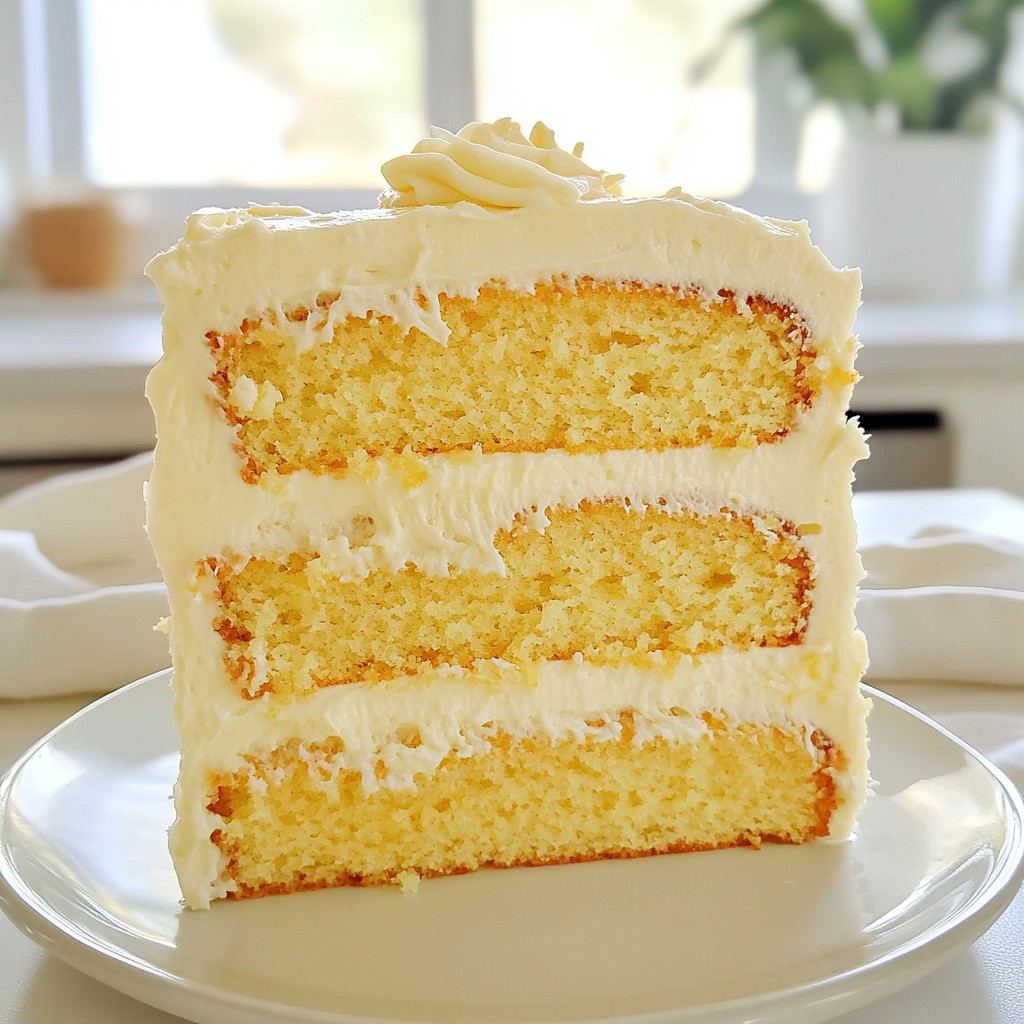
- Light and Fluffy Texture: This cake's airy layers create a delightful mouthfeel, making each bite a joyous experience.
- Rich Vanilla Flavor: The combination of pure vanilla extract and fresh vanilla bean seeds infuses the cake with an irresistible aroma and taste.
- Customizable Frosting: The creamy frosting is perfect as is, but can easily be tailored with flavors or colors to suit any occasion.
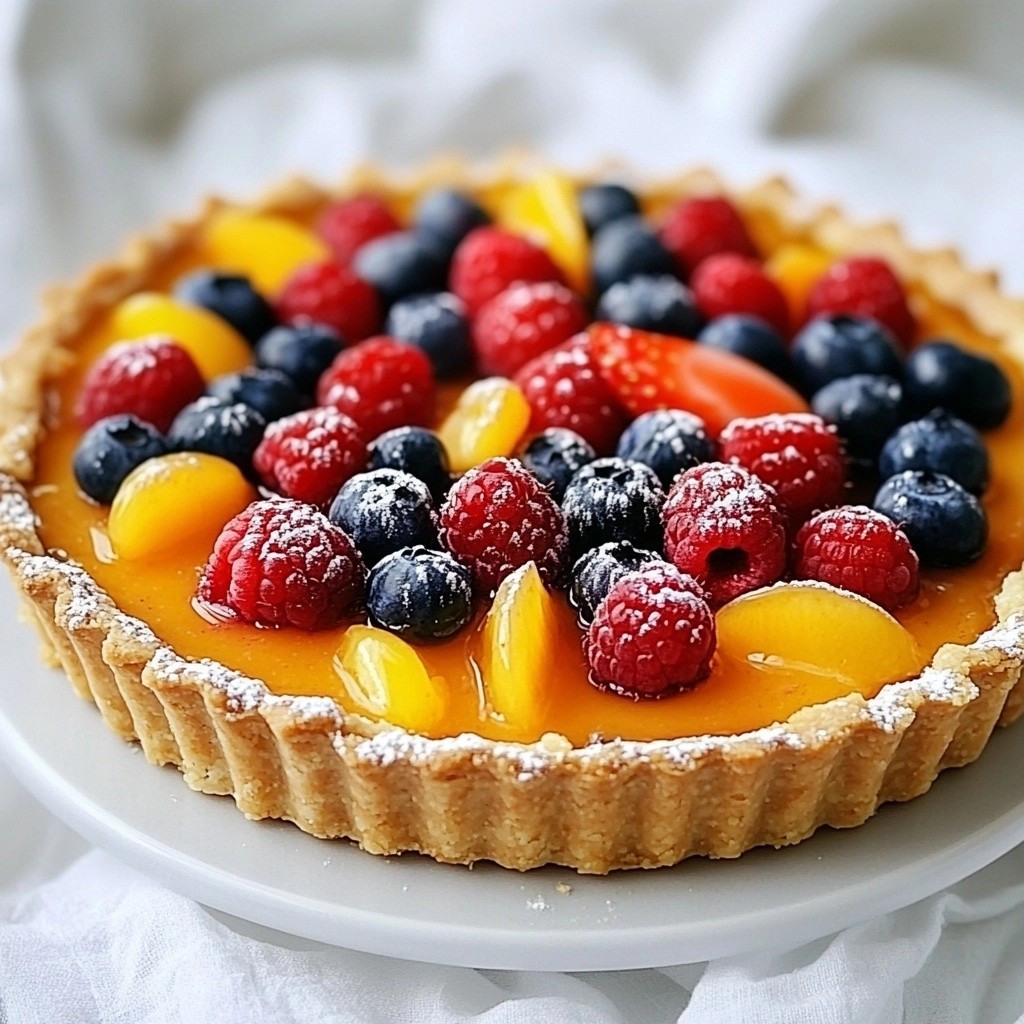
- Beautiful Presentation: This layer cake not only tastes amazing but can also be elegantly decorated, making it a showstopper for any celebration.
Ingredients
Detailed Ingredient List
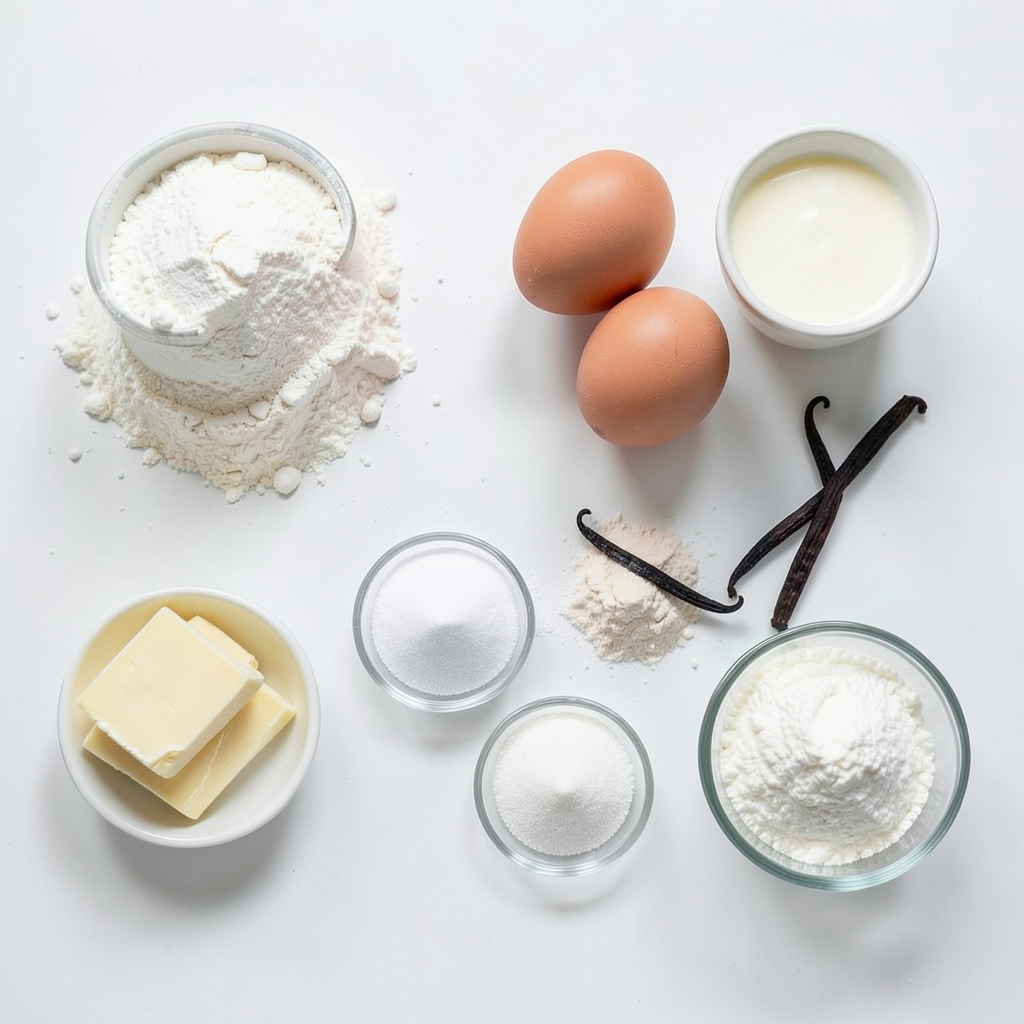
To make the fluffy vanilla bean layer cake, gather these items:
- 2 ½ cups all-purpose flour
- 2 ½ teaspoons baking powder
- ½ teaspoon salt
- 1 cup unsalted butter, softened to room temperature
- 2 cups granulated sugar
- 4 large eggs, at room temperature
- 1 tablespoon pure vanilla extract
- 1 vanilla bean, split lengthwise with seeds scraped out
- 1 cup whole milk, at room temperature
- 3 cups powdered sugar (plus extra if needed)
- 1 cup heavy cream
- 1 teaspoon pure vanilla extract (for the frosting)
Substitutions and Alternatives
You can swap some ingredients if needed. Here are a few ideas:
- Use coconut oil instead of unsalted butter for a dairy-free version.
- Substitute almond milk for whole milk to make it dairy-free.
- If you don’t have a vanilla bean, use 1 tablespoon of vanilla extract instead.
- For a lighter frosting, try using whipped topping instead of heavy cream.
Importance of Quality Ingredients
Quality ingredients make a big difference in your cake's taste and texture. Here’s why:
- Butter: Use unsalted butter for the best flavor and control over salt levels.
- Vanilla Bean: Real vanilla adds depth. It’s worth it for the aroma and taste.
- Flour: All-purpose flour gives the right structure for fluffy layers.
- Eggs: Fresh eggs help the cake rise and create a light, airy texture.
Choosing good ingredients ensures your fluffy vanilla bean layer cake will be a hit!
Step-by-Step Instructions
Prepping the Cake Pans
Start by preheating your oven to 350°F (175°C). Grab three 8-inch round cake pans. Grease each pan with butter. Dust them lightly with flour. This helps the cakes come out easily after baking.
Mixing the Batter
In a medium bowl, whisk together 2 ½ cups of all-purpose flour, 2 ½ teaspoons of baking powder, and ½ teaspoon of salt. Set this dry mix aside. In a large bowl, cream 1 cup of softened unsalted butter and 2 cups of granulated sugar. Use a hand or stand mixer on medium speed. Mix for about 3 to 5 minutes until it gets light and fluffy. Add 4 large eggs one at a time. Mix well after each egg. Then, stir in 1 tablespoon of pure vanilla extract and the seeds from 1 split vanilla bean. Mix until everything is smooth. Gradually add the dry mix, alternating with 1 cup of whole milk. Start with some flour and then some milk. Keep mixing until combined, but don't overmix!
Baking and Cooling the Layers
Pour the batter evenly into the prepared pans. Smooth the tops with a spatula. Bake in the oven for 25 to 30 minutes. Check for doneness by inserting a toothpick into the center. If it comes out clean, the cakes are done. Once baked, let the pans cool for 10 minutes. Carefully turn the cakes out onto wire racks and let them cool completely.
Preparing the Frosting
While the cakes cool, make the frosting. In a large bowl, beat 3 cups of powdered sugar with 1 cup of heavy cream using a mixer. Mix until it’s smooth and fluffy. Add 1 teaspoon of pure vanilla extract. If your frosting seems too thin, add more powdered sugar until it reaches the right thickness.
Assembling the Cake
When the cakes are cool, place one layer on a serving plate. Spread a generous amount of frosting on top. Add the second layer and repeat with more frosting. Place the third layer on top. Use the remaining frosting to cover the top and sides of the cake. For a nice finish, smooth it out with a spatula or create decorative swirls. To make it extra special, consider adding edible flowers or fresh berries on top.
Tips & Tricks
Achieving the Perfect Cake Texture
To get a fluffy cake, use room-temperature ingredients. This helps the batter mix well. Cream the butter and sugar until light and fluffy. This step is key for a soft cake. Mix your dry and wet ingredients gently. Overmixing can make your cake tough. Remember, it's okay if some lumps remain.
How to Avoid Common Mistakes
One common mistake is not measuring ingredients accurately. Use a kitchen scale for best results. Always check your oven temperature with an oven thermometer. Ovens can be off by quite a bit. Another mistake is opening the oven door too often. This lets heat escape and can affect baking time.
Frosting Tips for a Smooth Finish
For a smooth frosting, make sure your cake is cool. If it’s warm, the frosting will melt. Whip the heavy cream well to add air and lightness. If the frosting is too thin, add more powdered sugar. Spread an even layer on each cake layer. Use a spatula to create a nice finish. For a polished look, run a spatula around the sides.
Pro Tips
- Use Room Temperature Ingredients: Ensure that your butter, eggs, and milk are at room temperature before mixing. This helps create a smoother batter and results in a fluffier cake.
- Don't Overmix the Batter: After adding the dry ingredients, mix just until combined. Overmixing can lead to a dense cake; gentle folding is key.
- Cool Cakes Completely: Allow your cakes to cool completely before frosting to prevent the frosting from melting and sliding off, ensuring a beautiful finish.
- Experiment with Flavors: Feel free to add other flavor extracts or mix-ins, like citrus zest or chocolate chips, to customize your vanilla bean layer cake to your taste.
Variations
Flavor Variations
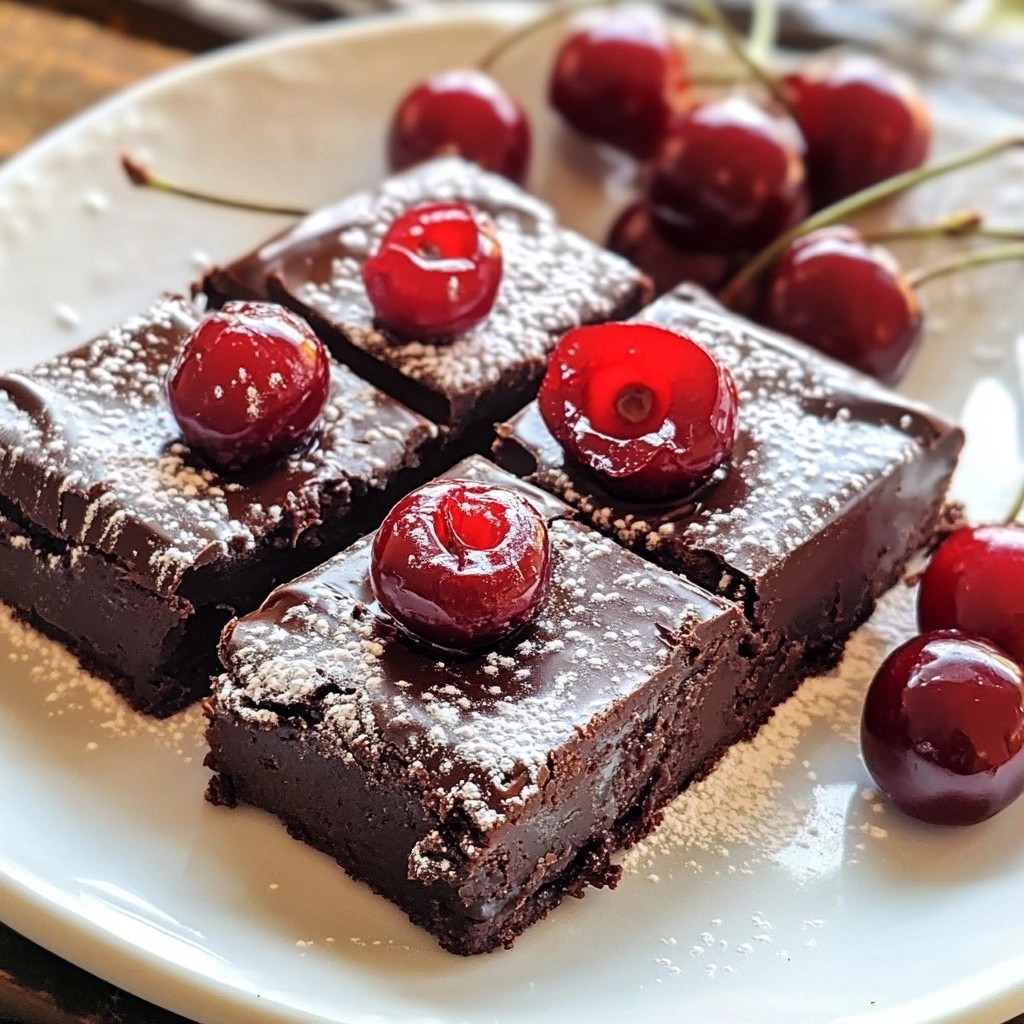
You can change the flavor of this cake easily. For a chocolate version, swap out some flour for cocoa powder. Use about ¾ cup of cocoa powder with 2 cups of flour. This gives a rich, chocolatey taste. For a lemon version, add lemon zest and a bit of lemon juice. Use the zest of one lemon and 2 tablespoons of juice. This adds a nice, fresh flavor.
Alternate Frosting Options
The creamy frosting is delicious, but you have choices! For a chocolate frosting, mix cocoa powder into the frosting. Start with ½ cup of cocoa and adjust to taste. You can also use cream cheese frosting for a tangy twist. Just mix cream cheese with powdered sugar and vanilla. This offers a new flavor and a creamy texture.
Dietary Adaptations
If you need a gluten-free cake, use a gluten-free flour blend. Search for one that works well for cakes. For dairy-free options, use coconut milk instead of whole milk and vegan butter for the frosting. These swaps keep the cake tasty and enjoyable for everyone.
Storage Info
How to Store Leftover Cake
To keep your fluffy vanilla bean layer cake fresh, wrap it tightly in plastic wrap. Place it in an airtight container, or use a cake dome. This will help keep it moist and protect it from odors in the fridge. You can store the cake at room temperature for up to two days. If you want it to last longer, refrigerate it.
Freezing Instructions
If you have leftover cake, you can freeze it. First, let the cake cool completely. Then, wrap each layer in plastic wrap. Place the wrapped layers in a freezer-safe bag or container. Label the bag with the date. You can freeze the cake for up to three months. When you're ready to enjoy it, thaw it in the fridge overnight.
Safe Reheating Tips
To reheat slices of cake, take them out of the fridge. Place the slices on a microwave-safe plate. Heat each slice for about 10 to 15 seconds. Check to see if it's warm, but don't overheat it. You want it to stay soft and fluffy. If you have a whole cake, let it sit at room temperature for about 30 minutes before serving. This helps the flavors come back. Enjoy your cake!
FAQs
Can I make this cake ahead of time?
Yes, you can make this cake ahead of time. I suggest baking the layers a day before you frost them. Once cooled, wrap the layers in plastic wrap. This keeps them moist and fresh. You can frost the cake the next day. This saves you time and stress!
How do I know when the cake is done baking?
To check if the cake is done, insert a toothpick into the center. If it comes out clean, the cake is ready. You can also gently press the top. If it springs back, it is done. It should not feel too soft.
What can I use instead of vanilla bean?
If you cannot find vanilla bean, use pure vanilla extract. One tablespoon of extract will work well. This will still give your cake a nice vanilla flavor. You can also use vanilla paste as a great alternative.
How long can I keep the cake stored?
You can store the cake for up to four days at room temperature. Just keep it covered to prevent it from drying out. If you want to keep it longer, store it in the fridge for up to a week. Remember to bring it back to room temperature before serving.
Can I use a different size cake pan?
Yes, you can use a different size cake pan. Just adjust the baking time. If you use a larger pan, the cake may bake faster. If you use a smaller pan, it may take longer. Always check with the toothpick test to be sure.
In this post, we explored key ingredients and shared step-by-step baking instructions. You learned tips to achieve a perfect cake texture and how to avoid common mistakes. We also discussed flavor variations and storage solutions. Remember, quality ingredients matter for the best outcome. With these insights, you can confidently create and enjoy your cake.