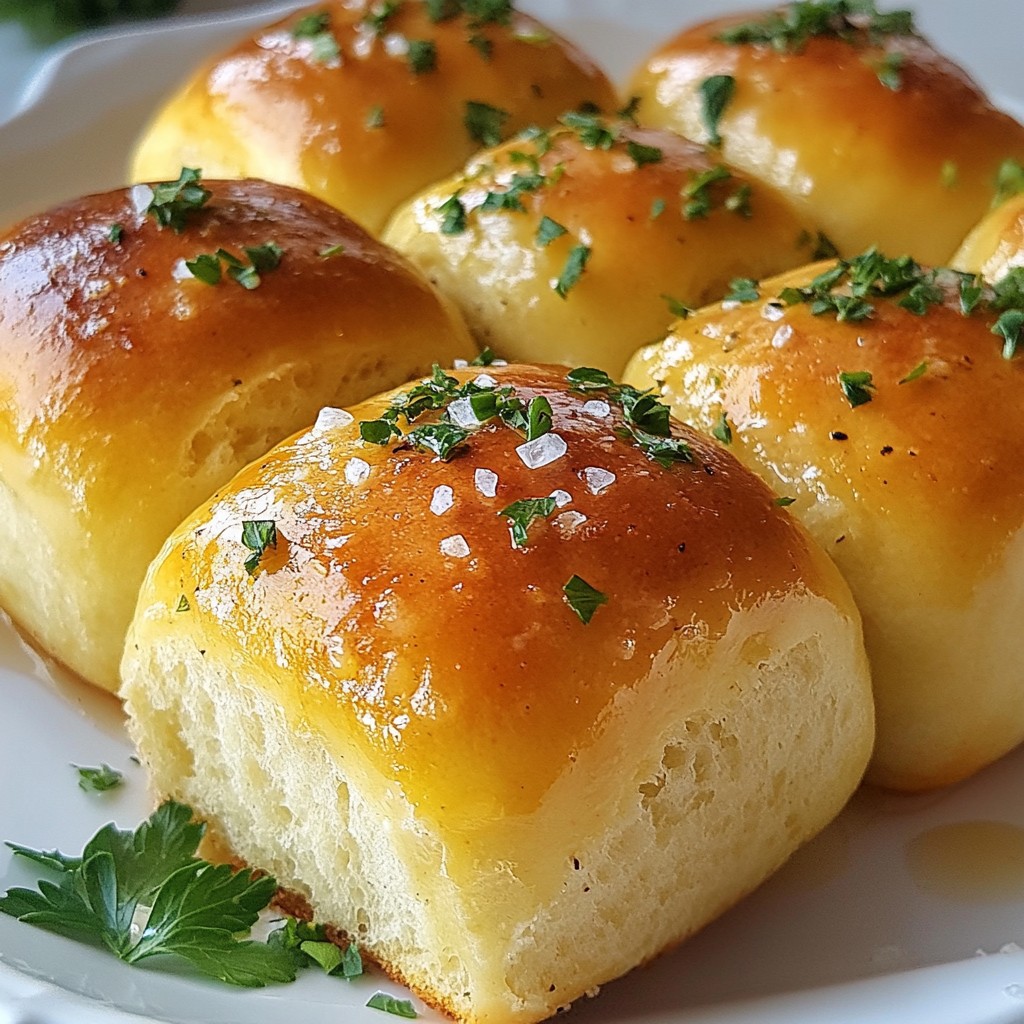
Warm, buttery, and packed with flavor, garlic herb dinner rolls can elevate any meal. In this article, I’ll show you how to make these soft delights that everyone will love. With simple ingredients and easy steps, you’ll have the perfect dinner rolls in no time. Let’s dive into the ingredients and get baking! Your kitchen will soon smell amazing, and your family will thank you.
Why I Love This Recipe
- Homemade Goodness: There's nothing quite like the smell of freshly baked bread wafting through your home, and these garlic herb dinner rolls create a warm and inviting atmosphere.
- Versatile Flavor: The combination of garlic and fresh herbs elevates these rolls, making them perfect for any meal, from family dinners to festive gatherings.
- Simple Ingredients: With just a handful of basic ingredients, you can whip up these delightful rolls without any fuss or complicated techniques.
- Perfect for Sharing: These rolls are great for sharing with friends and family, making every meal feel special and memorable.
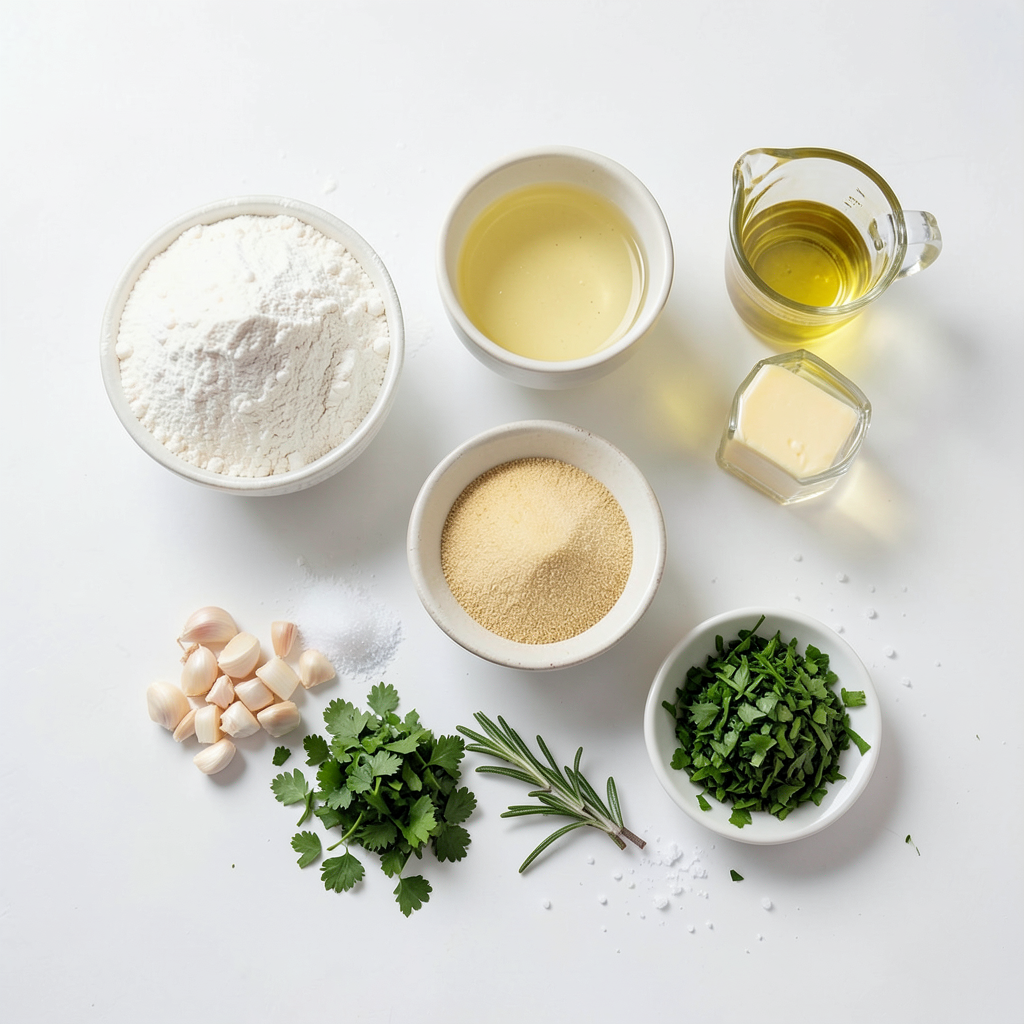
Ingredients
List of Ingredients
- 3 ½ cups all-purpose flour
- 1 packet (2 ¼ teaspoons) active dry yeast
- 1 cup warm water (110°F or 43°C)
- 3 tablespoons granulated sugar
- 2 tablespoons olive oil
- 1 teaspoon salt
- 4 cloves garlic, minced
- 2 tablespoons fresh parsley, finely chopped
- 1 tablespoon fresh rosemary, finely chopped
- 1 tablespoon melted butter (for brushing)
- Additional salt for topping (optional)
Gathering these ingredients is key to making soft and flavorful garlic herb dinner rolls. Each item plays a big role in developing taste and texture. The all-purpose flour gives the rolls structure. Active dry yeast makes them rise, creating a soft bite.
Warm water helps activate the yeast. It should feel cozy, like a warm bath. Sugar feeds the yeast, helping it grow. Olive oil adds moisture and flavor, making the rolls rich. Salt enhances every flavor, while garlic brings a bold kick. Fresh parsley and rosemary add a bright, herbal note.
Melted butter brushed on top gives the rolls a nice shine. If you want, sprinkle some extra salt on top for a savory finish. With these ingredients ready, you’ll be on your way to baking delicious rolls that everyone will love.
Step-by-Step Instructions
Preparing the Yeast Mixture
To start, you need warm water at 110°F or 43°C. Pour the warm water into a big bowl. Then, sprinkle 3 tablespoons of sugar on top. This sugar helps the yeast grow. Next, add 1 packet of active dry yeast. Stir gently and let it sit for about 5-10 minutes. You will see bubbles forming. This means your yeast is ready to go!
Mixing Dough Ingredients
Now it's time to mix in more flavor. Add 2 tablespoons of olive oil to the yeast mixture. Then, add 4 cloves of minced garlic, 1 teaspoon of salt, 2 tablespoons of chopped parsley, and 1 tablespoon of chopped rosemary. Stir everything well. Next, gradually mix in 2 cups of all-purpose flour. Keep stirring until a soft dough forms. The dough should feel a little sticky, but you can still handle it.
Kneading and Rising
Take the dough out and place it on a floured surface. Knead the dough for about 5-7 minutes. You want it to feel smooth and elastic. Once done, shape it into a ball. Put the dough ball in a lightly oiled bowl. Turn it once to coat it. Cover the bowl with a clean towel. Let it rise in a warm spot for about 1 hour until it doubles in size.
After the first rise, gently punch down the dough to release gas. Divide it into 12 equal pieces. Shape each piece into a round roll. Place the rolls on a parchment-lined baking sheet, leaving space between them. Cover with a towel and let them rise again for 30 minutes.
Baking the Rolls
While the rolls rise, preheat your oven to 375°F or 190°C. After the second rise, brush the tops of the rolls with 1 tablespoon of melted butter. You can sprinkle additional salt on top if you want. Bake the rolls in the oven for 15-20 minutes. They should turn golden brown. Tap the bottom; if it sounds hollow, they are done! Remove them from the oven and let them cool slightly on a wire rack. Enjoy these tasty rolls warm!
Tips & Tricks
Perfecting the Dough
The best dough feels soft and slightly sticky. It should spring back when you poke it. If your dough is too dry, add a splash of warm water. If it’s too wet, sprinkle in a little flour. Knead the dough for 5-7 minutes. This builds strength and helps the rolls rise well.
If your dough does not rise, check the yeast. It may be old or not activated. Always use warm water, about 110°F or 43°C, to wake up the yeast. Let the dough rise in a warm spot.
Enhancing Flavor
To make your rolls even tastier, try other herbs. You can use thyme, oregano, or basil. Each herb adds a unique twist. For a spicy kick, add red pepper flakes or a pinch of black pepper.
Mix in some grated cheese, like Parmesan, for a rich taste. You can also use garlic powder for extra garlic flavor. Just remember to balance the herbs so they don’t overpower each other.
Serving Suggestions
Garlic herb rolls shine when served warm. Place them in a basket lined with a cloth. This keeps them warm and soft. They pair well with soup or salad.
You can also use them for sandwiches. Slice them open and fill them with your favorite meats and veggies. Drizzle some olive oil or spread butter for a delightful treat. Enjoy these rolls as a side dish or a snack!
Pro Tips
- Check Yeast Freshness: Always check the expiration date on your yeast packet to ensure it is active. If unsure, you can proof it by mixing it with warm water and sugar before adding it to your dough.
- Kneading Technique: Knead the dough until it is smooth and elastic. This helps develop gluten, which gives the rolls their fluffy texture. You can test by stretching a small piece of dough; it should form a thin membrane without tearing.
- Perfect Rising Environment: For optimal rising, place the dough in a warm, draft-free area. You can create a warm environment by turning your oven on for a minute, then turning it off and placing the covered dough inside.
- Storage Tips: Store leftover rolls in an airtight container at room temperature for up to two days. For longer storage, freeze them in a zip-top bag and reheat in the oven when ready to enjoy.
Variations
Different Flavors
You can easily change the flavor of garlic herb dinner rolls. One fun option is to make cheese-stuffed rolls. Just take a small piece of dough, add your favorite cheese, and seal it up. This creates a warm, gooey center that you will love.
Another great idea is to use different herbs. You can switch the parsley and rosemary for thyme, basil, or even oregano. Each herb brings a new taste to the rolls. Experiment with what you like best.
Healthier Alternatives
If you want a healthier version, try making whole wheat garlic herb rolls. Replace half the all-purpose flour with whole wheat flour. This will add more fiber and nutrients.
For those needing gluten-free options, use a gluten-free flour blend. Make sure it has xanthan gum, as this helps with texture. You will still enjoy soft, tasty rolls without the gluten. Both options let you enjoy garlic herb rolls while being mindful of health.
Storage Info
Storing Leftovers
To keep your garlic herb dinner rolls fresh, let them cool completely. Once cooled, wrap them in plastic wrap or place them in an airtight container. This helps keep them soft and moist. Store them at room temperature for up to three days. If you want to keep them longer, consider freezing.
Freezing Rolls
Freezing is a great way to save your rolls for later. First, let the rolls cool fully. Then, wrap each roll tightly in plastic wrap. After that, place the wrapped rolls in a freezer bag. Be sure to remove as much air as possible. You can freeze them for up to three months. To reheat, take them out of the freezer and let them thaw. Then, warm them in the oven at 350°F until heated through.
Shelf Life
Garlic herb dinner rolls are best enjoyed fresh. However, when stored properly, they can last for about three days at room temperature. If refrigerated, they may last up to a week. Freezing extends their life significantly, keeping them tasty for months. Always check for any signs of spoilage before eating.
FAQs
How do I know if my yeast is active?
You can tell if your yeast is active by checking for bubbles. After you mix warm water and sugar, add the yeast. Let it sit for 5-10 minutes. If the top gets frothy and bubbly, your yeast is active and ready to use. If not, start over with fresh yeast.
Can I make these rolls ahead of time?
Yes, you can make these rolls ahead of time. Prepare the dough and let it rise. After the first rise, shape the rolls. Instead of letting them rise again, cover and refrigerate them. When ready, let them come to room temperature before baking. This method saves time and gives you fresh rolls.
What can I serve with garlic herb dinner rolls?
These rolls pair well with many dishes. Try serving them with soups or salads. They also go great with pasta or grilled meats. You can even enjoy them with a spread of butter or olive oil for dipping. The flavors complement many meals and add a warm touch.
These garlic herb rolls are easy and fun to make. We covered key ingredients and simple steps. You learned how to prepare the yeast and mix the dough. Kneading and rising are essential for the perfect texture. Remember to brush with melted butter for extra flavor.
Feel free to explore variations and storage tips. Enjoy these rolls fresh or freeze for later. With practice, you’ll master this recipe. Happy baking!