Are you ready to make a treat that bursts with flavor? Key Lime Pie Bars offer a bright, tangy twist on the classic dessert. This recipe is simple and fun, perfect for any occasion. I’ll guide you through every step, from picking the right ingredients to serving up the perfect slice. Let’s dive into these delightful citrus bars and discover how to impress your friends and family!
Why I Love This Recipe
- Bright and Tangy Flavor: The combination of key lime juice and zest creates a refreshing and zesty experience that is perfect for warm weather.
- Easy to Make: This recipe has simple steps and requires minimal ingredients, making it perfect for both novice and experienced bakers.
- Perfectly Portable: These bars are easy to cut and serve, making them a great option for picnics, potlucks, or parties.
- Deliciously Creamy Texture: The filling is rich and creamy, providing a delightful contrast to the crunchy graham cracker crust.
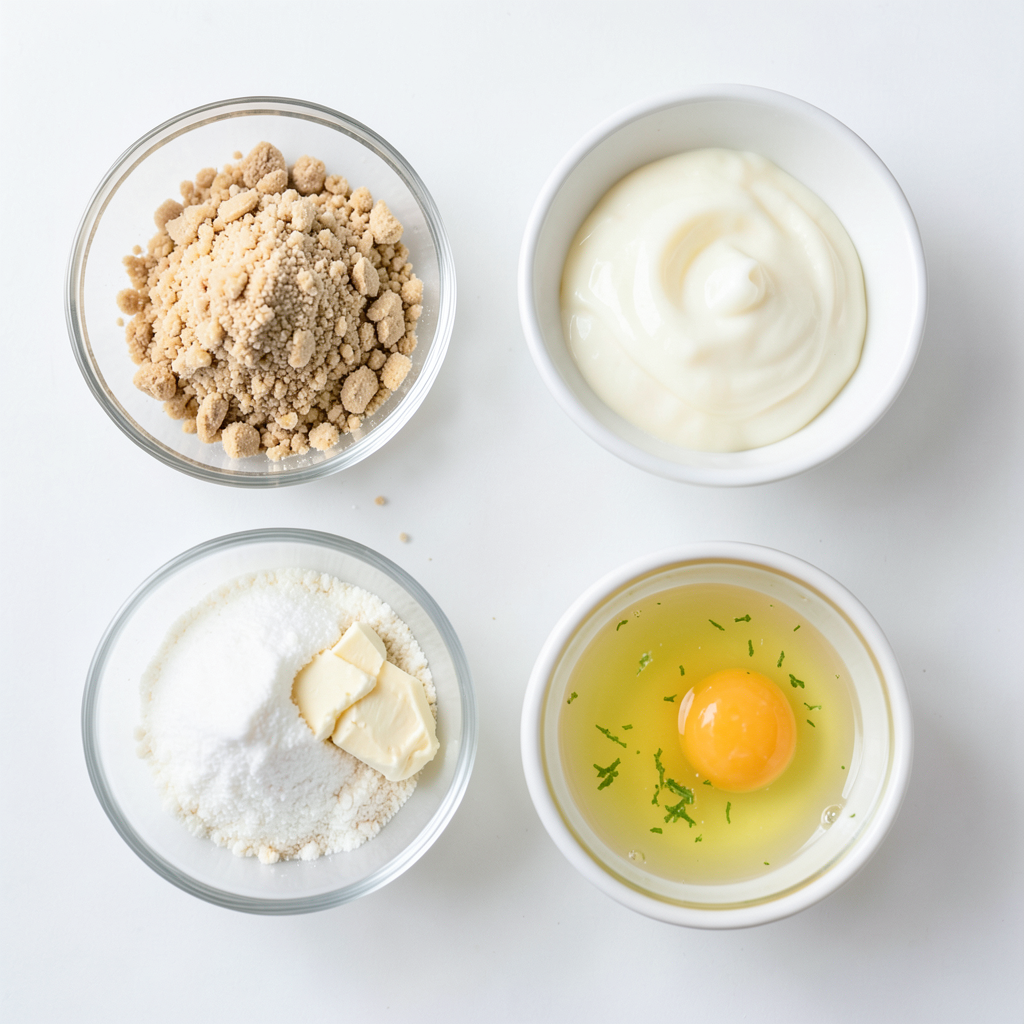
Ingredients
Complete Ingredient List
To make these key lime pie bars, gather the following items:
- 1 cup graham cracker crumbs
- 1/4 cup granulated sugar
- 1/2 cup unsalted butter, melted
- 1 cup sweetened condensed milk
- 1/2 cup key lime juice (freshly squeezed if possible)
- 3 large egg yolks
- 1 tablespoon fresh lime zest
- Whipped cream for topping (optional)
- Lime wedges for garnish
Substitutions and Alternatives
You can swap some ingredients based on what you have:
- Use whole wheat graham cracker crumbs for a healthier crust.
- Substitute coconut cream for sweetened condensed milk for a dairy-free version.
- Regular limes can replace key limes if you can't find them.
- If you don’t have egg yolks, 1/4 cup of silken tofu can work as a binder.
Tips for Choosing Ingredients
Choosing the right ingredients makes a big difference:
- Graham Crackers: Look for ones with no artificial flavors. They add a great crunch and flavor.
- Key Limes: Fresh limes give the best taste. Look for firm limes that feel heavy for their size.
- Eggs: Use large, fresh eggs for the best texture and flavor.
- Condensed Milk: Check the label for a brand with minimal additives for a cleaner taste.
Step-by-Step Instructions
Prepping the Oven and Baking Dish
Start by preheating your oven to 350°F (175°C). This step is key for a good crust. While the oven heats up, grab an 8x8-inch baking dish. Make sure it is clean and dry. You can lightly grease it if you like, but it's not always needed.
Making the Graham Cracker Crust
In a medium bowl, mix together these items:
- 1 cup graham cracker crumbs
- 1/4 cup granulated sugar
- 1/2 cup unsalted butter, melted
Stir until it looks like wet sand. This mixture will be your crust. Now, press the crumb mix firmly into the bottom of the baking dish. Spread it evenly to ensure it bakes well. Place it in the oven for 8-10 minutes. You want it just lightly golden. Once it’s ready, take it out and let it cool slightly.
Preparing the Key Lime Filling
In a clean bowl, whisk together:
- 1 cup sweetened condensed milk
- 1/2 cup key lime juice
- 3 large egg yolks
- 1 tablespoon fresh lime zest
Make sure to whisk until it is nice and smooth. This filling gives your bars that zesty flavor. Pour this mixture over the cooled crust. Use a spatula to spread it evenly.
Baking and Cooling Process
Now it’s time to bake again! Place the baking dish back in the oven for 15-18 minutes. Look for a filling that is set around the edges but still jiggles a bit in the center. When it’s done, let it cool at room temperature. After that, put it in the fridge for at least 2 hours. This cooling time helps the bars set perfectly.
Once chilled, cut the bars into squares. You can add whipped cream and a lime wedge on top for a lovely finish. Enjoy your key lime pie bars!
Tips & Tricks
Achieving the Perfect Texture
To get the best texture in your key lime pie bars, focus on a few steps. First, make sure your crust is firm. Press the graham cracker mixture tightly into the baking dish. This helps it hold together well. When mixing the filling, whisk until it's smooth. Any lumps can lead to an uneven texture. Bake the bars until the edges are set but the center is a bit jiggly. This ensures a creamy filling.
Common Mistakes to Avoid
One common mistake is not cooling the crust properly. If the crust is too warm, the filling may not set right. Always let the crust cool after baking. Another mistake is overbaking. If you bake the bars too long, the filling can turn rubbery. Keep an eye on them during the last few minutes of baking. Lastly, avoid using bottled lime juice. Freshly squeezed juice gives a brighter flavor.
Serving Suggestions and Presentation Ideas
When serving key lime pie bars, make them look tempting. Cut the bars into even squares for a neat look. Top each square with whipped cream for a creamy touch. A lime wedge on the side adds a colorful pop. You can also sprinkle lime zest on top for extra flair. For a fun twist, serve them with fresh mint leaves. This adds a touch of green and freshness to your dessert.
Pro Tips
- Use Fresh Key Limes: For the best flavor, always opt for freshly squeezed key lime juice instead of bottled juice. This will enhance the tartness and freshness of your bars.
- Chill for Best Results: Allow the bars to chill in the refrigerator for at least 2 hours after baking. This ensures they set properly and makes them easier to cut into squares.
- Perfect the Crust: Make sure to press the graham cracker crust mixture firmly into the baking dish to create a solid base. This will prevent it from crumbling when you cut the bars.
- Garnish for Presentation: Enhance the visual appeal by garnishing each bar with a dollop of whipped cream and a lime wedge. A sprinkle of lime zest or fresh mint leaves adds a beautiful touch.
Variations
Vegan Key Lime Pie Bars
You can make vegan key lime pie bars easily. Swap the eggs and dairy. Use silken tofu instead of eggs. Blend it with sweetened condensed coconut milk. This creates a creamy filling. Use a graham cracker crust made with vegan butter. These bars will taste just as good!
Gluten-Free Options
For gluten-free key lime pie bars, use gluten-free graham crackers. Crushed almonds or oats work too. These options create a tasty crust. Make sure the sweetened condensed milk you use is gluten-free. Your bars will be just as zesty and delicious.
Flavor Twists and Add-ins
Feel free to play with flavors in your key lime bars. Add fresh herbs like mint for a twist. You can also mix in fresh fruit, like berries, for a pop of color. Coconut flakes give a tropical touch. A hint of ginger can add warmth. These fun changes let you create your own special dessert.
Storage Info
Best Storage Practices
To keep your key lime pie bars fresh, store them in the fridge. Use an airtight container to prevent drying out. You can also cover them tightly with plastic wrap. This keeps the bars moist and tasty.
How Long Do Key Lime Pie Bars Last?
When stored properly, key lime pie bars last about 4 to 5 days in the fridge. After that, the flavors may fade. If you notice any changes in texture or smell, it's best to toss them out.
Freezing Instructions
You can freeze key lime pie bars for up to three months. First, cut the bars into squares. Wrap each piece in plastic wrap and place them in a freezer bag. Make sure to squeeze out any air. When ready to eat, thaw them in the fridge overnight. Enjoy your tasty treat!
FAQs
Can I use bottled key lime juice?
Yes, you can use bottled key lime juice. It saves time and effort. However, fresh juice tastes better. Fresh key limes give a strong flavor. If you want the best taste, use fresh limes.
How do I know when the bars are done baking?
You will know the bars are done when the edges set. The center should still jiggle a bit. This means it's creamy and not overcooked. If the edges are firm, they are ready. Let them cool completely after baking for best results.
What is the difference between key lime pie and key lime pie bars?
Key lime pie is usually in a round pie crust. Key lime pie bars are baked in a square dish. Bars are easier to cut and serve. They also have a thicker layer of crust. Both have the same zesty lime flavor and creamy filling.
In this blog post, I shared how to make amazing key lime pie bars. We explored the ingredients, step-by-step instructions, and tips for perfect texture. I also covered variations like vegan and gluten-free options, plus storage tips to keep your bars fresh.
Remember, small changes can make a big difference in your bars. Enjoy creating and sharing this tasty treat!