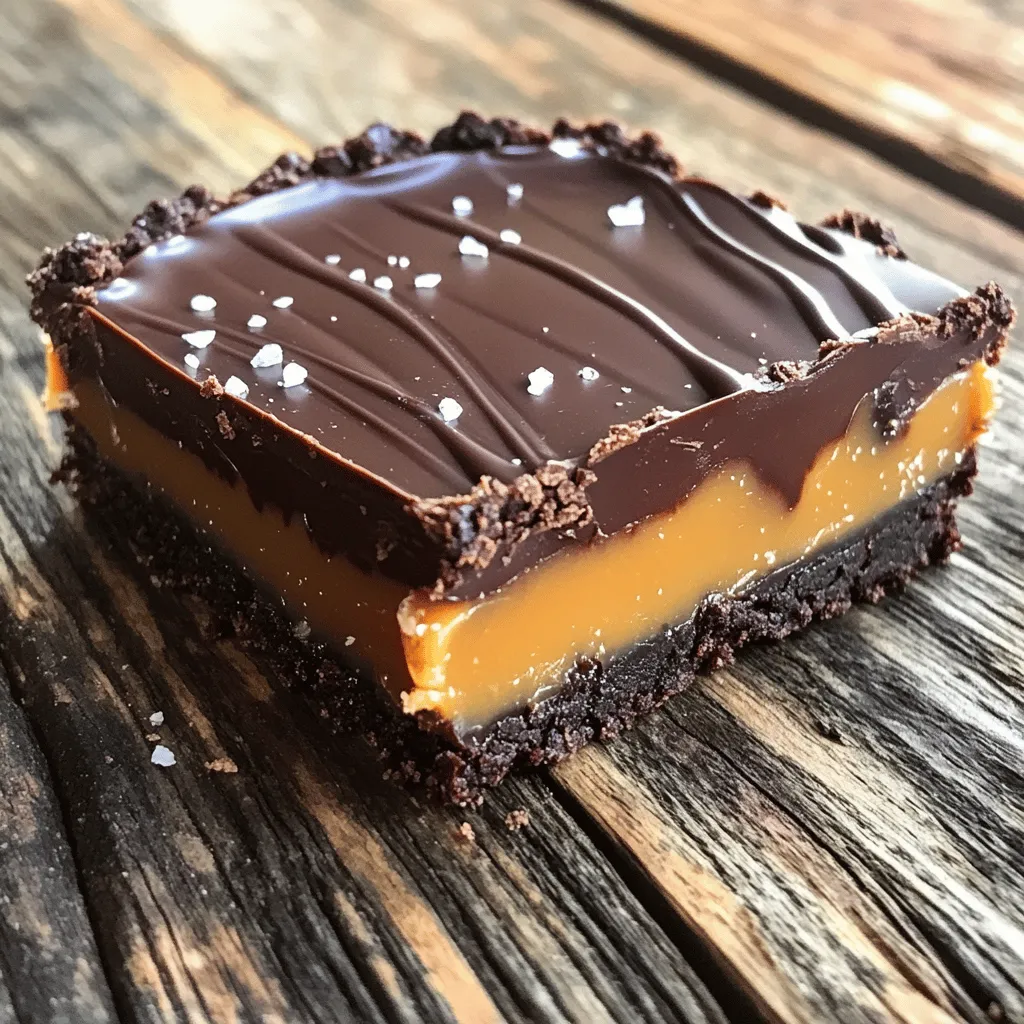
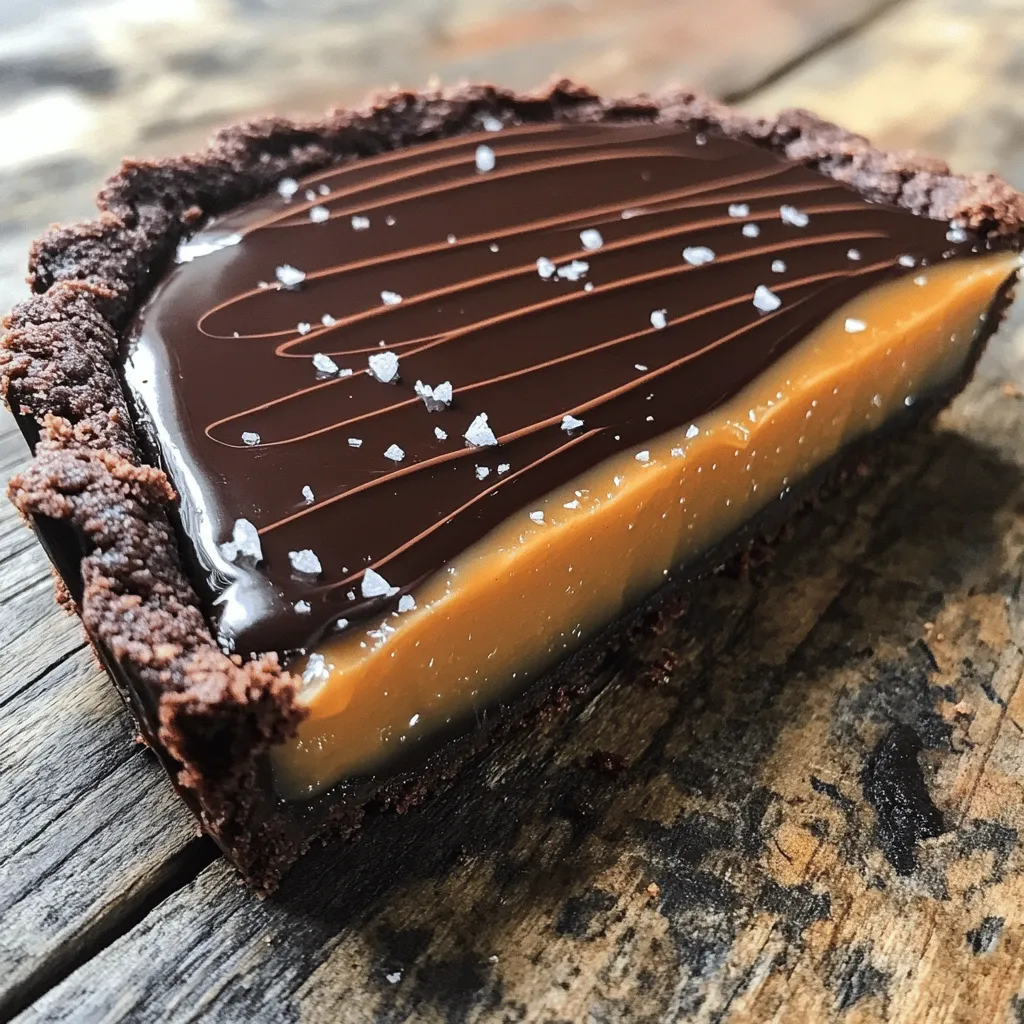
Craving something sweet but don’t want to turn on the oven? I’ve got you covered with my No-Bake Salted Caramel Chocolate Tart Delight! This simple recipe combines rich chocolate, creamy caramel, and a crunchy crust, all without a single bake. Perfect for impressing guests or treating yourself, this tart is easy to make and oh-so-delicious. Let’s dive into the ingredients and get started on your new favorite dessert!
Ingredients
To create the No-Bake Salted Caramel Chocolate Tart, you need some key ingredients. Each one plays an important role in the flavor and texture. Here’s the full list:
– 1 1/2 cups chocolate cookie crumbs (or graham cracker crumbs)
– 1/2 cup unsalted butter, melted
– 1 cup Medjool dates, pitted and roughly chopped
– 1/2 cup full-fat coconut milk
– 1/2 cup creamy almond butter (or another nut/seed butter of choice)
– 1 teaspoon pure vanilla extract
– 1/2 cup pure maple syrup (or honey, if preferred)
– 1/4 teaspoon fine sea salt (plus extra for garnishing)
– 1/2 cup dark chocolate chips (dairy-free if needed)
– 1 tablespoon coconut oil
Using chocolate cookie crumbs gives the crust a rich taste. You can swap them for graham cracker crumbs if you prefer a milder flavor.
Unsalted butter adds creaminess to the crust. The melted butter helps bind the crumbs together.
Medjool dates are a natural sweetener and create a smooth caramel layer. If you want a milder sweetness, you can use fewer dates.
Coconut milk adds richness and creaminess to your caramel. It also helps bind the ingredients together.
Almond butter gives a nutty flavor. You can use any nut or seed butter you like, such as peanut or sunflower butter.
Pure vanilla extract enhances the overall flavor of the tart.
Maple syrup adds a sweet touch. If you prefer, you can substitute it with honey.
Fine sea salt balances the sweetness. Always sprinkle a little extra for that salty kick.
Dark chocolate chips provide that decadent chocolate layer. You can choose dairy-free chips if needed.
Coconut oil helps in melting the chocolate and gives it a nice glossy finish.
Feel free to experiment! You can add extra flavors or swap out ingredients to suit your taste.
Step-by-Step Instructions
Preparing the Crust
– In a bowl, mix 1 1/2 cups chocolate cookie crumbs with 1/2 cup melted unsalted butter.
– Stir until all crumbs are coated.
– Press this mixture firmly into a 9-inch tart pan.
– Make sure to cover the bottom and sides evenly.
– Chill the crust in the fridge for 30 minutes.
Making the Caramel Layer
– For the caramel, gather these ingredients:
– 1 cup Medjool dates, pitted
– 1/2 cup full-fat coconut milk
– 1/2 cup creamy almond butter
– 1 teaspoon pure vanilla extract
– 1/2 cup pure maple syrup
– 1/4 teaspoon fine sea salt
– Blend these ingredients in a high-speed blender.
– Keep blending until the mixture is smooth.
– If it’s too thick, add a splash of water.
Assembling the Tart
– Pour the caramel layer over the chilled crust.
– Use a spatula to spread it evenly.
– Gently tap the tart pan on the counter to remove air bubbles.
– Return the tart to the fridge for 1 hour to set.
Preparing the Chocolate Topping
– In a small saucepan, combine 1/2 cup dark chocolate chips and 1 tablespoon coconut oil.
– Melt these over low heat, stirring until smooth.
– Remove from heat and let it cool for a few minutes.
Final Steps for Completing the Tart
– Once the caramel has set, pour the chocolate mixture over it.
– Smooth out the chocolate with a spatula.
– Sprinkle a pinch of sea salt on top for extra flavor.
– Chill the tart for another 30 minutes to set the chocolate.
Tips & Tricks
Common Mistakes to Avoid
Making this tart is easy, but some errors can happen. Here are common mistakes to watch out for:
– Overmixing or undermixing the crust: Mix the chocolate cookie crumbs and melted butter until they are just combined. If you mix too much, the crust can become tough. If you mix too little, the crust won’t hold together well.
– Tips for achieving the silky consistency of caramel: When making the caramel, blend the dates, coconut milk, and almond butter well. If it feels too thick, add a splash of water. This helps create a smooth and pourable caramel.
Presentation Tips
A beautiful tart is a treat for the eyes. Here are some simple ideas to make your tart shine:
– Decorative garnishing ideas, such as whipped coconut cream: Top each slice with a dollop of whipped coconut cream. It adds a creamy texture and looks stunning.
– Tips on serving with seasonal fruits: Fresh berries or slices of ripe fruit add color and freshness. Consider strawberries, raspberries, or even kiwi for a vibrant touch.
Serving Suggestions
Pairing your tart with the right flavors enhances the experience:
– Best pairings for the tart: Serve this tart with a scoop of vanilla ice cream or a glass of cold almond milk. These pairings balance the rich flavors of the tart.
– Ideal serving temperatures: The tart is best served chilled. Let it sit out for a few minutes before serving. This helps soften the chocolate topping and makes it easier to slice.
Variations
Flavor Variations
You can add different nut butters to this tart. Almond butter gives a creamy taste. Peanut butter adds a rich, nutty twist. You can also try cashew butter for a mild flavor. Each nut butter will change the tart’s taste and texture.
Another way to enhance flavor is by adding spices. A pinch of cinnamon can warm the flavor up. Espresso powder adds a nice coffee kick. Both spices will make your tart stand out.
Dietary Adjustments
If you’re vegan, swap the butter for coconut oil. Use maple syrup instead of honey. This way, you keep the tart creamy without dairy. For gluten-free options, use gluten-free cookies for the crust. They still hold together well and taste great.
If you want a lower-sugar tart, use less maple syrup. You can use ripe bananas for sweetness instead. This keeps the dessert tasty but cuts down on sugar.
Storage Info
Storing Leftovers
To keep your no-bake salted caramel chocolate tart fresh, wrap it well. Use plastic wrap or place it in an airtight container. This will help prevent it from drying out. Store the tart in the refrigerator. It will stay good for about five days. If you want to keep it longer, you can freeze it. Just slice it first and wrap each piece separately. It can last up to two months in the freezer.
Reheating Instructions
You don’t need to heat the tart since it’s meant to be served cold. If it feels too firm after storage, let it sit at room temperature for about 10 minutes. This makes it easier to slice and enjoy. If you prefer a softer texture, you can microwave a slice for about 10-15 seconds. This will warm it slightly without melting the chocolate topping. Enjoy your tart at the perfect temperature!
FAQs
Can I make the tart ahead of time?
Yes, you can make this tart ahead of time. I suggest preparing it a day in advance. This allows the flavors to meld well together. Just store it in the fridge. Cover it tightly with plastic wrap to keep it fresh.
How do I fix a runny caramel layer?
If your caramel layer is runny, don’t worry! You can thicken it easily. Add more chopped Medjool dates to the blender. Blend until smooth. You can also chill the caramel in the fridge for a bit. This helps it firm up before pouring it on the crust.
What can I use instead of almond butter?
If you need a nut-free option, try sunflower seed butter. It works well and adds a nice flavor. You can also use peanut butter or cashew butter. Just pick your favorite nut or seed butter for the recipe.
Is this tart suitable for a gluten-free diet?
Yes, this tart can be gluten-free! Use gluten-free chocolate cookie crumbs or graham cracker crumbs. Always check the labels to ensure they are certified gluten-free. This way, everyone can enjoy this tasty treat without worry.
This blog post covered everything you need to make a delicious tart. We discussed key ingredients like chocolate cookie crumbs and almond butter. You learned how to prepare the crust, make a silky caramel layer, and assemble the tart. We shared tips to avoid common mistakes and suggested ways to present your dessert beautifully. Lastly, you gained insight into flavor variations and proper storage.
Enjoy creating your tart, and impress everyone with your skills!