If you love cookies, you’ll adore these Oreo Cookie Dough Truffles! This simple, no-bake treat is perfect for anyone who wants a sweet, indulgent snack. You can whip them up in no time with just a few ingredients. In this post, I’ll guide you through each step to create creamy, chocolatey bites that will impress your friends and family. Let’s get started on this delightful adventure!
Why I Love This Recipe
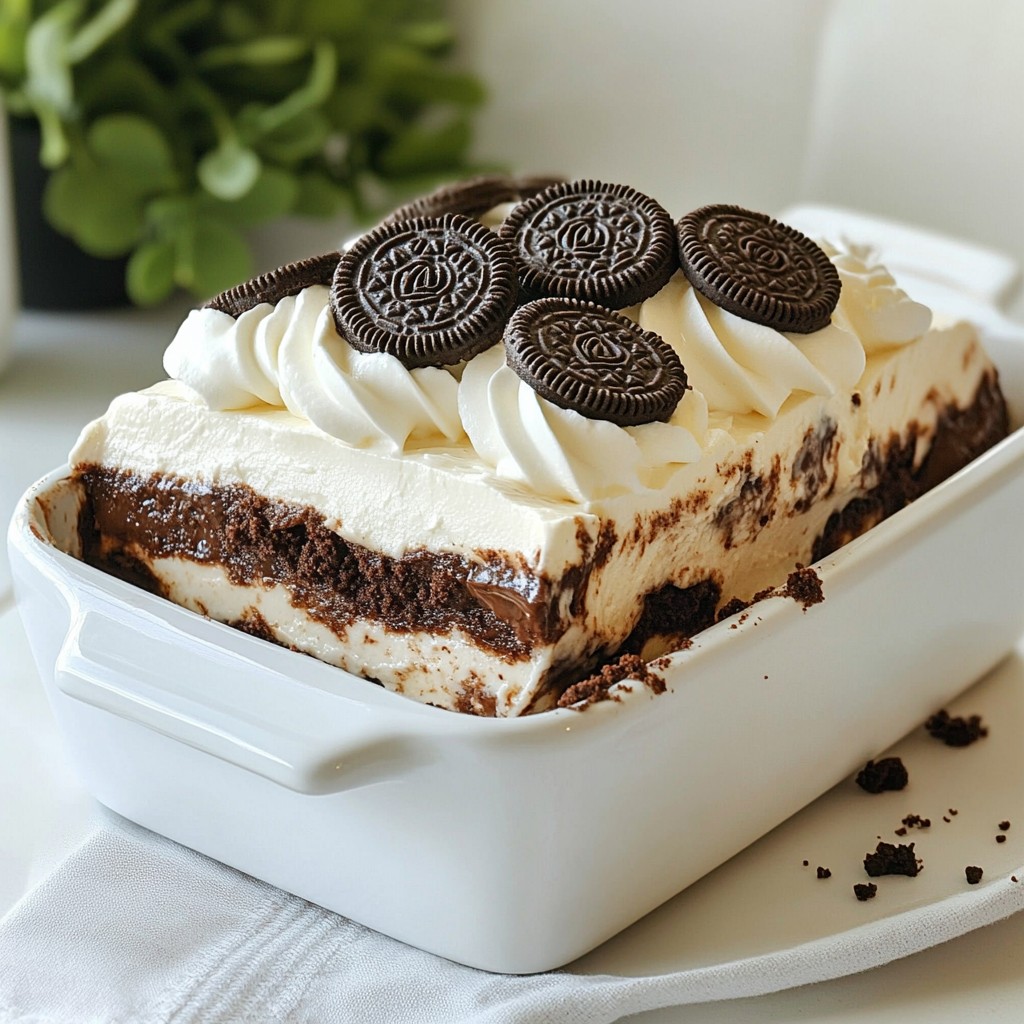
- Decadent Flavor: The combination of Oreo cookies and chocolate creates a rich, indulgent treat that satisfies any sweet tooth.
- Easy to Make: This no-bake recipe is simple and requires minimal ingredients, making it perfect for any baking level.
- Perfect for Gifting: These truffles make a beautiful and delicious homemade gift for friends and family, especially around the holidays.
- Customizable: You can easily modify the recipe by adding different mix-ins or coatings, allowing for endless creative variations.
Ingredients
Essential Ingredients for Oreo Cookie Dough Truffles
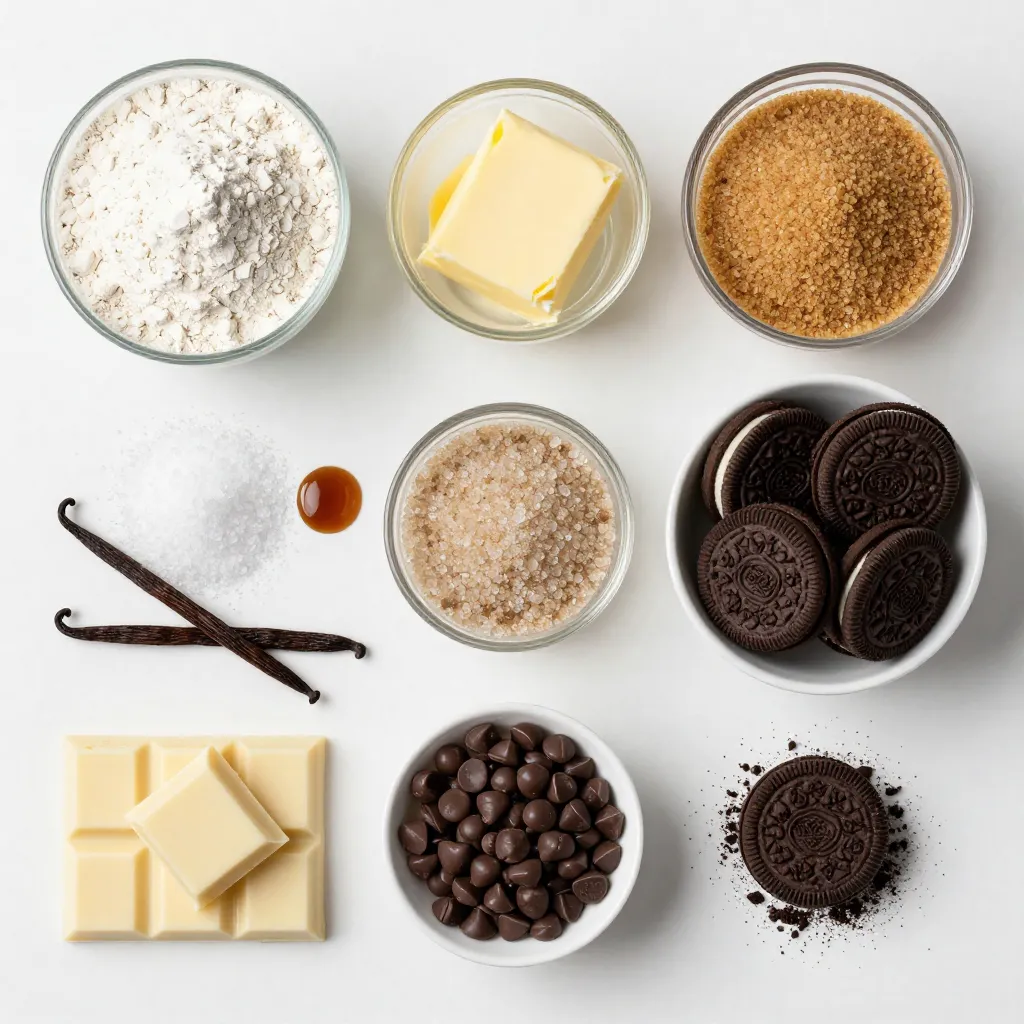
To make these tasty Oreo Cookie Dough Truffles, you need the following ingredients:
– 1 cup all-purpose flour
– ½ cup unsalted butter, softened to room temperature
– ¾ cup packed brown sugar
– ¼ cup granulated sugar
– 1 teaspoon pure vanilla extract
– ¼ teaspoon salt
– 1 cup crushed Oreo cookies (about 8 cookies)
– ½ cup mini chocolate chips
– 8 ounces white chocolate, for coating
– Additional crushed Oreos for garnish
These ingredients create a sweet and rich dough. The combination of Oreo cookies and chocolate chips makes each bite a delight.
Optional Ingredients for Variations
You can customize your truffles with these optional ingredients:
– Dark or milk chocolate for coating
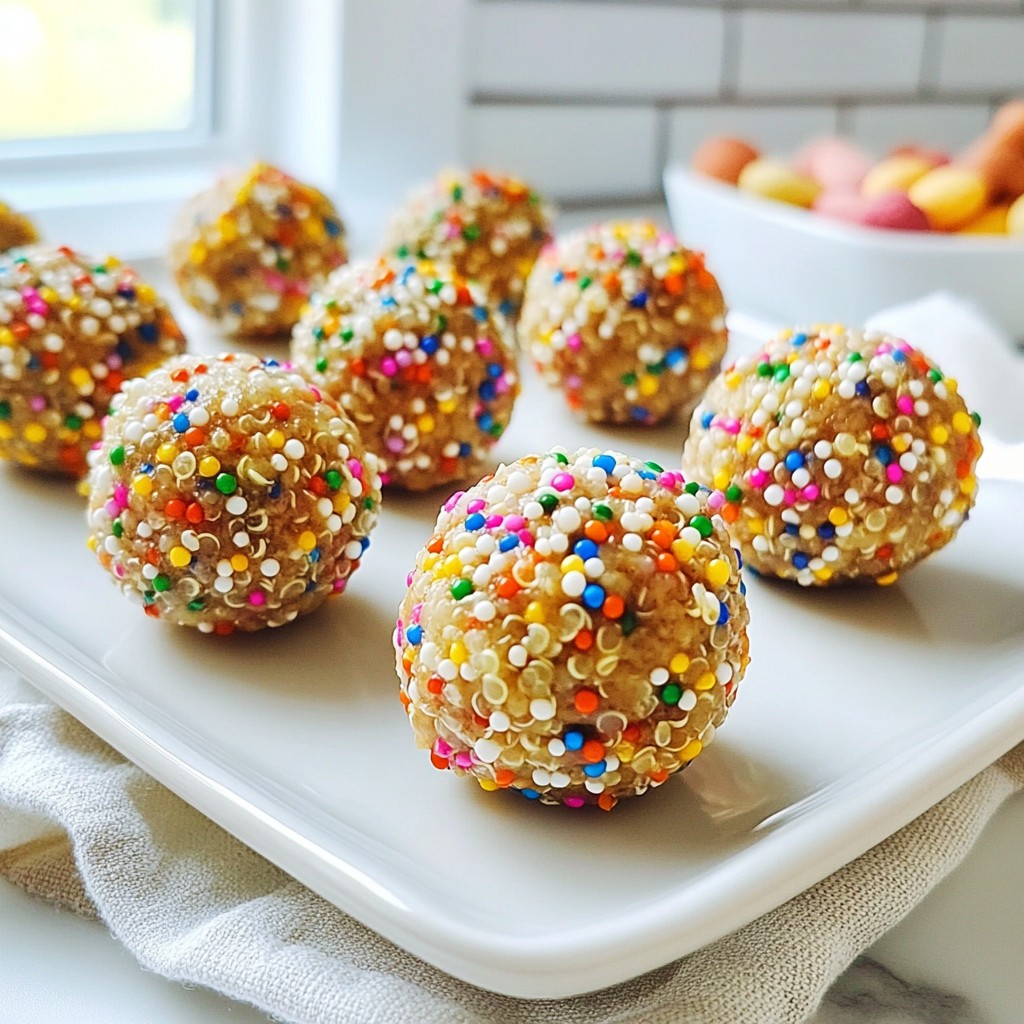
– Sprinkles for added color
– Nut butter for extra creaminess
– Flavored extracts like almond or mint
These variations let you explore new flavors. You can make the truffles your own!
Equipment Needed for Preparation
To prepare these truffles, gather the following tools:
– Medium mixing bowl
– Electric mixer
– Spatula
– Plastic wrap or airtight container
– Small cookie scoop or your hands
– Baking sheet lined with parchment paper
– Microwave-safe bowl for melting chocolate
Having the right equipment helps make the process smooth. It keeps your workspace organized and efficient.
Step-by-Step Instructions
Preparing the Cookie Dough
To start, grab a medium bowl. Use an electric mixer to beat together the softened butter, brown sugar, and granulated sugar. Mix it on medium speed for about 2-3 minutes. You want it to look light and fluffy. Next, pour in the vanilla extract and sprinkle in the salt. Mix it on low speed until it’s all combined.
Now, it’s time for the dry ingredients. Gradually sift in the all-purpose flour while mixing. Keep stirring until you see a crumbly dough. Make sure there are no pockets of flour. Then, gently fold in the crushed Oreo cookies and mini chocolate chips. Use a spatula for even mixing.
Chilling and Forming the Truffles
After mixing, wrap the dough tightly in plastic wrap or put it in an airtight container. Chill it in the refrigerator for about 30 minutes. This helps the dough become firm and easy to handle. Once chilled, use a small cookie scoop or your hands to divide the dough into small balls. Aim for about 1 inch in diameter. Place each ball on a lined baking sheet, leaving space between them.
Coating and Decorating the Truffles
Now it’s time to melt the chocolate. In a microwave-safe bowl, heat the white chocolate in 20-second bursts. Stir gently after each interval until the chocolate is smooth. Be careful not to overheat it. Using a fork, dip each cookie dough ball into the melted chocolate. Make sure each ball is fully covered. Let any excess chocolate drip off.
While the chocolate is still wet, sprinkle crushed Oreos on top. This adds both crunch and a nice look. Finally, return the baking sheet to the fridge for another 30 minutes. This allows the chocolate to set completely. Enjoy your delicious Oreo cookie dough truffles!
Tips & Tricks
How to Achieve Perfectly Round Truffles
To make your truffles round, start with cold dough. Chill it well. Use a small cookie scoop for even portions. If you don’t have a scoop, use your hands. Roll each ball gently until smooth. This step is key for a nice look.
Ensuring a Smooth Chocolate Coating
For a smooth chocolate coating, melt the white chocolate carefully. Use short bursts in the microwave. Stir in between to avoid burning. When dipping, use a fork to lift the truffle out. Let any excess chocolate drip off before placing it back. This keeps the coating even.
Storing Leftovers and Maintaining Freshness
Store any leftovers in an airtight container. Keep them in the fridge to stay fresh. They taste best within a week. If you need to store them longer, freeze them. Place them in a freezer-safe bag and enjoy later. Just remember to thaw them in the fridge before serving.
Pro Tips
- Chill the Dough Longer: For easier rolling, consider chilling the dough for an hour instead of 30 minutes. This will help the dough firm up even more.
- Use a Cookie Scoop: For uniform truffles, use a cookie scoop to measure out the dough. This ensures that all your truffles are the same size and look great.
- Experiment with Coatings: While white chocolate is traditional, try using milk or dark chocolate for a different flavor profile. Each will bring its own unique taste to the truffles.
- Store Properly: To keep your truffles fresh, store them in an airtight container in the refrigerator. They can last for up to a week, but they are best enjoyed fresh!
Variations
Using Dark or Milk Chocolate for Coating
You can switch up the flavor by using dark or milk chocolate for the coating. Dark chocolate adds a rich taste that pairs well with the sweet cookie dough. Milk chocolate gives a creamier, sweeter finish.
To use dark or milk chocolate, simply melt it the same way as white chocolate. Dip each truffle into the melted chocolate until fully coated. Let the excess drip off, just like before. The choice of chocolate can change the whole feel of your truffles.
Adding Flavorings or Extracts
Adding flavorings or extracts can make your truffles even more special. You can try almond or mint extract for a fun twist. Just add about ¼ teaspoon of your chosen extract when mixing in the vanilla.
This small change can bring a new depth to your truffles. You can also sprinkle in some spices like cinnamon or nutmeg for warmth. Experimenting with flavors makes each batch unique and personal.
Gluten-Free Options for Truffles
If you need gluten-free options, there’s an easy fix! Substitute the all-purpose flour with gluten-free flour. Many brands offer gluten-free flour blends that work well in baking.
Make sure to check that your Oreos are gluten-free, as some brands may differ. This way, everyone can enjoy these tasty treats without worry. Gluten-free options keep the fun and flavor alive!
Storage Info
How to Store Oreo Cookie Dough Truffles
To keep your Oreo cookie dough truffles fresh, store them in an airtight container. This will help maintain their taste and texture. Place a piece of parchment paper between layers if you stack them. Avoid leaving them in a warm area.
Shelf Life of Homemade Truffles
Homemade truffles can last up to one week in the fridge. They taste best when eaten fresh. If you notice any changes in texture or smell, it’s best to discard them. Always check before enjoying!
Freezing Truffles for Long-Term Storage
You can freeze your truffles for long-term storage. Place them on a baking sheet and freeze until solid. Once frozen, transfer them to a freezer-safe bag or container. They can last for up to three months in the freezer. When ready to eat, let them thaw in the fridge for a few hours. Enjoy them at your leisure!
FAQs
Can I use other cookies besides Oreos?
Yes, you can use other cookies! Try chocolate chip, peanut butter, or even shortbread. Each cookie offers a unique flavor. Experiment with your favorites. Just remember to adjust the amount of crushed cookies to match the recipe.
How do I know when the dough is chilled enough?
The dough is chilled when it feels firm to the touch. It should hold its shape when you roll it into balls. If it’s still sticky, give it more time in the fridge. This chilling step helps the truffles keep their shape when you coat them.
What are some serving suggestions for truffles?
You can serve them on a fancy platter for parties. Pair them with coffee or milk for a sweet snack. Wrap them in clear bags for gifts. They also make great treats for holidays or special occasions. Enjoy them any time you want a tasty bite!
Oreo cookie dough truffles are fun to make and tasty to eat. We covered all the steps, from choosing ingredients to storing your treats. With tips for perfect truffles and cool variations, anyone can enjoy this recipe. Remember, you can swap cookies or chocolates to find your favorite mix. These truffles are a sweet snack and a hit for any party. Dive in and start making your own toda
<!-- /wp:post-conte