
LATEST RECIPES
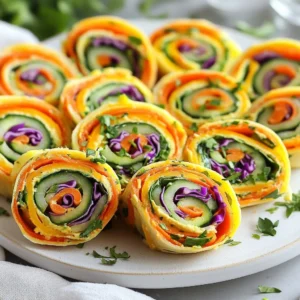
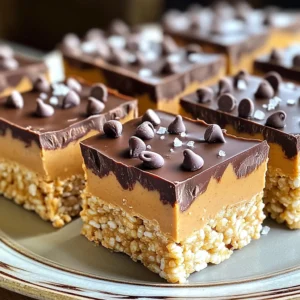
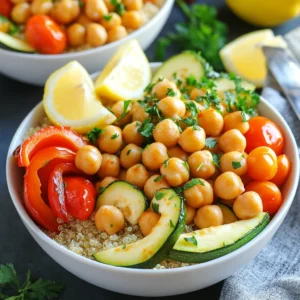

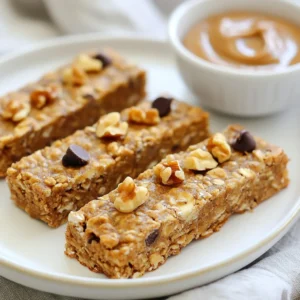


LET'S GET COOKING!
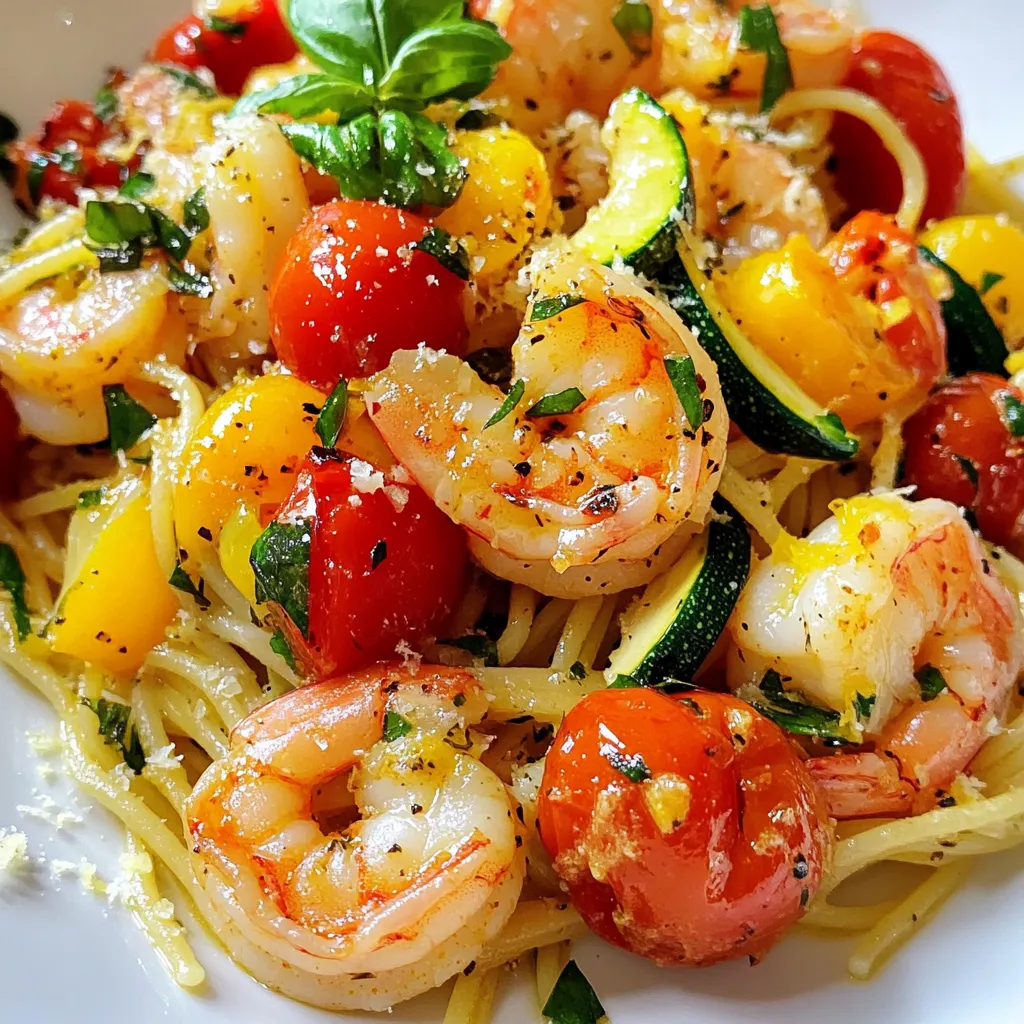
Tomato Zucchini Shrimp Pasta Flavorful and Easy Recipe
Are you ready to whip up a delicious meal that’s both simple and satisfying? My Tomato Zucchini Shrimp Pasta is just what you need! This...
Read Full Recipe →