
LATEST RECIPES

LET'S GET COOKING!
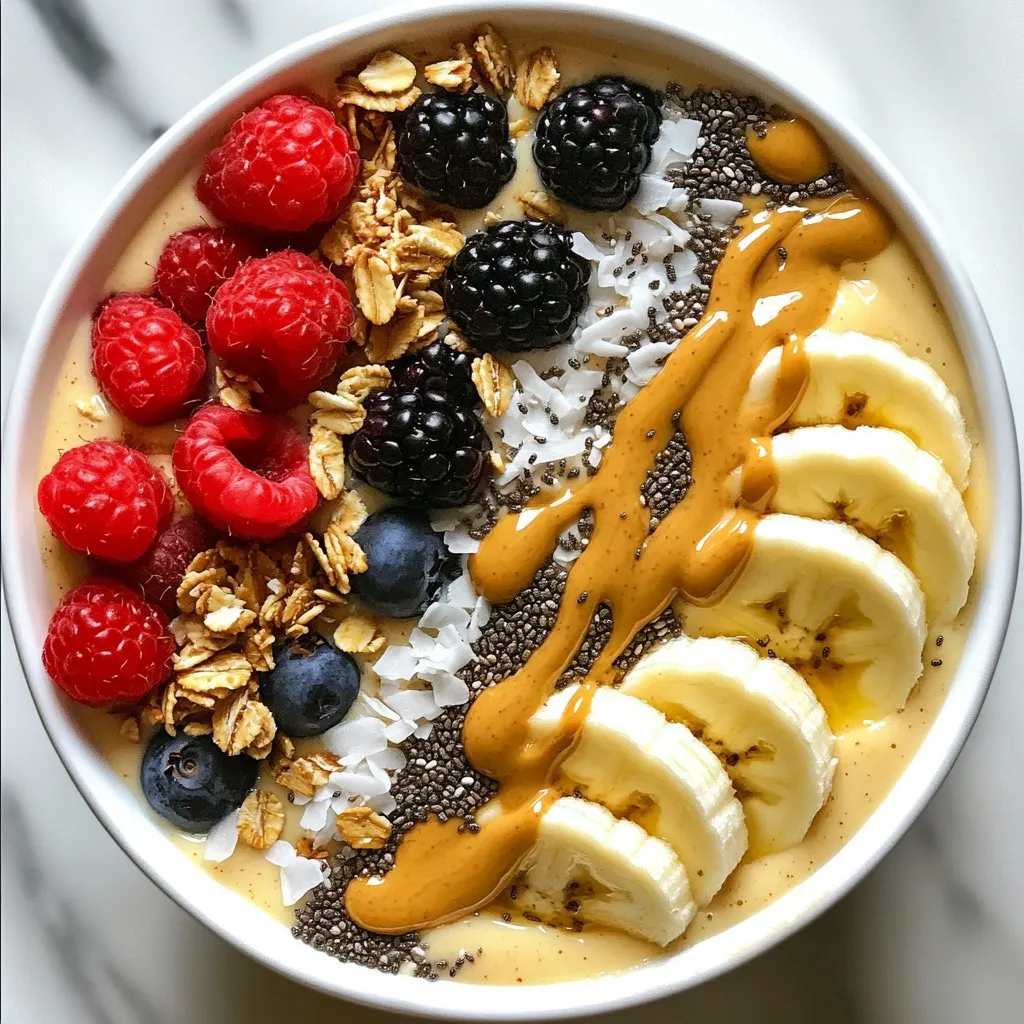
Peanut Butter Banana Smoothie Bowl Energizing Boost
Looking for a quick breakfast that fuels your day? The Peanut Butter Banana Smoothie Bowl is the perfect choice! Packed with energy, it combines creamy...
Read Full Recipe →