
LATEST RECIPES


LET'S GET COOKING!
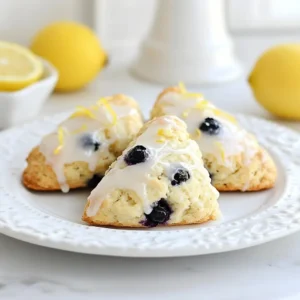
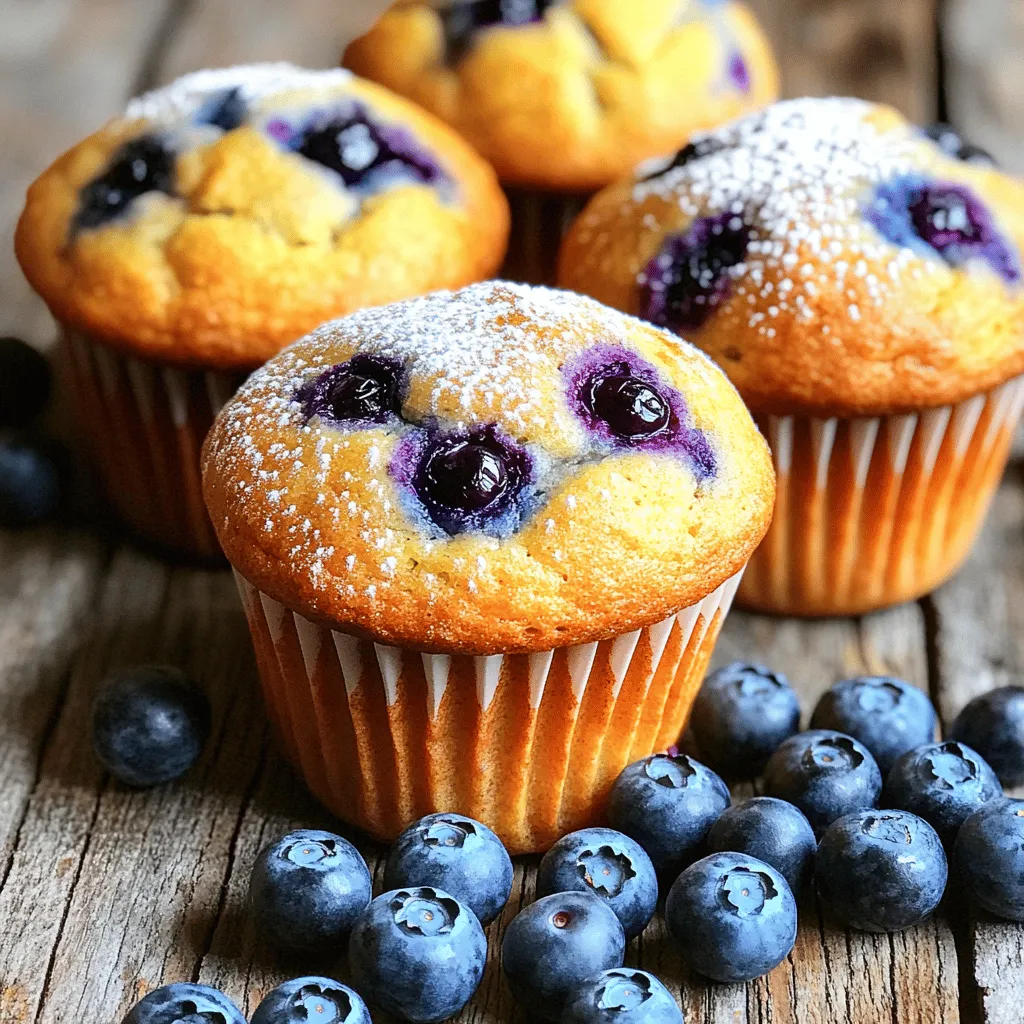
Gluten-Free Blueberry Muffins Easy and Delicious Recipe
Are you ready to bake a treat that’s easy, delicious, and gluten-free? These Gluten-Free Blueberry Muffins are perfect for breakfast or a snack! With fresh...
Read Full Recipe →