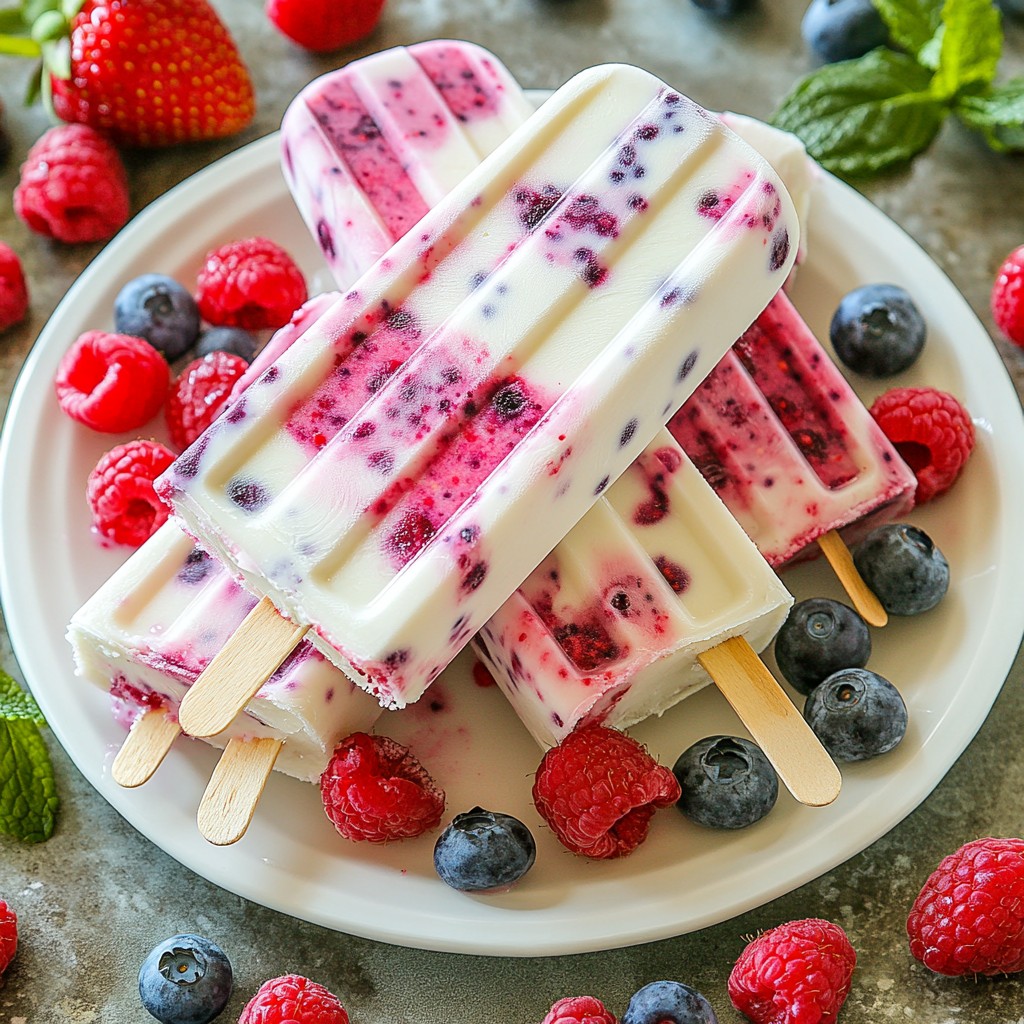
Looking for a fun and healthy summer treat? These Triple Berry Yogurt Pops are just what you need! Made with fresh strawberries, blueberries, and raspberries, they’re perfect for hot days. Plus, they’re easy to make and great for kids. I’ll guide you through each simple step, ensuring your pops are both delicious and refreshing. Let’s get started on this tasty adventure!
Why I Love This Recipe
- Vibrant Flavors: The combination of strawberries, blueberries, and raspberries creates a refreshing and colorful treat that bursts with flavor.
- Healthy Indulgence: Using Greek yogurt not only adds creaminess but also packs in protein, making these pops a guilt-free dessert option.
- Customizable Sweetness: With options for honey or maple syrup, you can adjust the sweetness to suit your taste preferences.
- Easy to Make: With just a few simple steps, you can whip up these delightful pops, perfect for a hot summer day or a fun snack.
Ingredients
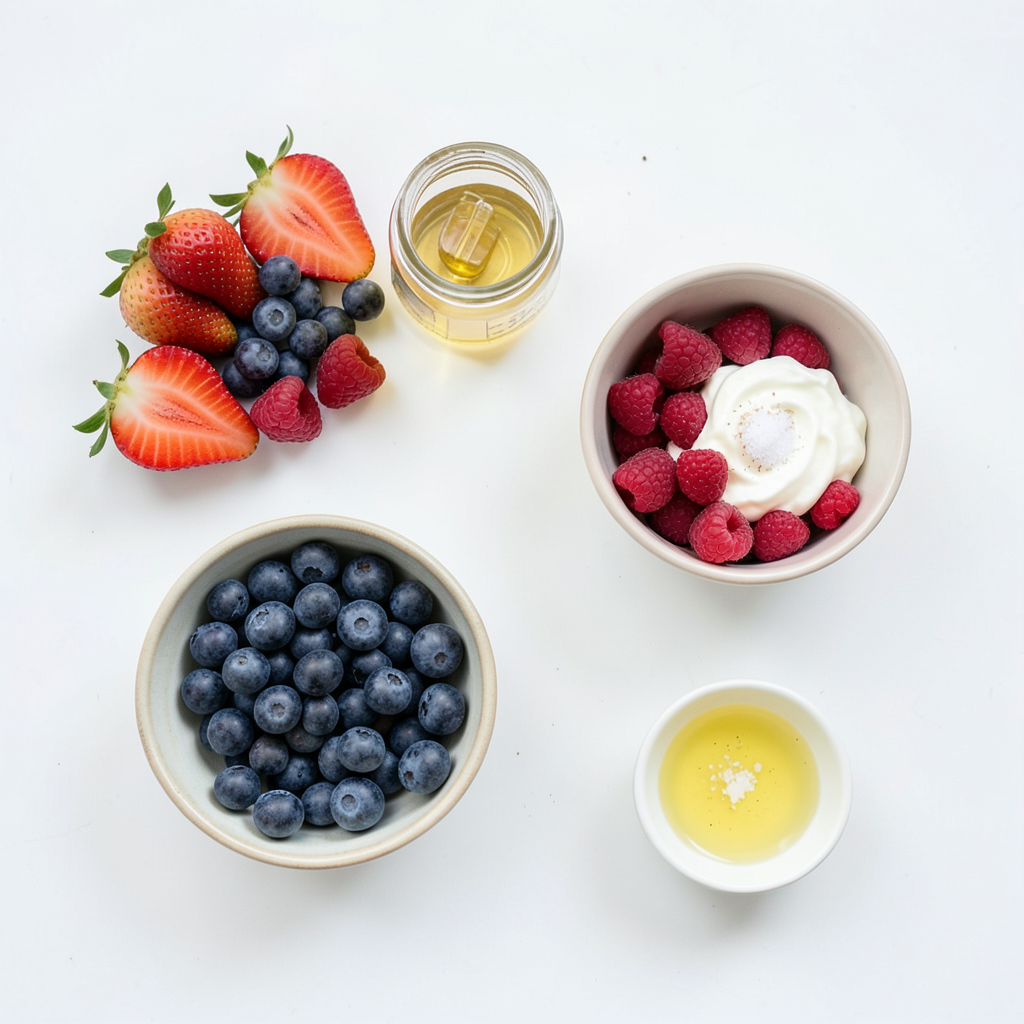
To make delightful Triple Berry Yogurt Pops, you need a few simple ingredients. Here’s what you will need:
- 1 cup strawberries, hulled and halved
- 1 cup blueberries
- 1 cup raspberries
- 2 cups Greek yogurt (plain or vanilla)
- 1/4 cup honey or maple syrup
- 1 tablespoon fresh lemon juice
- A pinch of salt
Each ingredient plays a key role. The berries provide bright flavors and vibrant colors. Greek yogurt gives a creamy base that pairs well with the sweetness. Honey or maple syrup adds just the right amount of sweetness. Fresh lemon juice adds a lovely zing that brightens the taste. Lastly, a pinch of salt helps enhance all the flavors.
Using fresh, ripe berries will make your pops taste even better. Choose berries that are firm and fragrant for the best results. If you want to change up the flavor, feel free to mix in other fruits or swap the yogurt for a dairy-free option. The possibilities are endless!
Step-by-Step Instructions
Blending the Berry Mixture
1. Combine strawberries, blueberries, raspberries, honey, lemon juice, and salt in a blender.
2. Blend on medium speed until smooth with a slightly chunky texture. This gives the pops a nice bite.
Mixing with Yogurt
3. Fold a tablespoon of the blended berry mixture into Greek yogurt for a swirled effect. This mix adds flavor and fun.
Filling the Popsicle Molds
4. Layer the berry and yogurt mixtures in the molds. Start with the berry layer, filling it one-third of the way. Then spoon yogurt on top until it's two-thirds full.
5. Add another layer of the berry mix on top. Leave some space at the top for expansion. Don’t forget to place popsicle sticks in the center!
Freezing the Pops
6. Freeze for at least 4-6 hours until solid. This step helps the flavors meld together perfectly.
7. To remove the pops, run the molds under warm water for a few seconds. Then gently pull on the sticks. Enjoy your refreshing treat!
Tips & Tricks
Choosing the Best Berries
When picking berries, focus on color and smell. Choose strawberries that are bright red and firm. Look for blueberries that are deep blue and plump. Raspberries should be vibrant and intact. Fresh berries smell sweet and fragrant. Avoid any with mold or mushy spots. Buy local berries when possible for the best taste.
Sweetening Options
You can adjust the sweetness to fit your taste. Honey adds a lovely floral note. Maple syrup gives a rich, earthy flavor. Start with 1/4 cup, then taste the mixture. If it needs more sweetness, add a bit more. Remember, you can always add, but you can't take away!
Serving Suggestions
To make your pops look amazing, plate them well. Arrange the pops on a colorful dish. Scatter fresh berries around them for color. Add a sprig of mint on top for a nice touch. This makes the pops look fancy and fun. Enjoy not just the taste but also the visual appeal!
Pro Tips
- Use Fresh Berries: For the best flavor and texture, opt for fresh, ripe berries. Frozen berries can be used but may alter the consistency.
- Experiment with Sweetness: Adjust the amount of honey or maple syrup based on your preference and the natural sweetness of your berries.
- Try Different Yogurt Flavors: While Greek yogurt is recommended, feel free to use flavored yogurts like coconut or berry for added depth.
- Perfect Popsicle Removal: If the pops are difficult to remove, run the molds under warm water for a few seconds to ease the process.
Variations
Dairy-Free Option
You can easily make these yogurt pops dairy-free. Simply swap Greek yogurt with almond or coconut yogurt. These options give a creamy texture and keep the pops vegan. Not only do they taste great, but they also offer a lovely nutty flavor that pairs well with berries.
Adding Extra Flavor
Want to mix it up? You can add other fruits like bananas or mangoes. Coconut milk can also give a tropical twist. For a touch of warmth, try adding a dash of vanilla extract. Each fruit adds its own unique flavor and makes the pops even more exciting.
Different Sweeteners
If you want to change the sweetness, consider using agave syrup, stevia, or other sugar alternatives. Agave syrup is sweeter, so you might use less. Stevia is a great low-calorie choice. Just remember to taste as you go. This way, you can find the perfect balance for your pops!
Storage Info
Freezing Recommendations
To freeze your yogurt pops, use sturdy molds. Make sure to fill them correctly. Leave some space at the top for expansion. This helps to keep the pops from breaking. Once filled, insert popsicle sticks into the center. Place the molds in the freezer. Let them freeze for at least 4-6 hours. This time ensures they become solid.
Shelf Life
These pops can last in the freezer for up to two months. To store them best, wrap each pop in plastic wrap. Then, place them in a sealed container or freezer bag. This keeps them fresh and free from freezer burn.
Thawing and Serving
To thaw your pops quickly, run warm water over the outside of the molds. This helps them release easily. Avoid using a microwave, as it can melt them unevenly. Serve the pops on a colorful plate. You can add fresh berries or mint for a fun touch. Enjoy the refreshing taste of summer!
FAQs
Can I use frozen berries instead of fresh?
Yes, you can use frozen berries. Just let them thaw first. This helps blend them better. If they are too wet, drain off extra liquid. This keeps your pops from being too runny.
What if I don’t have popsicle molds?
You can use small cups or muffin tins instead. Fill them with the mixture. Insert sticks when ready. You can also use ice cube trays for smaller pops. Just make sure to cover them with plastic wrap to hold the sticks.
How can I make these pops less sweet?
To reduce sweetness, cut down the honey or maple syrup. You can also use plain Greek yogurt. This adds a nice tang. Adding more berries will also help keep the flavor strong without added sweetness.
Making healthy berry pops is simple and fun. We explored fresh berries, Greek yogurt, and sweeteners. You learned how to create layers, freeze, and serve these delicious treats. Remember, you can adjust ingredients for your taste and even try dairy-free options. Follow these tips for tasty results! Enjoy cool, refreshing pops that you made yourself. Dive into your kitchen and get started on your berry pops now!